Chris and I had discussed refitting our head since day 1 of becoming Avocet’s new crew, and one night while drinking wine and talking about our future plans we decided to stop holding back and get our hands dirty with phase 1 of the refit process. Let me explain one thing first before I jump into the part of the blog you came here to read: The “head” is a boat bathroom, or toilet, which derives from old-time sailing ships in which the toilet area was placed at the head (or bow) of the ship. Just like how we sail today, those ships had to travel with the wind pushing the vessel forward, blowing from back to front. If you’ve ever been downwind of a cow pasture (or even your husbands rank farts… yeah I’m talking about you Chris) you’ll realize why sailors positioned the toilet upwind, away from all of the “action.” Now that you are fully equipped with proper nautical terminology, let’s get into this head refit, shall we?
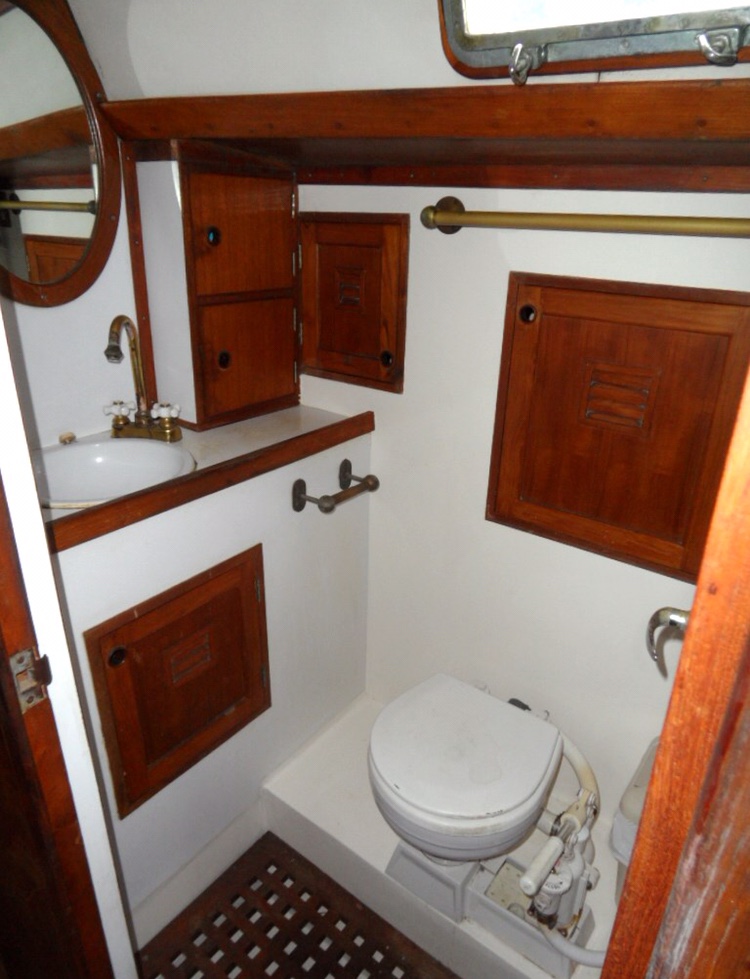
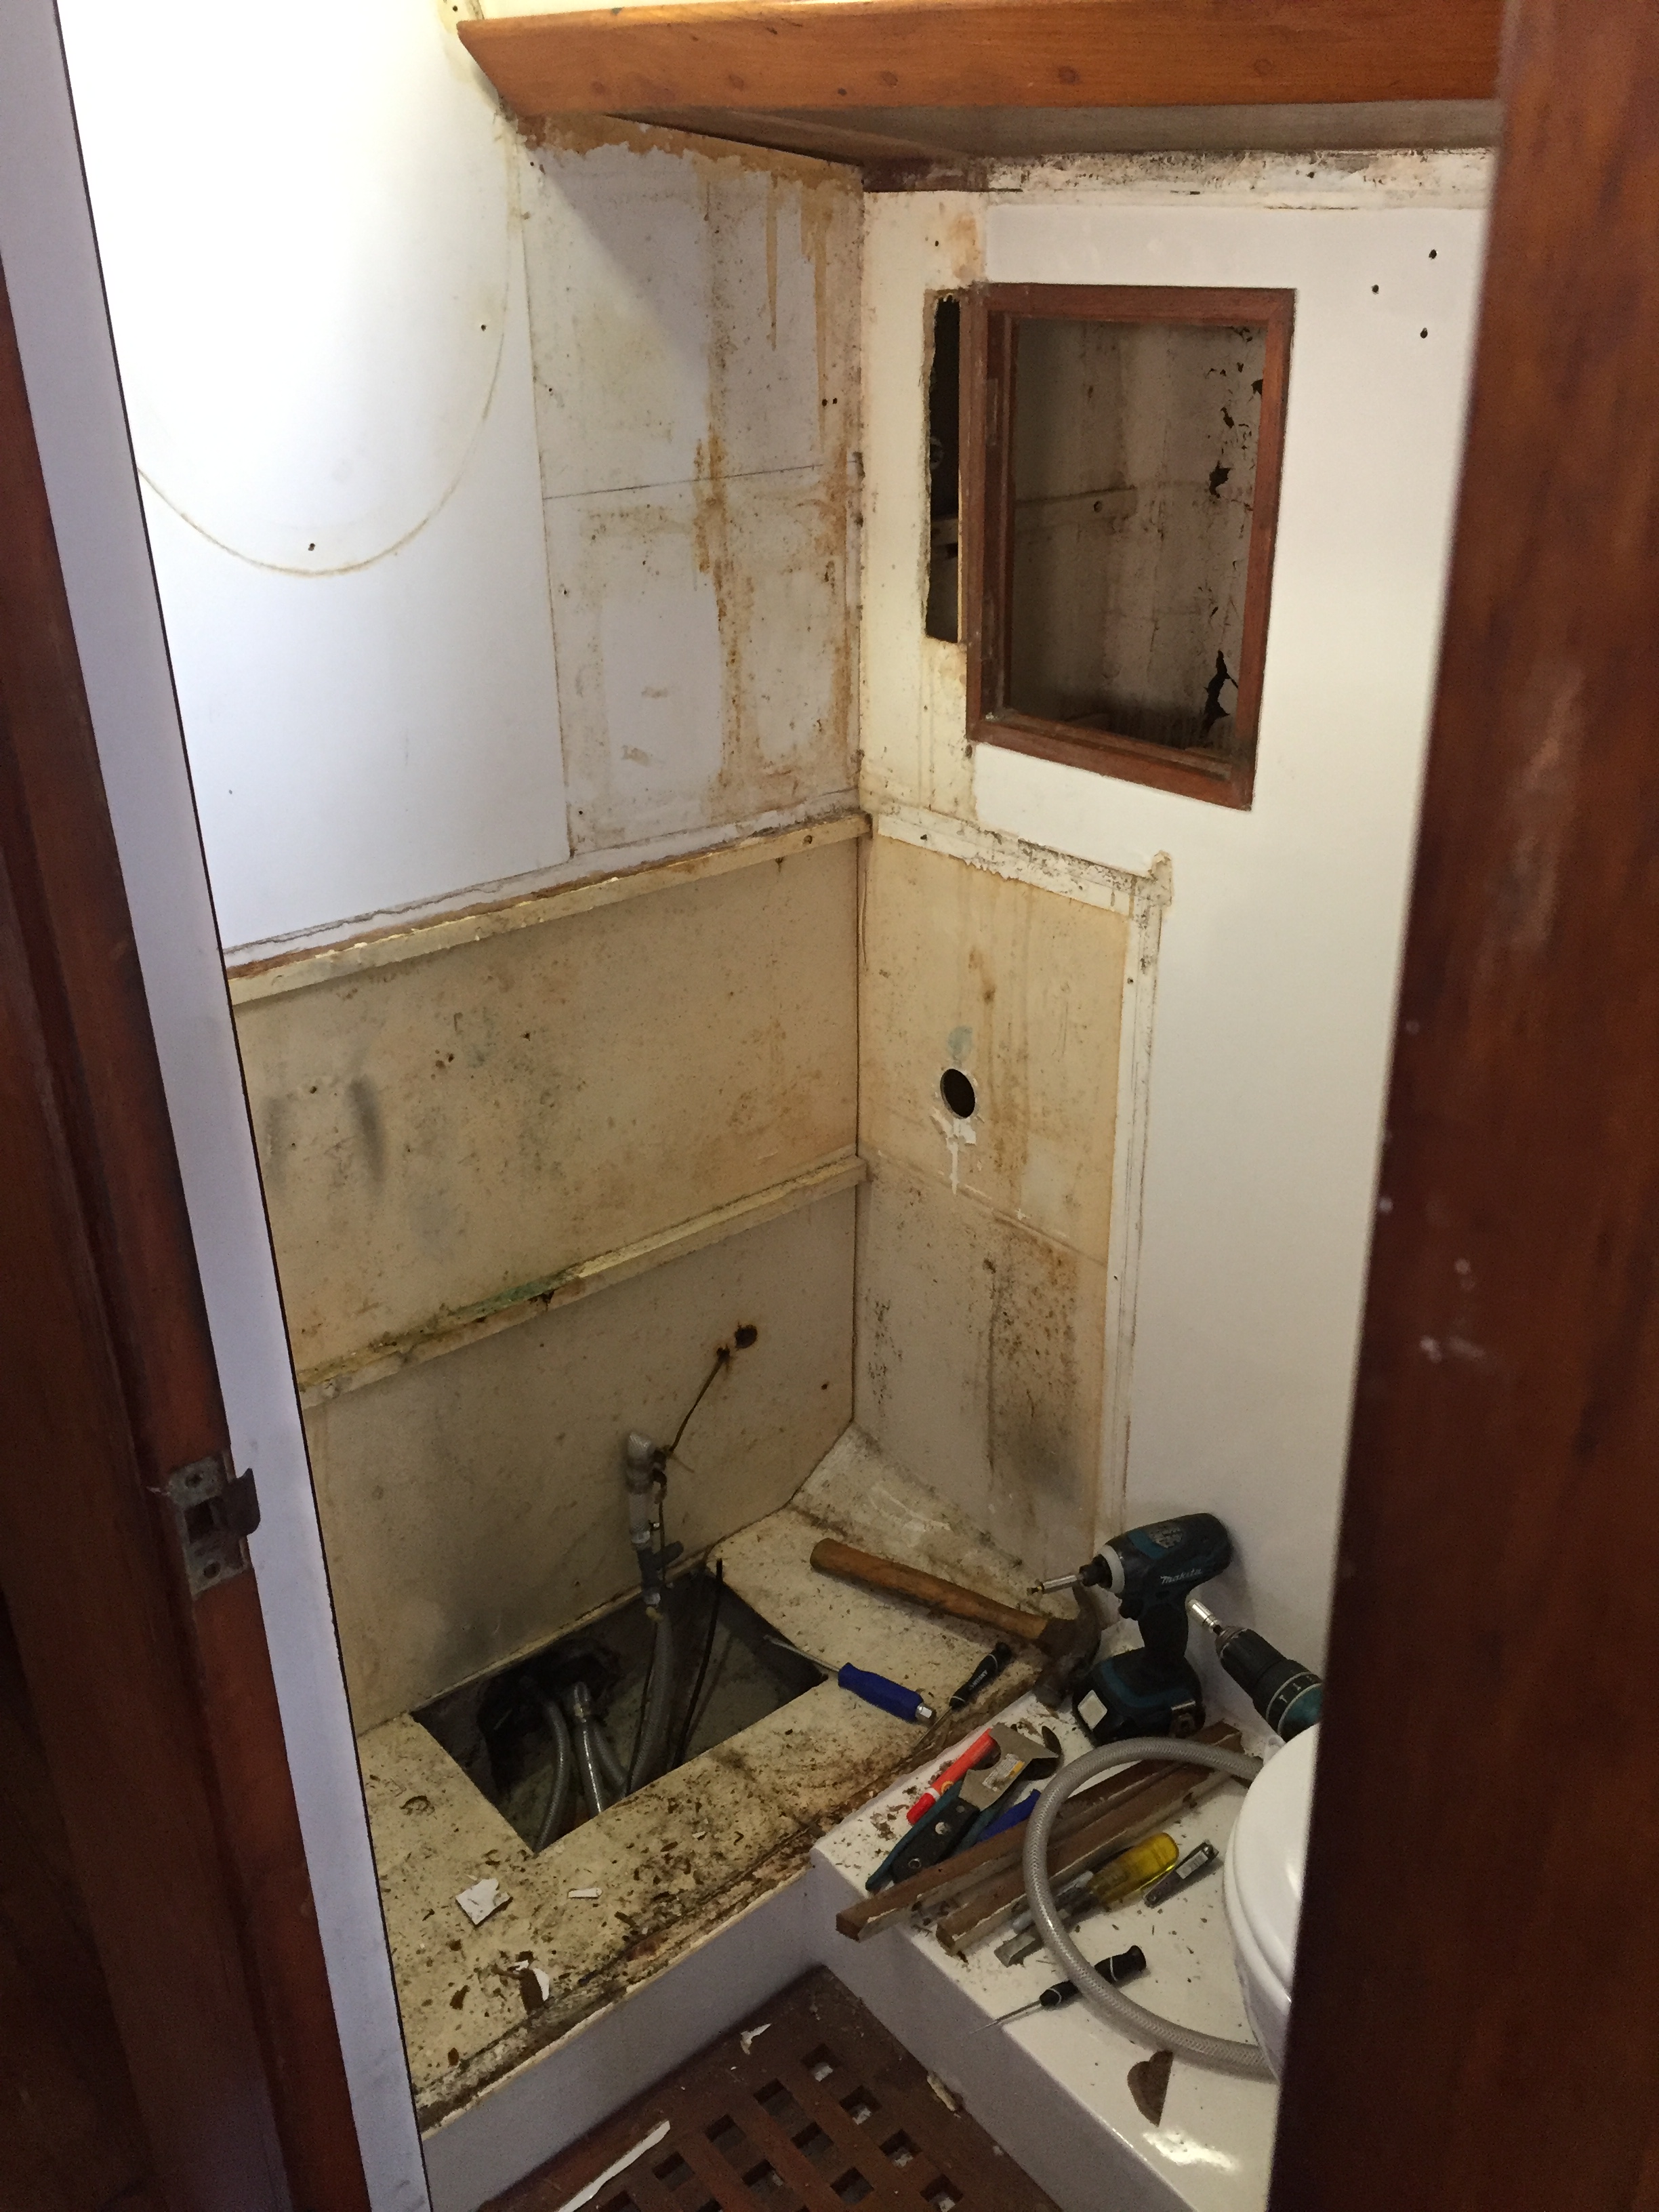
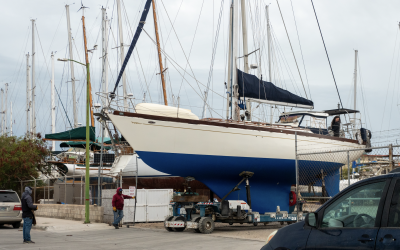
Here is the “before” photo
Our original thought for this refit was first and foremost to design and build a designated shower stall to do away with our wet-head. A wet head is a boat’s bathroom that serves as both the toilet/sink area as well as the shower compartment, meaning the sink and toilet get wet when you use the shower. Neither Chris nor I have ever been fans of wet heads, which was actually almost a turn off from buying Avocet in the first place. However, Chris assured me we could remodel the head and make it work- after all, there was more than enough space and it is virtually the same size as his moms Mason 43’s head which has a shower stall… or so we thought. Nonetheless, we got to my favorite part of boat projects: demolition.
Destroying the eyesore that was our head was very cathartic for me. It was like erasing an old picture so we could start with a blank canvas to create a masterpiece. We removed the headliner to be pleasantly surprised by the lack of mold and wish we could have upheld the same pleasantries when we deconstructed the vanity. The formica countertop was riddled with stains, and under each crack and edge there was black mold but that wasn’t the last of our misfortune acquired by our “treasure hunt”. Under the 4 small cubbies on the right of our countertop, we found combs, bobbi pins, and hair- lots, and lots of hair- all items essentially being relics from the previous ownership. It took a full day and a half to tear out the vanity, remove the plumbing, and unscrew the teak trim and once everything was removed we realized what we had gotten ourselves into.
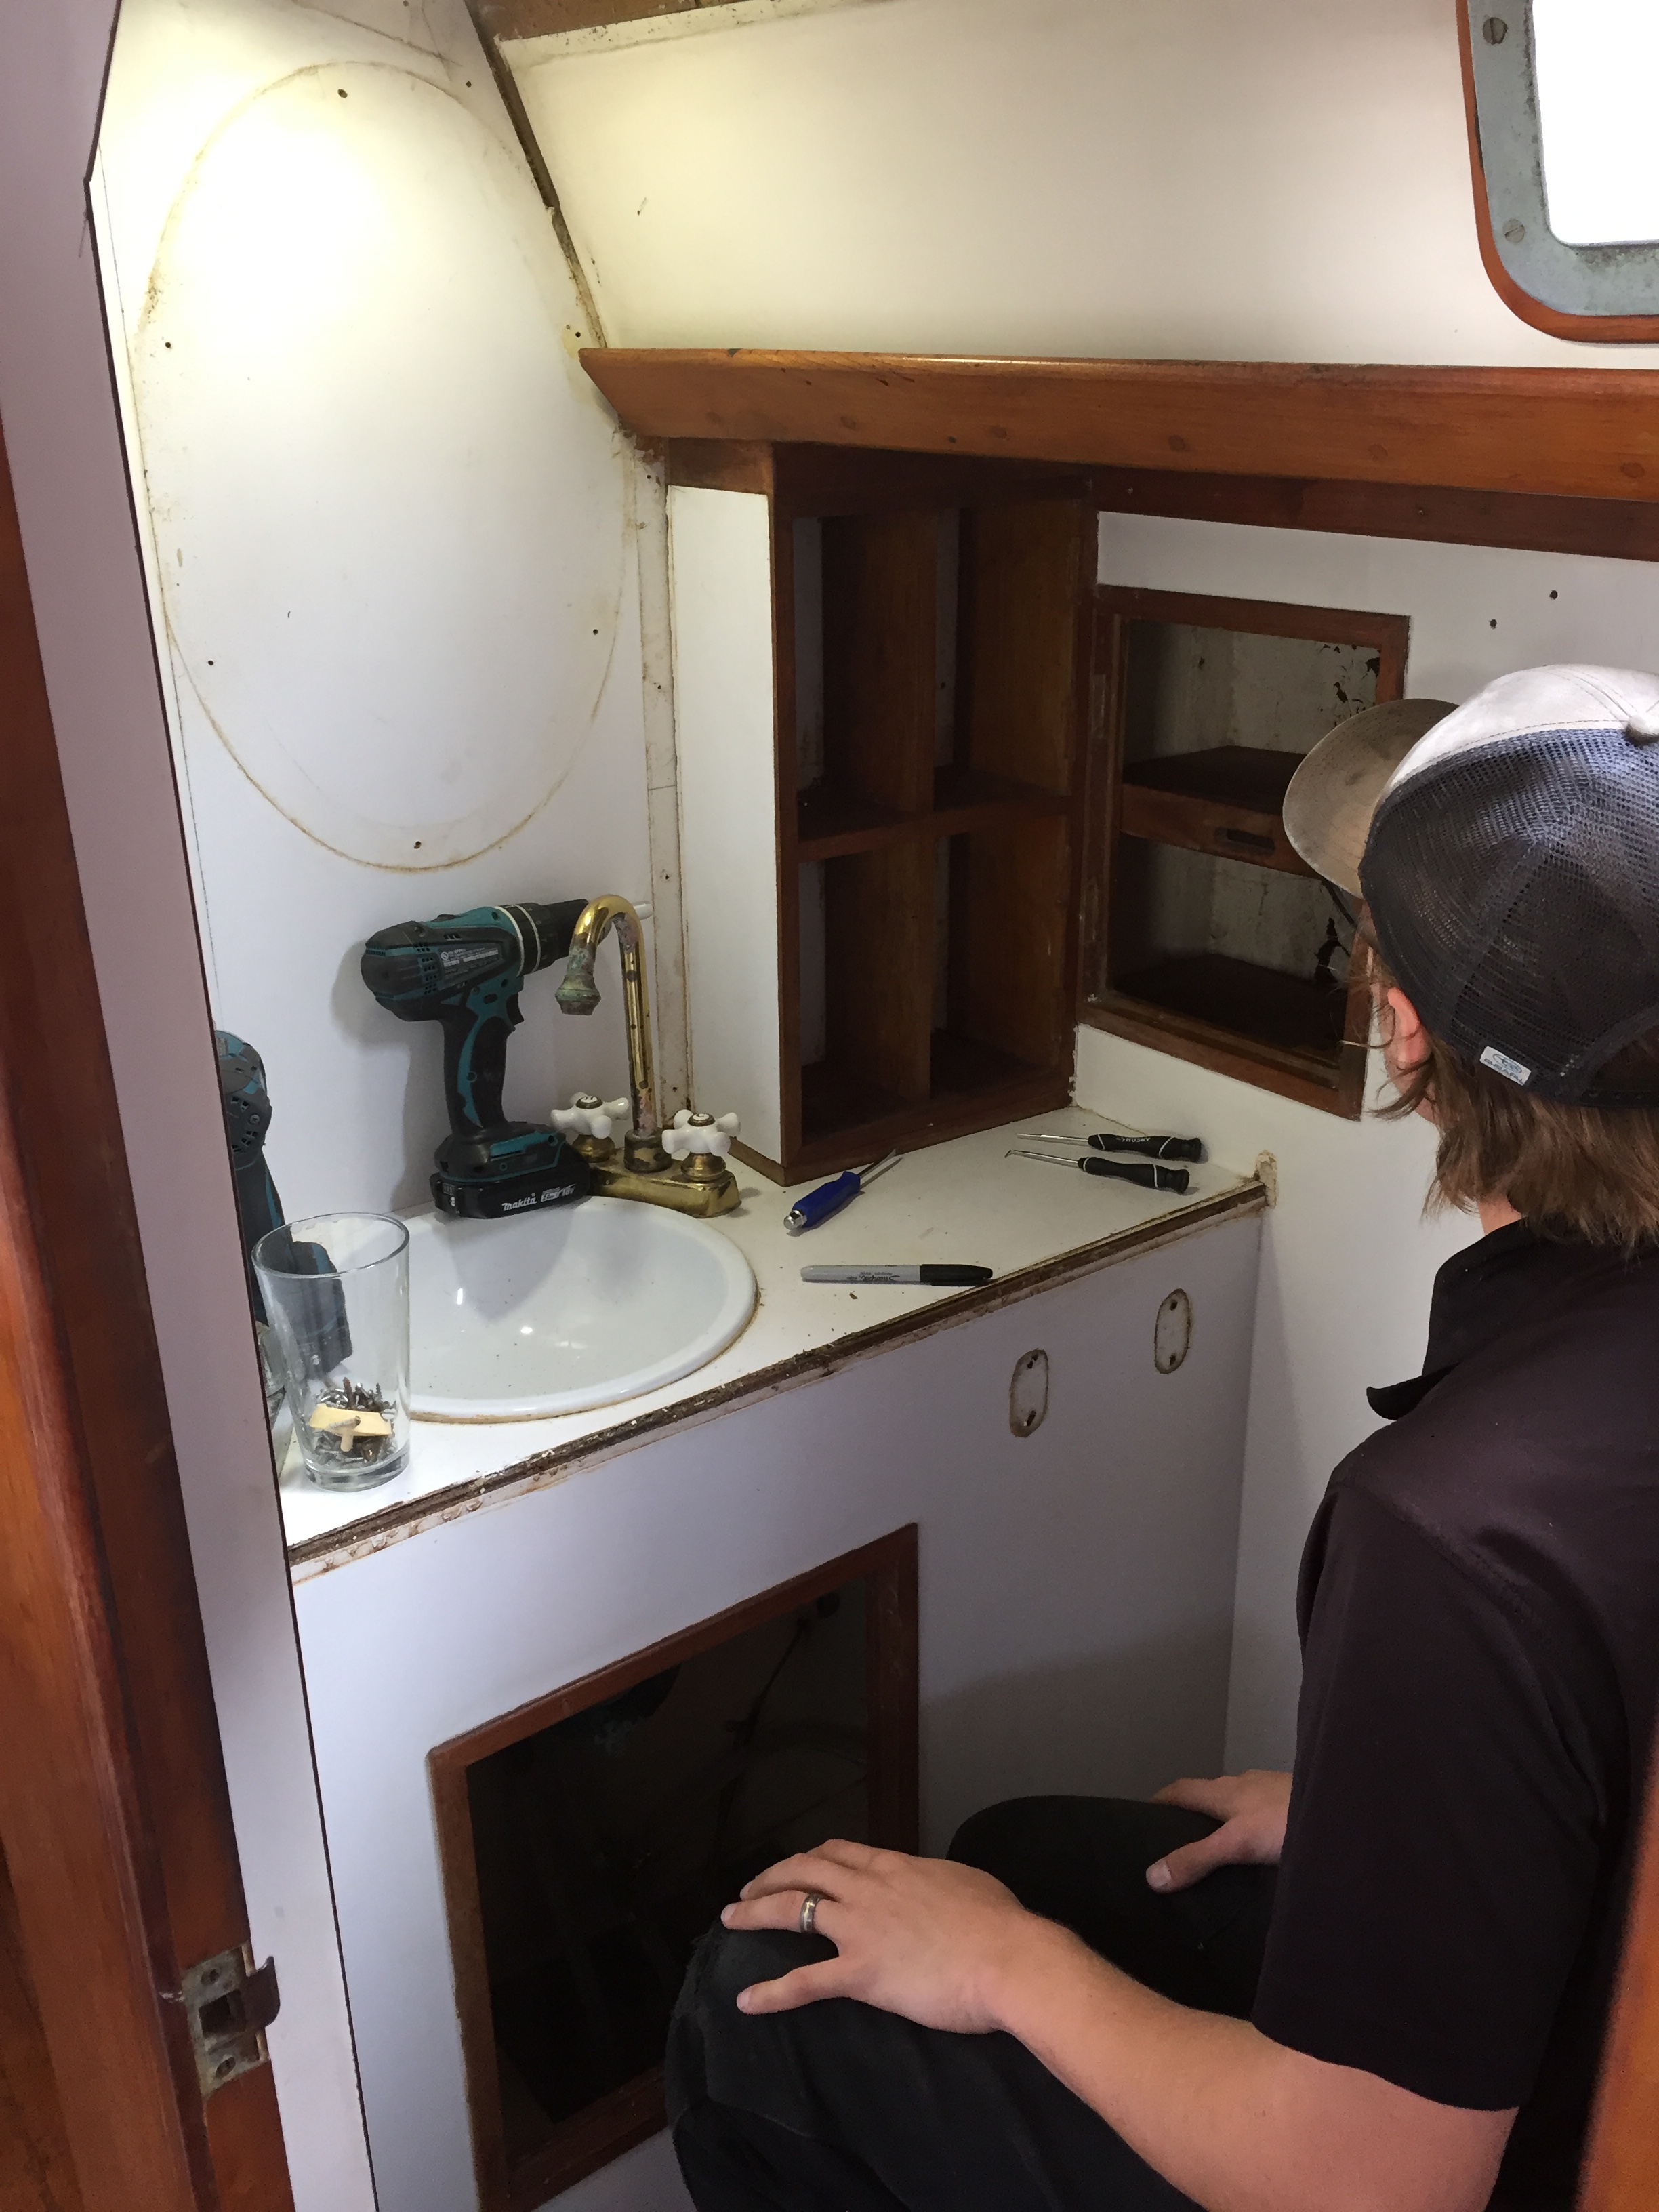
"where do we start..."
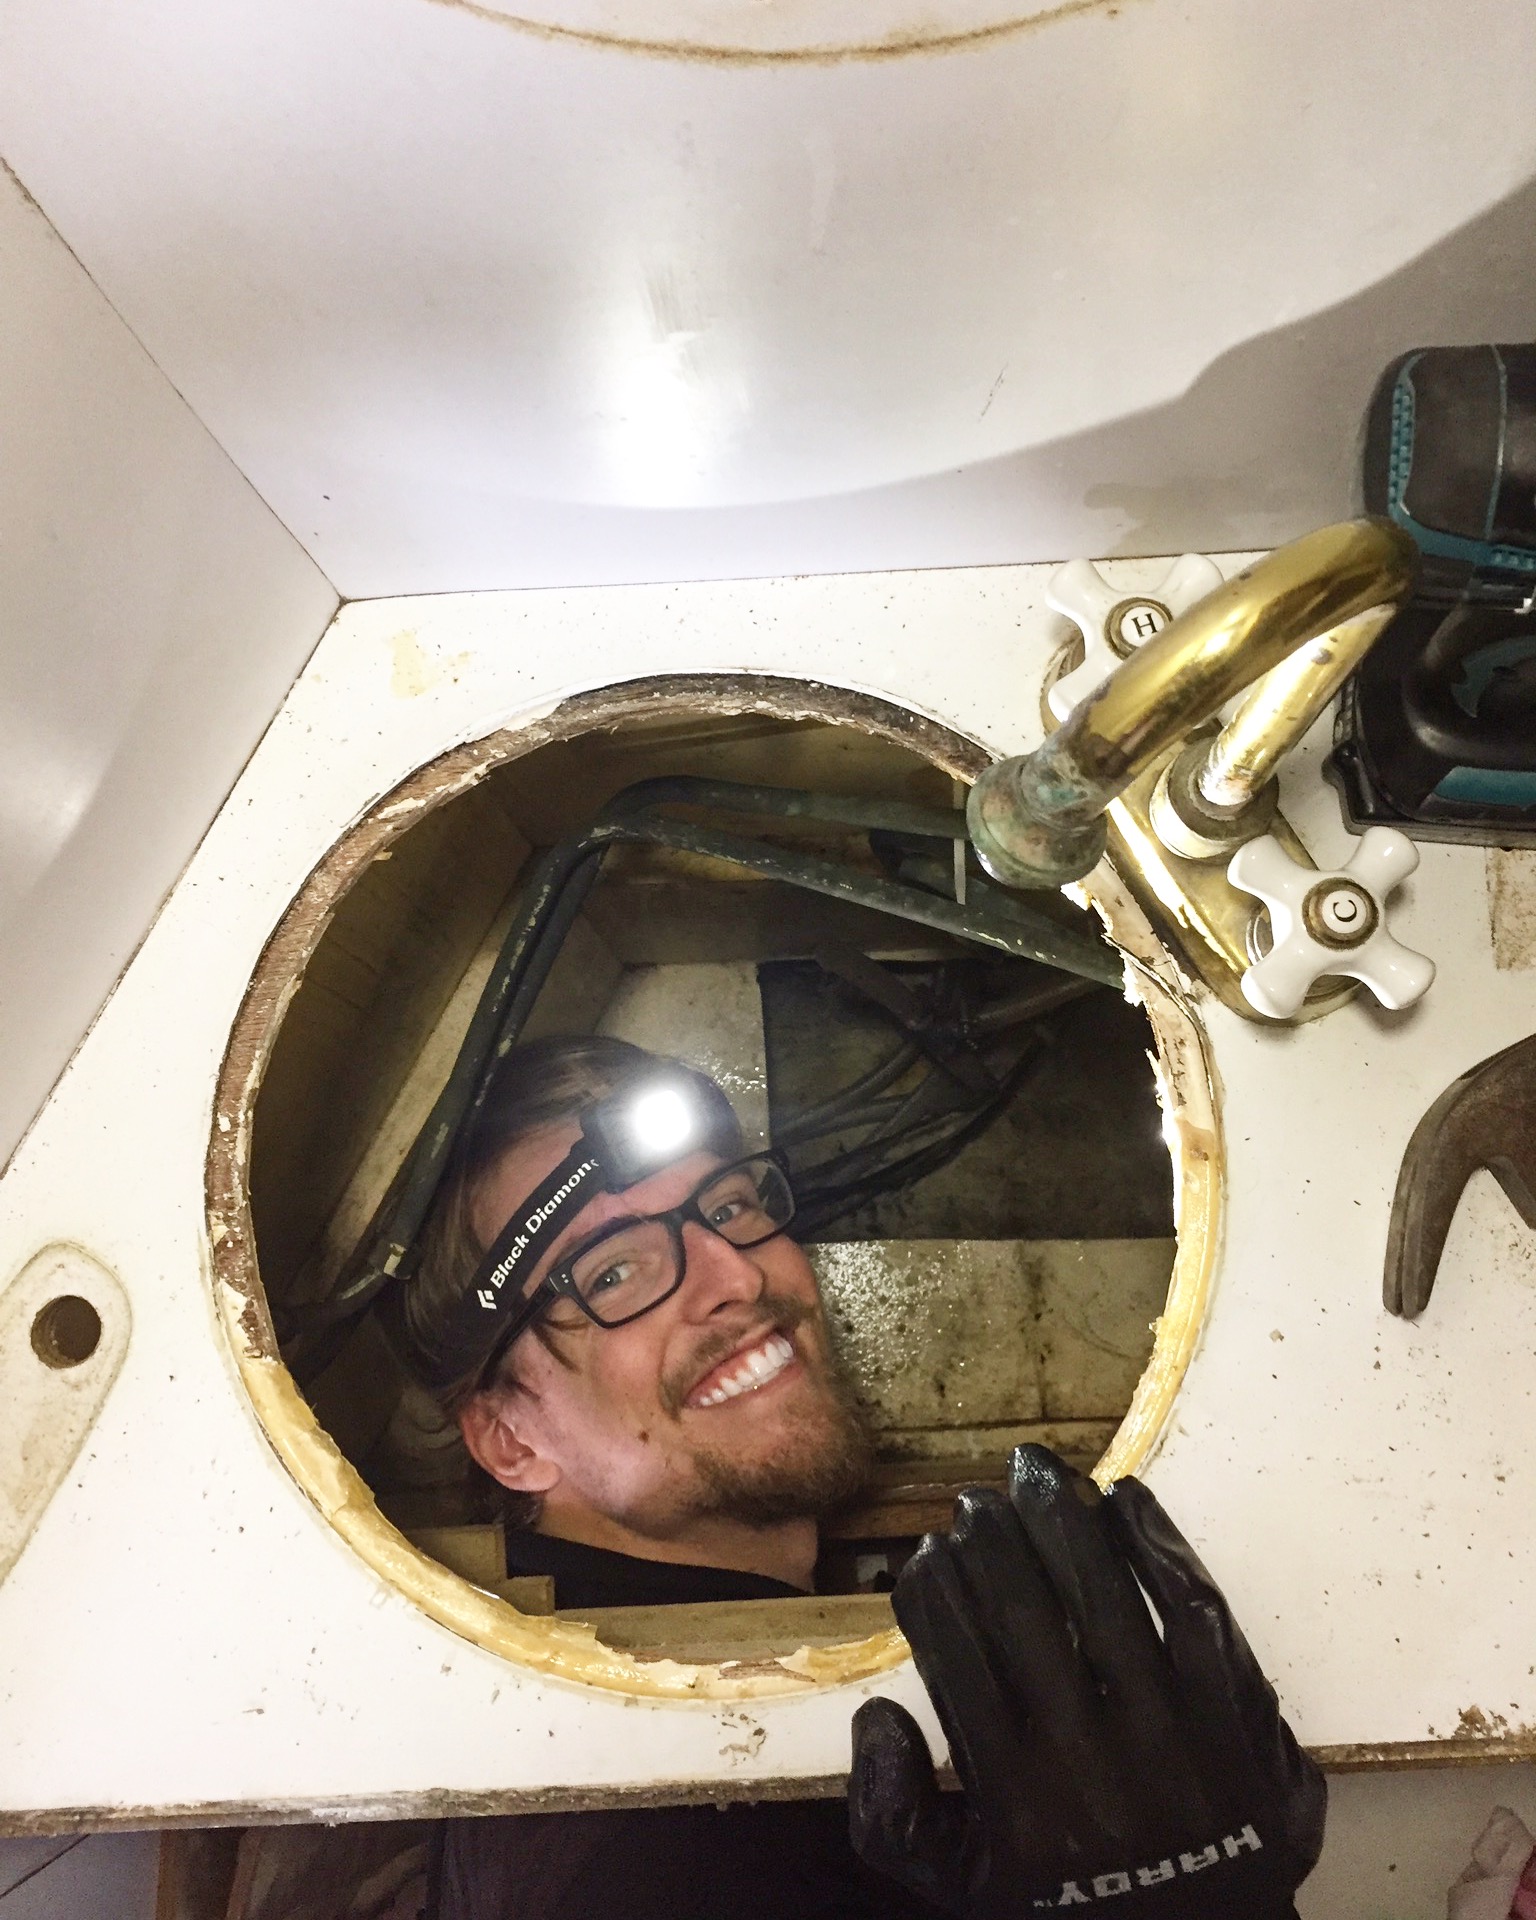
bye bye sink!
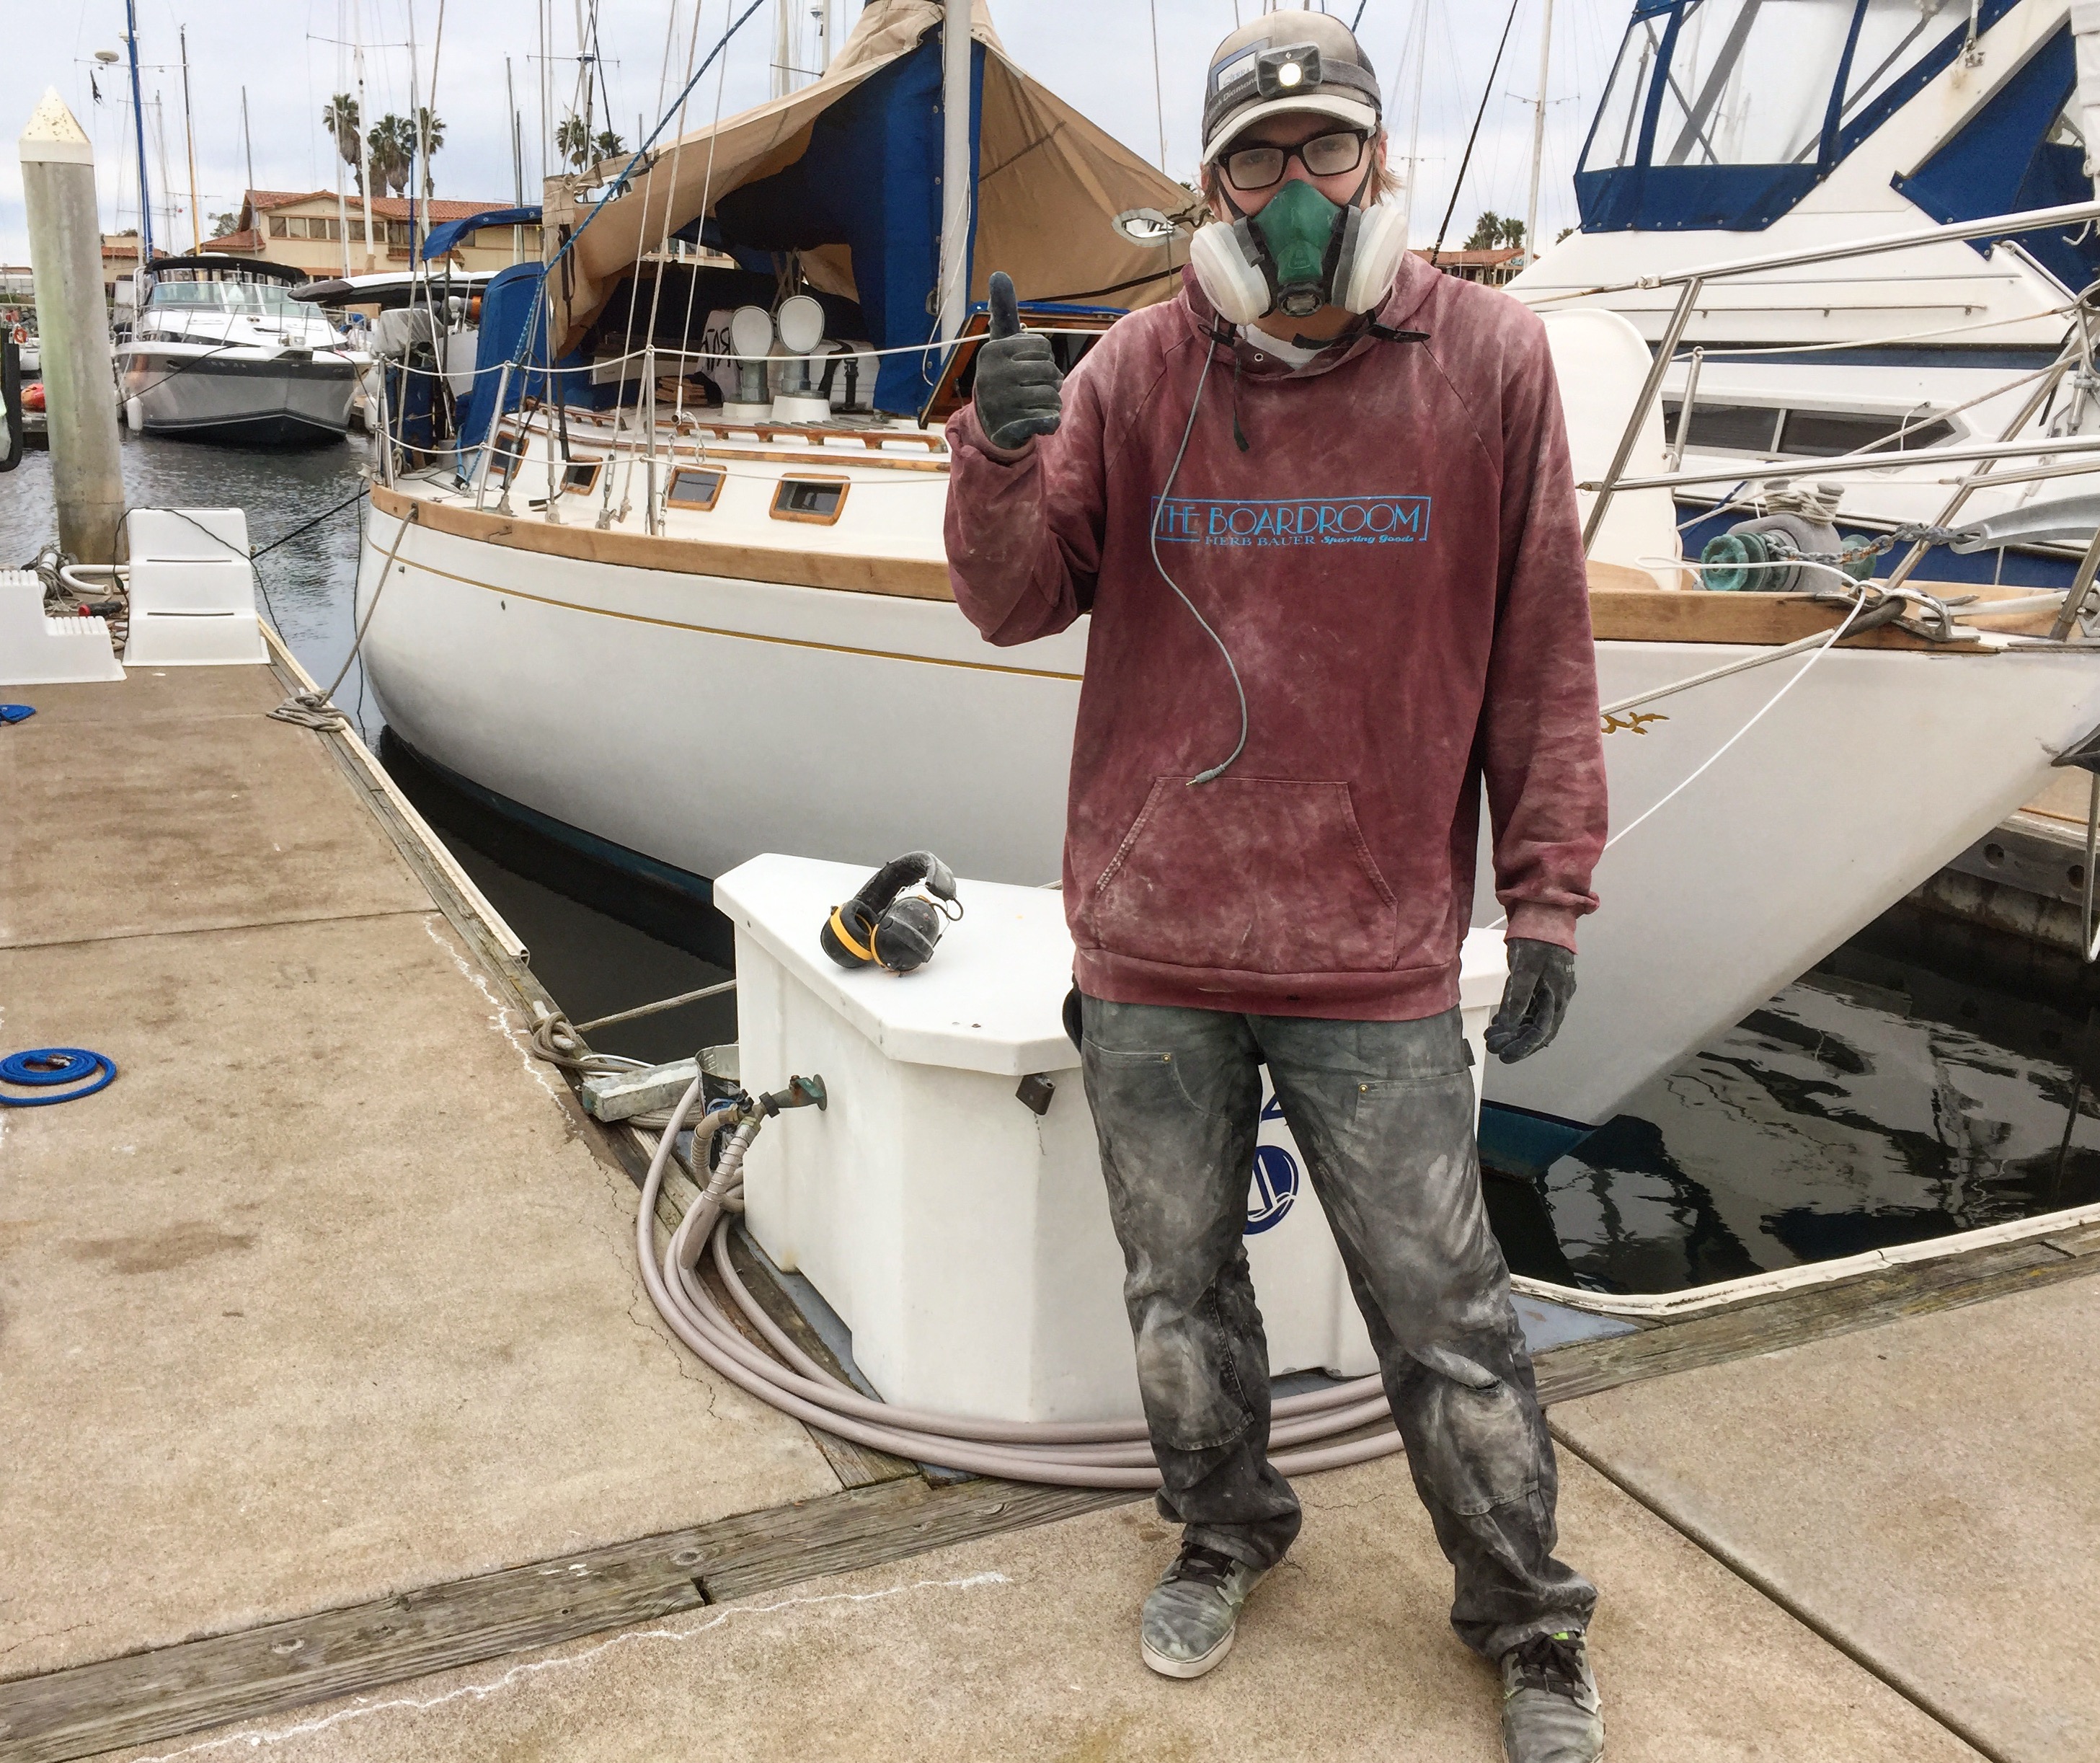
one must become the project before completing the project
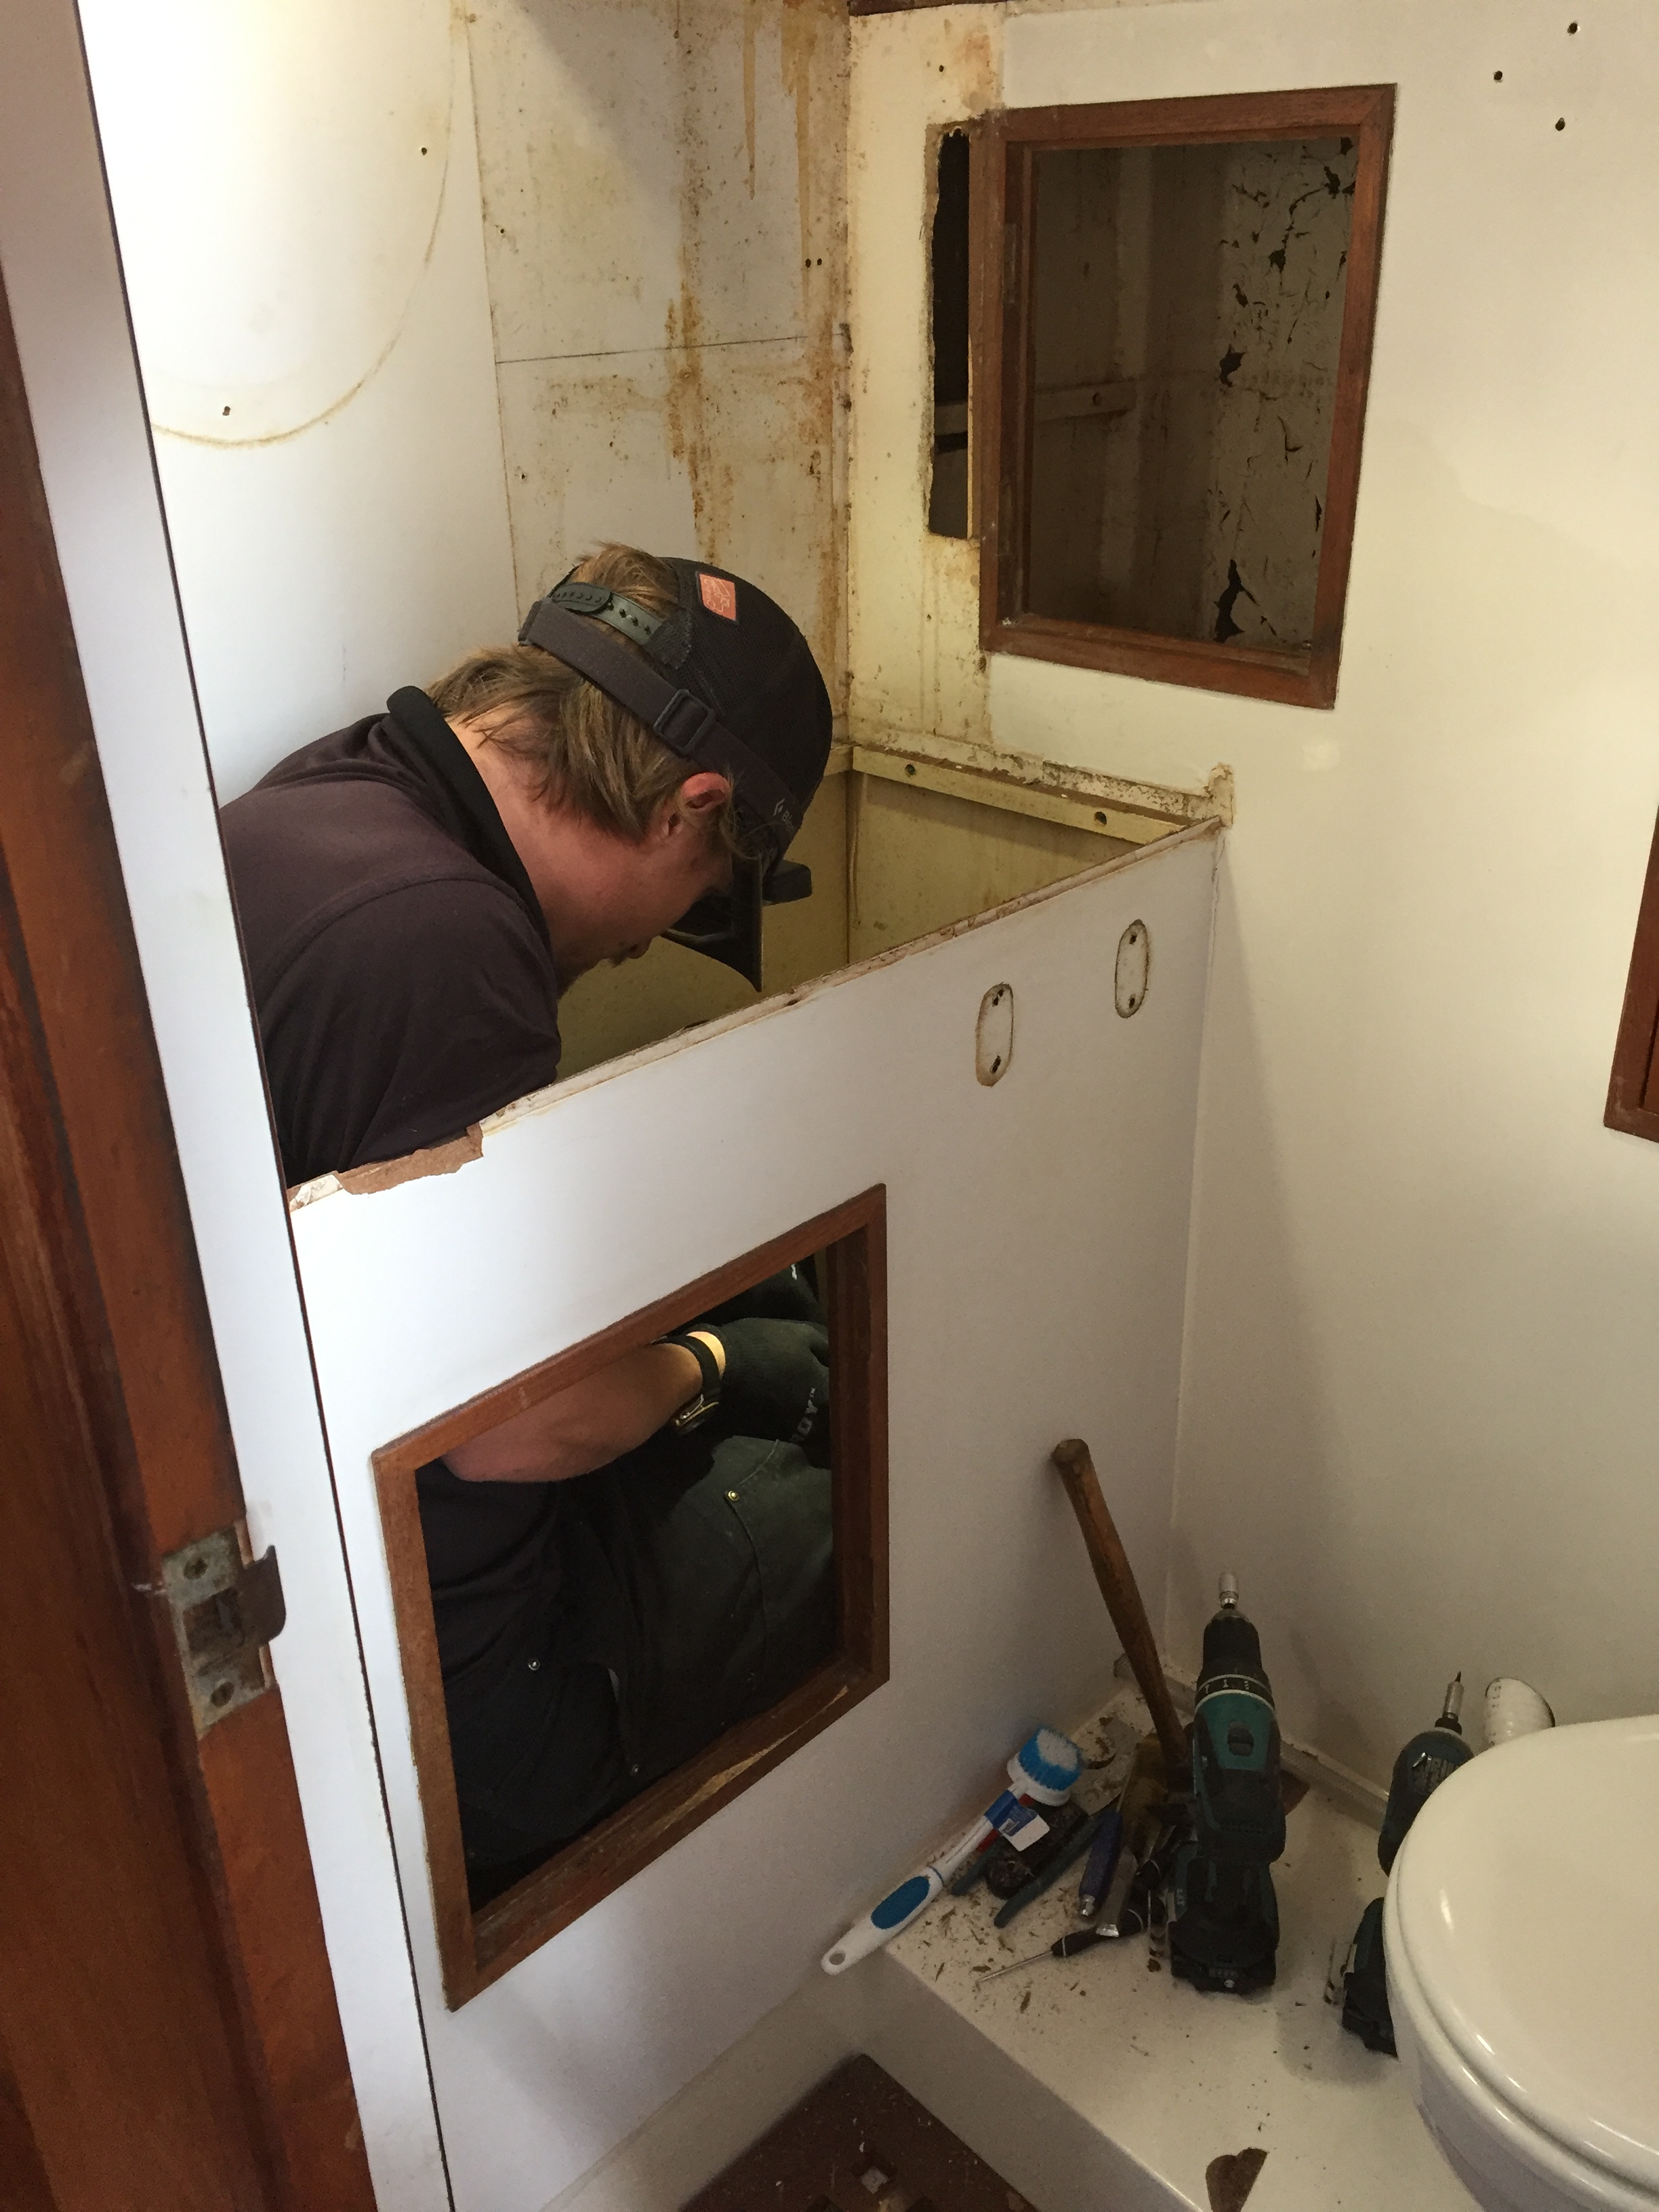
bye bye vanity!
Chris spent hours measuring and remeasuring trying to figure out how we could logistically fit a shower stall, sink, and toilet into the 4 x 4 space without compromising anything. It was very important to us that the bathroom feels like a home and not a camper, meaning we did not want a fold-down sink or some tiny shower that forced you to sit. At the end of the day we had the hard realization that a shower stall was not in the cards for our boat due to how the deck cuts into the head and various other things but then Chris and his brilliant mind had the thought: why don’t we just move the toilet and sink to one side and cover it with a shower curtain when we shower to keep the water off? and right then was when our new plan was born.
Naturally, a few days in Chris got called for a shoot in Colorado so he worked hard to reinstall the plumbing and leave me with a working toilet which was greatly appreciated. In his absence I wasn’t able to do much since it was raining but when there was a break in the weather I was quick to varnish the teak pieces we removed and equally as quick to move the pieces under our dodger to dry when the foul weather returned. A few days later when Chris got home it was back to work measuring, cutting, and building. It took him about 2 days to design and build a gorgeous new vanity to hold the vessel sink I picked out from Amazon. This is where I should probably mention that trying to find a suitable sink was one of the most challenging parts of this refit because not only was it difficult to find tiny sinks but it was also extremely hard to find one that didn’t cost more than our boat! Okay, that is a bit of an exaggeration but for real I was toying with the idea of making our own sink from teak but Chris wasn’t as fond of that thought so I decided to search trusty Amazon.com for something (anything) that would look good and not break the bank. Eventually, we decided on an awesome copper sink that fits in with the rest of the aesthetic we were aiming for. We also purchased an oil rubbed bronze faucet that matched perfectly. Something funny to mention is that our old sink and faucet were not only outdated, but the water didn’t even hit the middle of the sink! It hit right above the drain on the side which ended up making an absolute mess most of the time since the sink was also pretty shallow. Anyways, thanks to Amazon Primes quick delivery, Chris was able to finish the vanity and reinstall the plumbing so we had a working sink that was not only gorgeous but also much more functional than our previous arrangement.
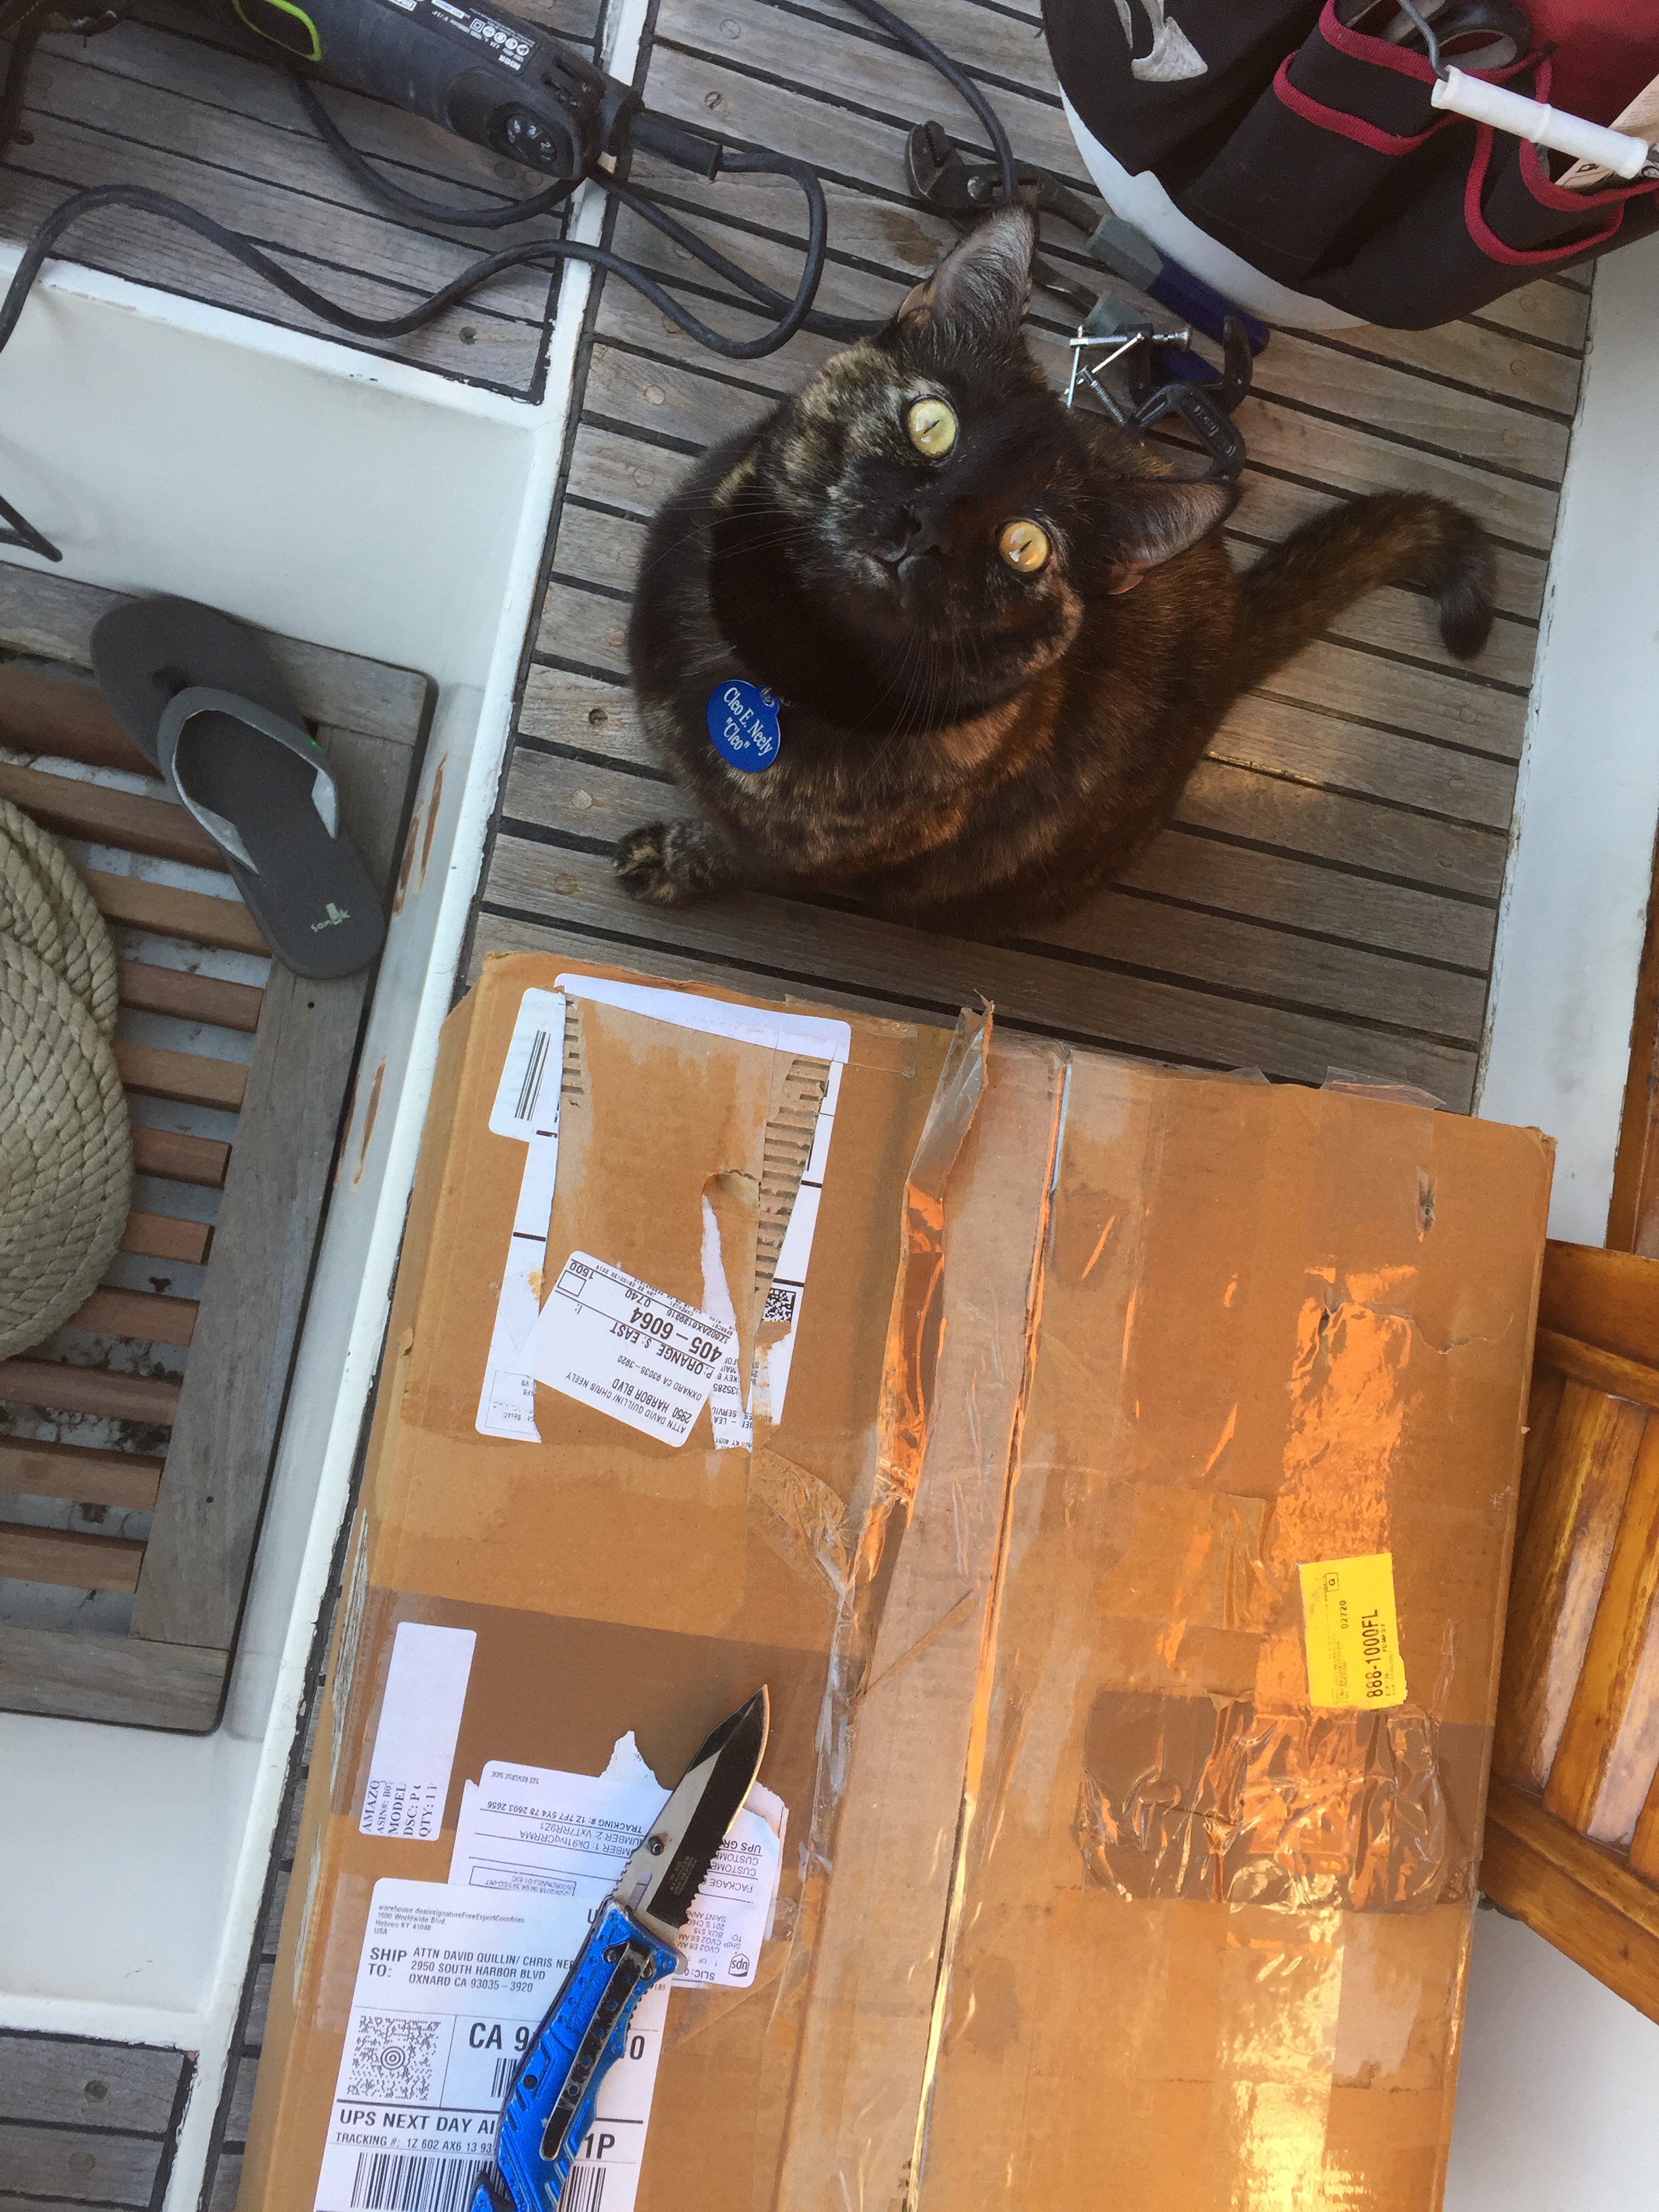
Very happy with our Amazon delivery
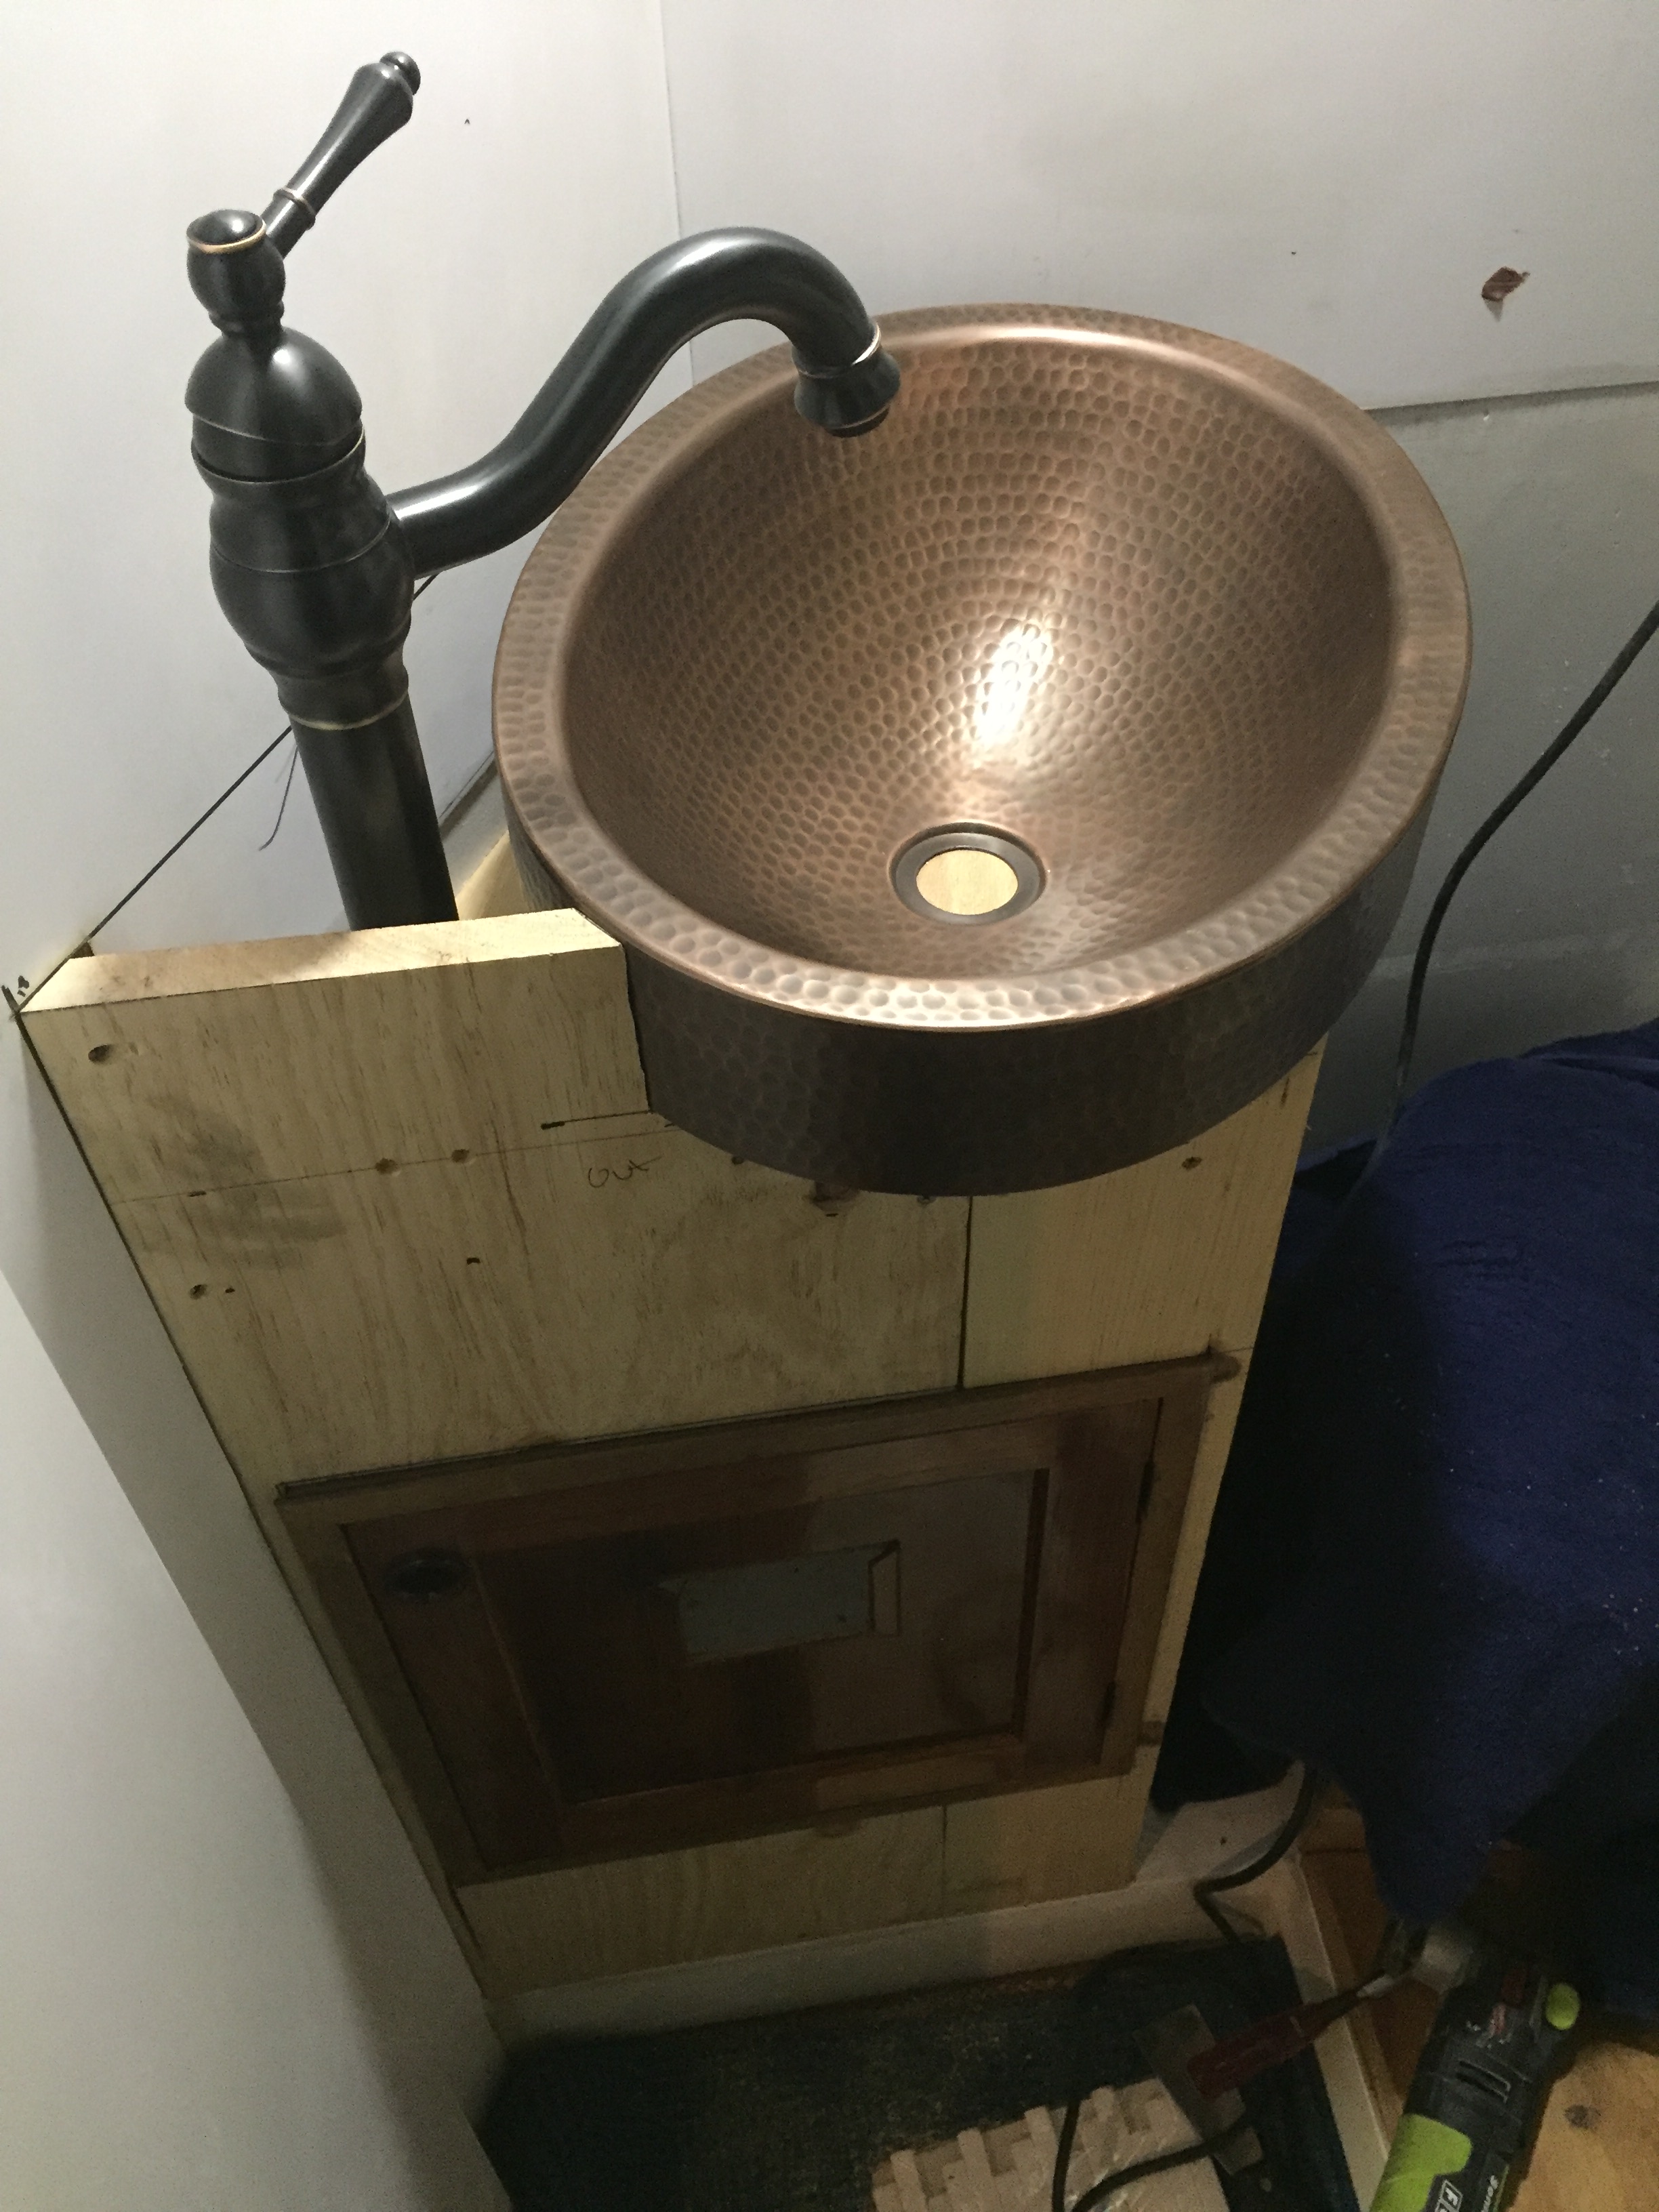
look at it!!!
With the new vanity in place and the teak veneer installed we were finally feeling better about our decision to remodel. However, we still didn’t have a countertop on the sink so Luckily Chris being the resourceful raccoon he is had a perfect idea. A while back there was a large solid teak door in our marina’s dumpster, so of course, my raccoon-like-husband pulled it from the trash, brought it back down to our boat and started using it as the teak for our countertops. This definitely saved us a pretty penny since the teak was about 2.5 inches thick and over well over 2 feet in length. Chris broke down the door and gave the teak to me to strip the varnish. When I finished all the pieces I handed them over to “Mr. I-can-build-anything” and he got to work making the countertops. When working with teak, we are very careful and often measure up to 3 times before making any cuts. We aren’t crazy, we just know the value of nice wood! Wow, that’s something I never thought I would say… anyways… Chris glued the pieces together using C-clamps for pressure. Once dry he took a hand saw to make the cuts. I was actually impressed by the simple technique he used for a perfect cut. Using another block of wood and a C-clap, Chris made a straight edge to follow while hand sawing to prevent him from cutting away from the line. It worked perfectly and soon after some sanding we had a beautiful teak countertop.
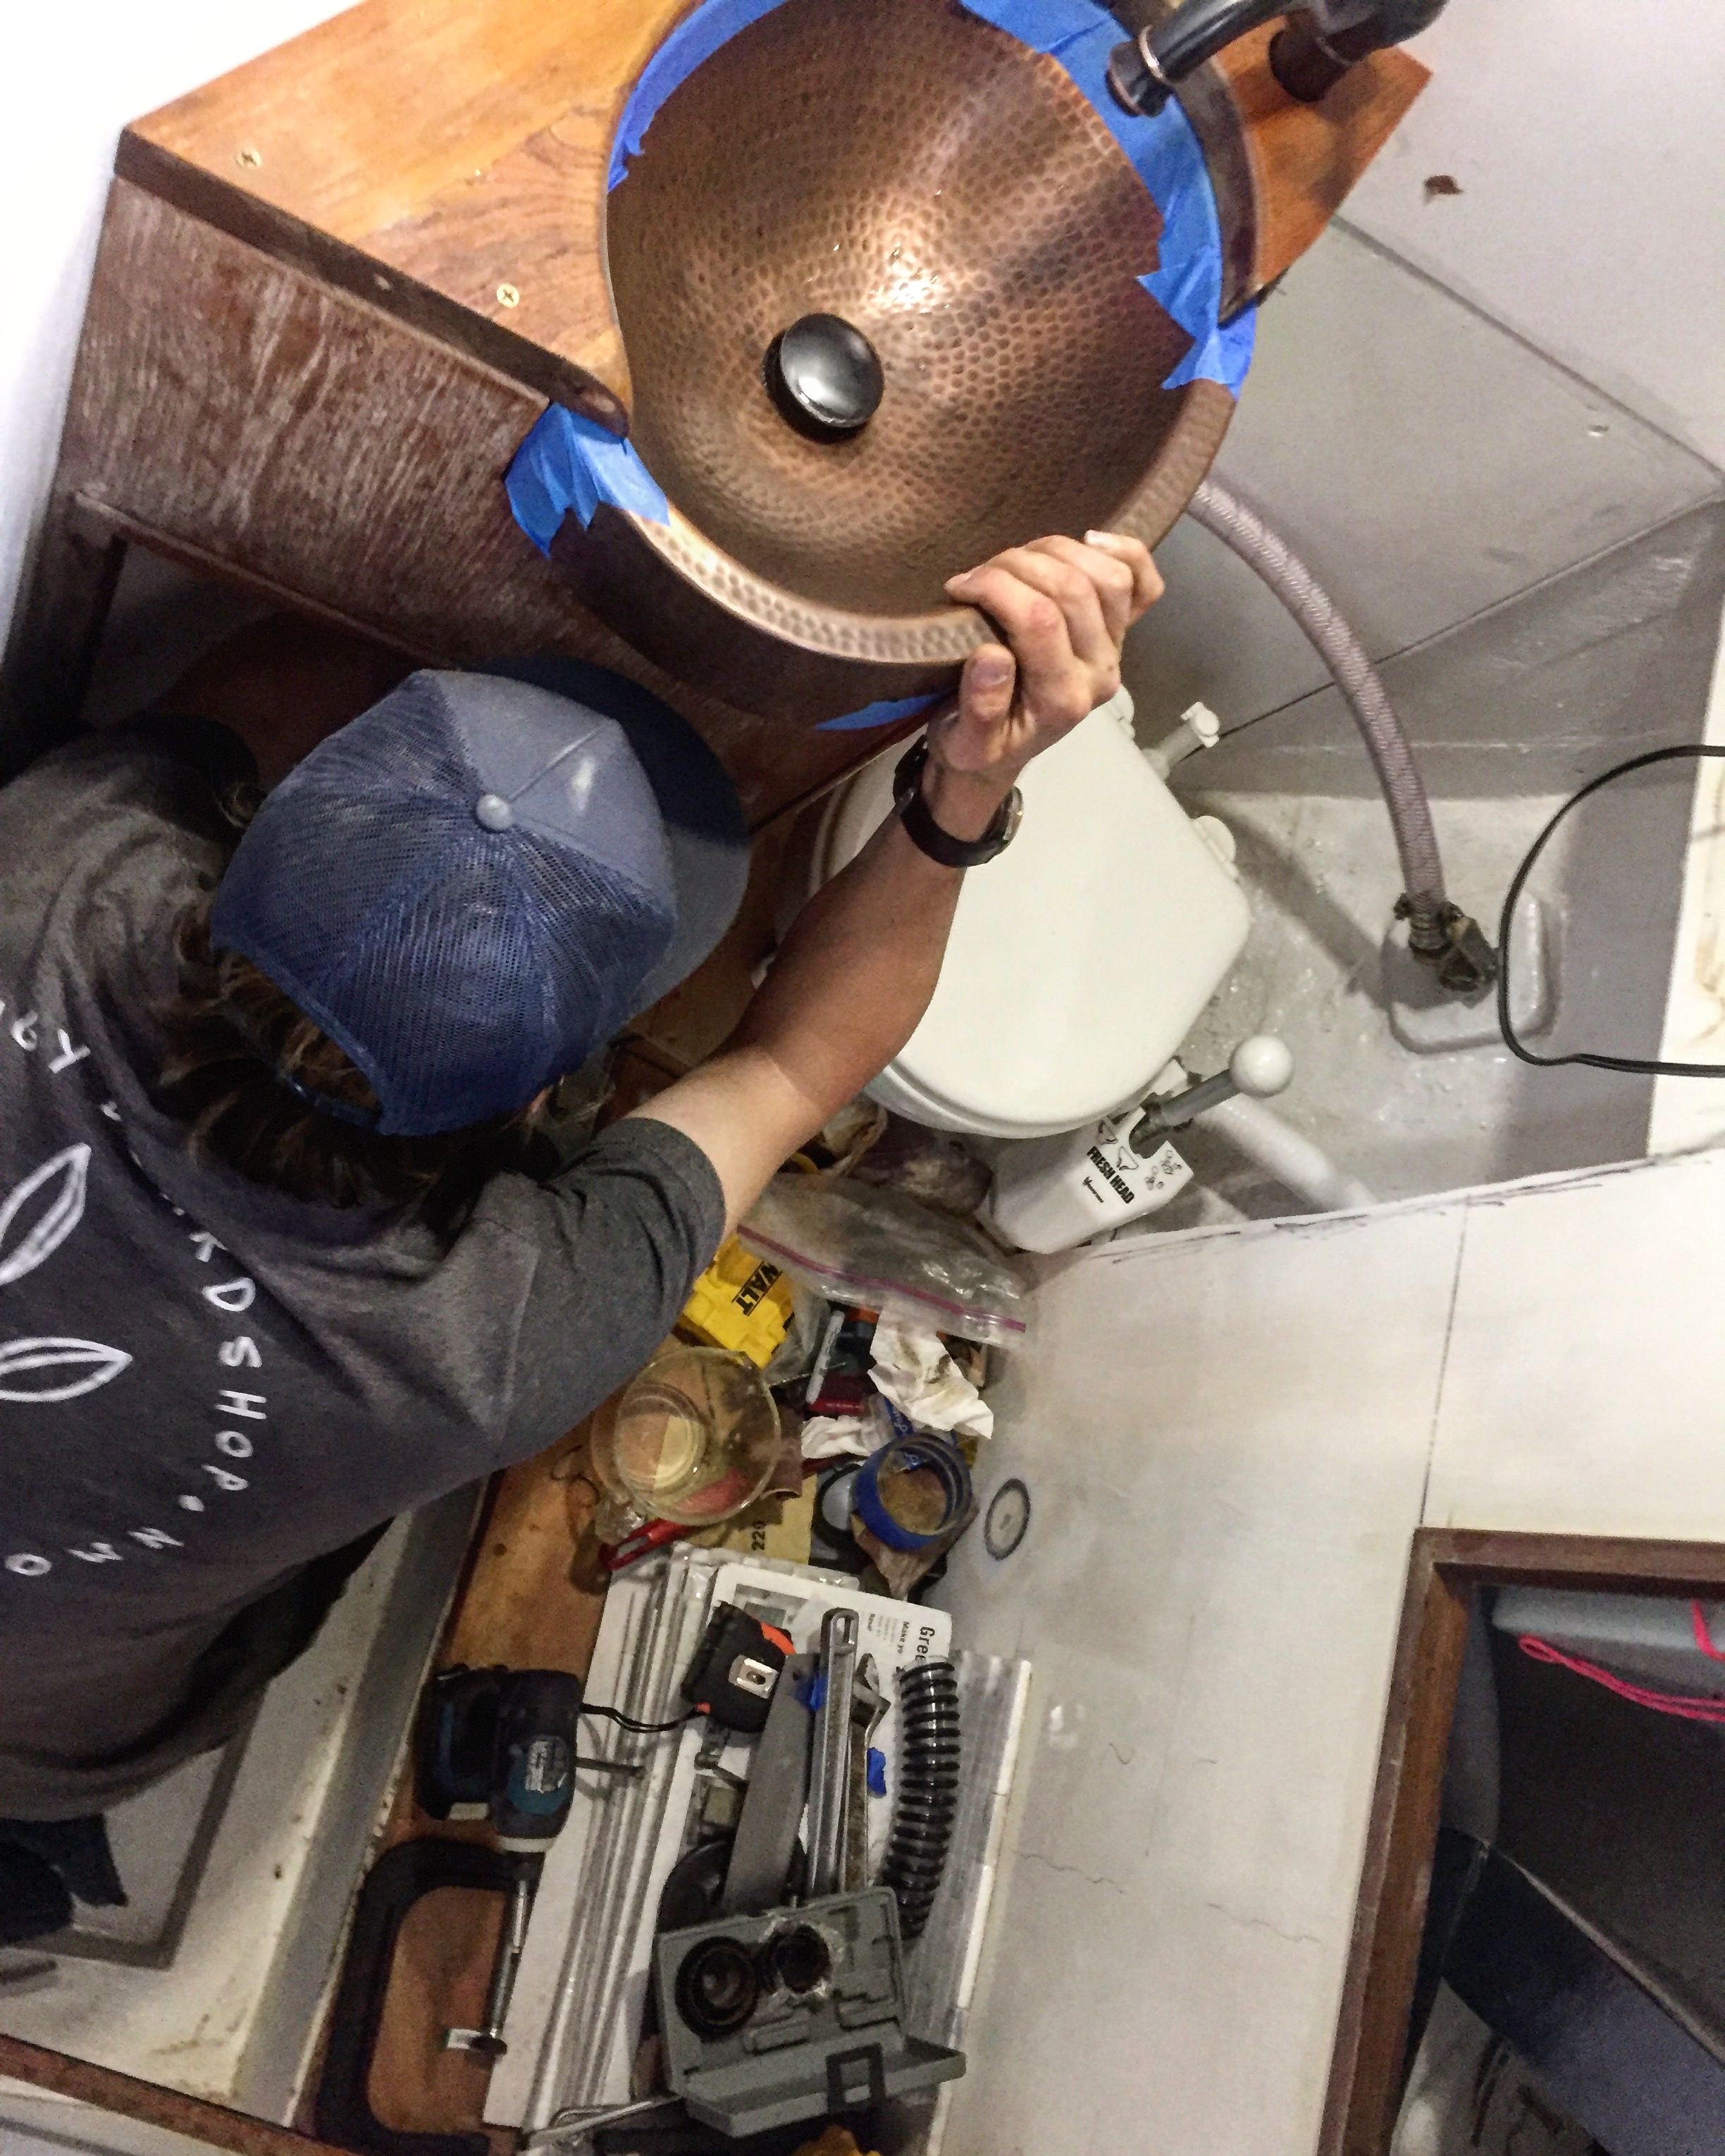
Teak ready for another coat of varnish and Chris ready to be done with plumbing

Check out that fresh countertop
With the sink and toilet working we kind of abandoned the refit for a while, especially because we sailed to Catalina for Chris’s birthday in February then got busy with work. Excuses aside, we were itching to finish the head so once everything calmed down we got back into work mode. Something funny we realized was that there was a 110 outlet in the stern side of the head, meaning the outlet would have been exposed to water in the original wet head design. Chris hates wiring but bit the bullet and moved it to the bow side of the head, far away from where the water would be. The original plug actually had no breaker box around it so when we moved it to the bow side of the head it got a safety upgrade as well. In addition to the hole left by the outlet we filled and faired the tiny holes left by the previous owner (not sure what they were for?) and sanded away making sure the surfaces were flat and ready for paint. While moving the outlet Chris discovered dead space under our most-forward cabinet so we made the executive decision to cut out the false wall and build a shelf for soap, TP and other misc. things. The shelf is deep and backs all the way up to the hull which is great because the shelf is also removable so we can now access the sea cock underneath which was an absolute pain in the a$$ to get to beforehand.
Chris after sanding
After many days of “glorious, glorious sanding” (thanks Mads, we say this a lot now) the head was ready for fresh paint. The color scheme beforehand is what I like to call asylum white, so we decided to go for something much more subtle. Do you know how many different shades of white there are?! 52. There are 52 shades of white and don’t even get me started on the white variations. After debating whether we wanted eggshell white, oyster white, or lace white we decided on oyster; not because the color was any different than the others but we just wanted to stick with the nautical theme (lol). So yeah, we slapped some oyster white oil-based paint on our freshly prepared walls and it made a huge difference. The paint actually had some texture to it, so the light was absorbed better than before when it reflected straight off the glossy white asylum veneer. Nothing like being blinded at 2:00 a.m. when you need to pee. Speaking of the light, Chris hated it. So he headed to one of our favorite places Mike’s Consignment in hopes of finding something better and guess what? Not only did we find something better, but we also found a light that had a red light for those night time bathroom adventures. Speaking of Mike’s you can find all of our old cabinets, sink, faucet and other things for sail (see what I did there?) in case you want your very own piece of Avocet! Probably not, but hey, just throwing it out there!
Not bad!
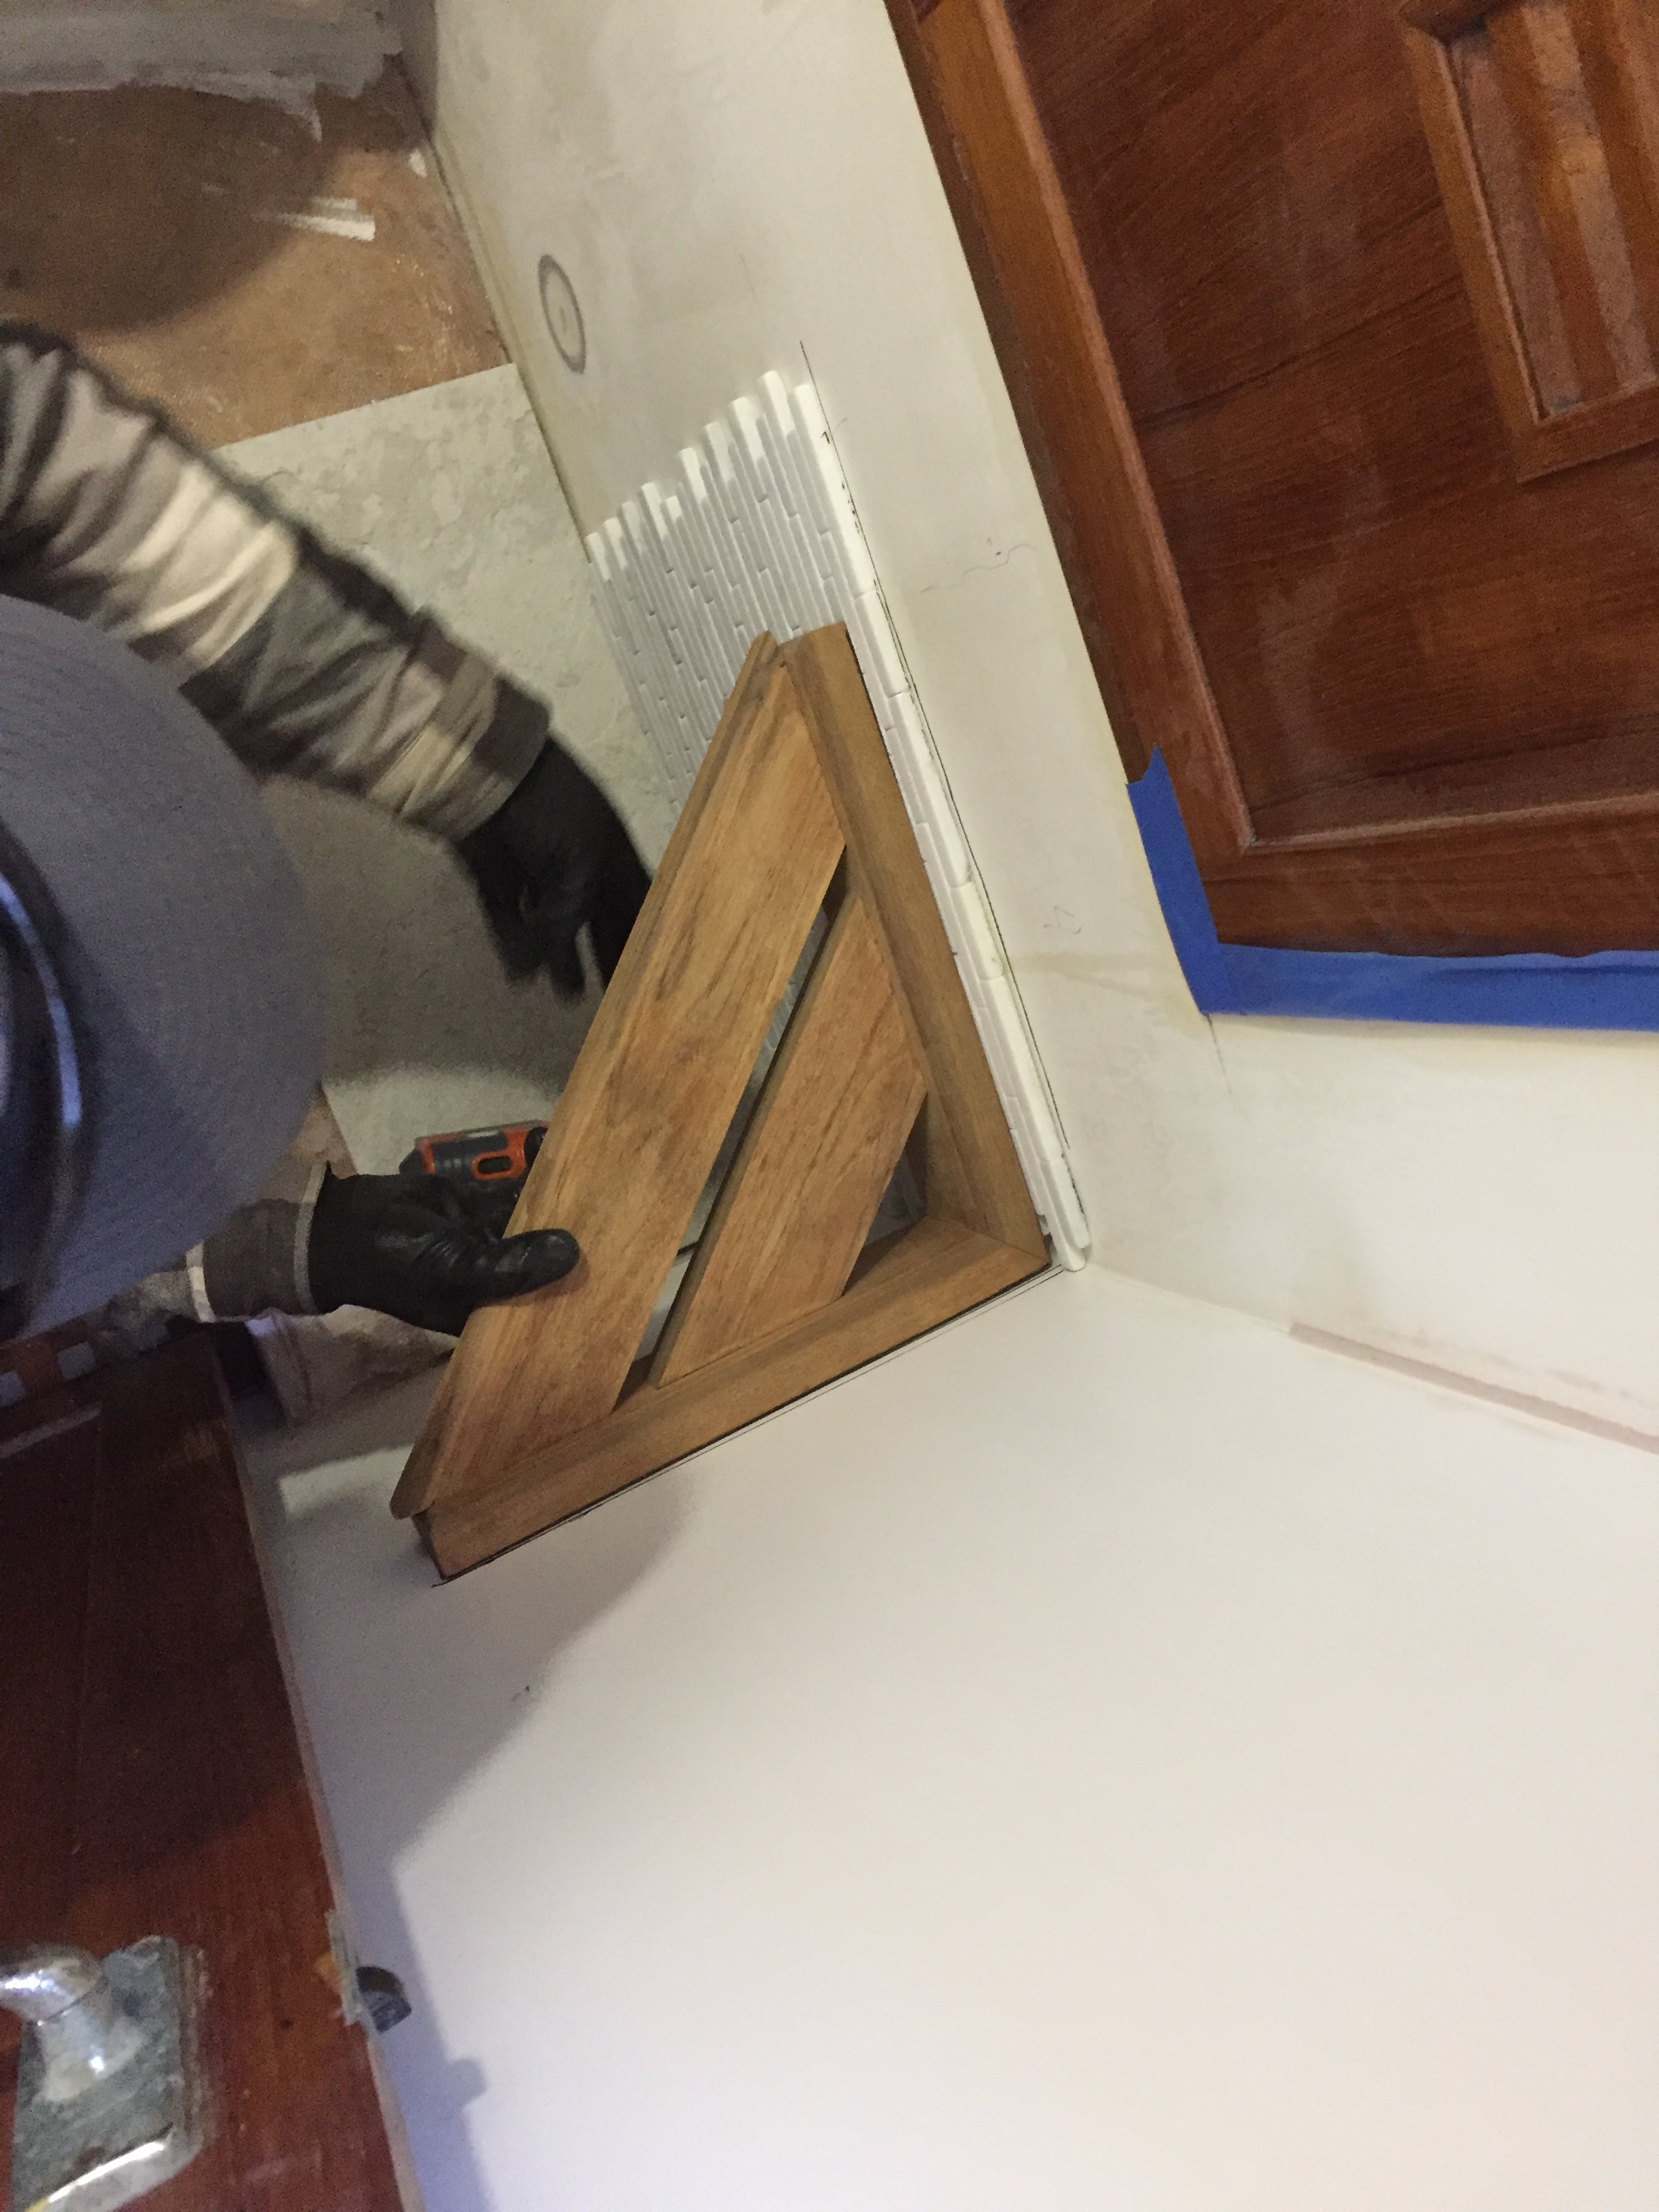
We decided to build a little bench in the shower area so we can sit and shower while underway, so Chris got out the measuring tape and grabbed some leftover teak to make something beautiful. He did not disappoint either, the bench may be small but it really ties the space together and works good enough for our sized butts. However, I much prefer it as a footrest while shaving my legs or as a shampoo and conditioner shelf.
After the fresh paint job and the bench added we were ready to experiment with tiling. Neither of us had tiled before so after watching many YouTube tutorials, talking with our expert friends, and a lot of “we can do this” pep-talks we got into it- or should I say Chris got into it. I was working the day Chris decided to install the tile, so I had no physical hand in the installation besides choosing the tile itself. Chris decided to use epoxy as the adhesive since it is (in theory) more flexible than cement, and as you may or may not know: boats flex. Once the tile was placed Chris started to grout and learned quickly how fast you have to work before it sets! I got home when he was in the middle of grouting and man was he in the zone! After I helped him clean up we stood back and looked at the finished product and were absolutely stunned. How had we managed to transform a 4 x 4″ hideous space into something so luxury? Like, I’m sorry, is this a 1979 Cheoy Lee 41 or some luxury sailing yacht?
Built a vanity, moved the toilet, new sink, fresh paint, tiling… what am I missing? Oh yeah, a shower! I bought an awesome oil rubbed bronze handheld showerhead and faucet to match the rest of the appliances. Chris installed it easily and just like that, we had a SHOWER for the first time ever on Avocet! With a shower, Chris had to install a sump pump so back to Mikes Consignment he went and returned with just that. He also came home with a pull-switch so we can turn it on and off from inside the head. Everything was in place, the very last thing we had to do was get a shower curtain, which was a bit tricky due to the angles in our head. We attached buttons to the walls as well as the shower curtain so it can button in place when we shower and be unbuttoned it when we don’t need it. After looking on Pinterest for hours, I was inspired to install some mason jars to hold our soap, toothbrushes and etc. Once again I hopped on Amazon and found everything I needed to complete my vision. Chris attached everything and just like that the finishing touches were complete.
After 3 months of working hard, hardly working, and being so sick of walking to the marina showers we finally had a finished head. The day after we finished it Chris had a shoot in L.A. so I was honored to take the very first shower, and let me tell you… it was wonderful! I was clean and the boat was finally clean after months of project mode, it was a definite win. Of course, the fun didn’t end there though, at the end of every project we have to compile the footage and start editing for your viewing pleasure. Since this project took place over the span of months, it was pretty difficult to get the timeline in order so we decided to split the videos into 2 parts. As I write this I am multitasking waiting for the footage to render in Final Cut Pro for part 2, so I promise part 2 will be out soon! Until then, you can catch part 1 on our YouTube Channel and down below. Thanks for reading this far! Don’t forget to follow us on Instagram and Facebook to stay up to date with our latest whereabouts. Until next time, Cheers!
~ Admiral Riss


0 Comments