Addressing the Stereotype
When we bought Avocet in 2018 we knew right away there were a number of issues that needed to be addressed. Although well-loved by her previous owners she had been sitting for a time and it showed primarily in her moldy lockers and tired varnish. Before moving aboard, Chris, his mom, and his brother took on the job to clean and prepare her for our full move aboard after our college graduation in Tahoe. Even though I hated being stuck in classes while Chris was in Southern California, I can’t say I truly missed out on removing the mold mites and maggots from under our stove (ew!)
In regards to living on a boat, there is generally an “acceptable” amount of moisture in the cabin, however, Avocet was clearly living up to the “Cheoy Leaky” stereotype and we worked hard to abolish that nickname once and for all. One of the first projects we ever did was replacing three of her original seven chainplates from 1979 with newly fabricated 316L stainless steel chainplates and properly bedded them with Sikaflex, making sure we could access all seven easily. We started with the two cap shrouds and backstay as well as removing the stem piece and inspected it. Chris’s brother said this was the bare minimum in order to make the boat safe to sail in the short term. I’m glad we did that because almost all of the chainplates we replaced had hairline cracks. Following that major replacement and repair, we realized our toe rail was actually a significant source of our leaks. Unable to address the situation right away (partially due to monetary reasons, and partially due to us wanting to use the boat) we decided to put a “band-aid” on the issue by sealing the seam of where the toe rail met the deck and hull with a bead of TDS which mitigated the issue, for two years until we were able to fully dive into the project.
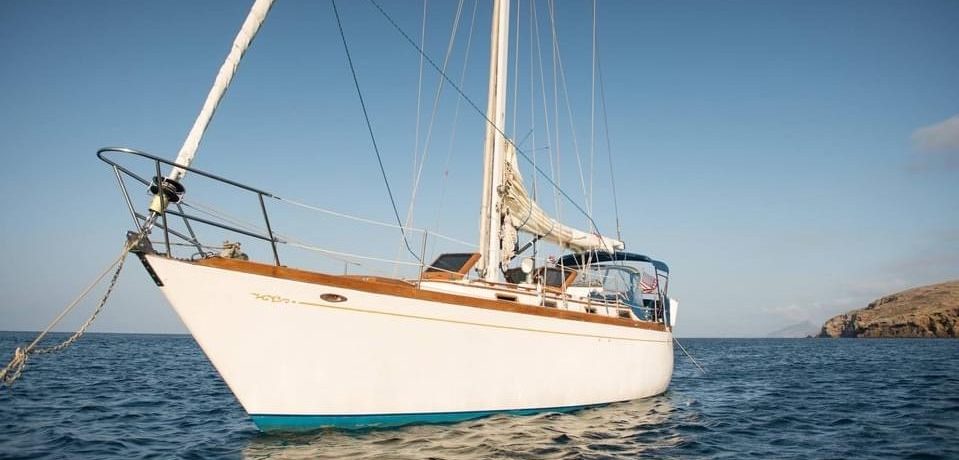
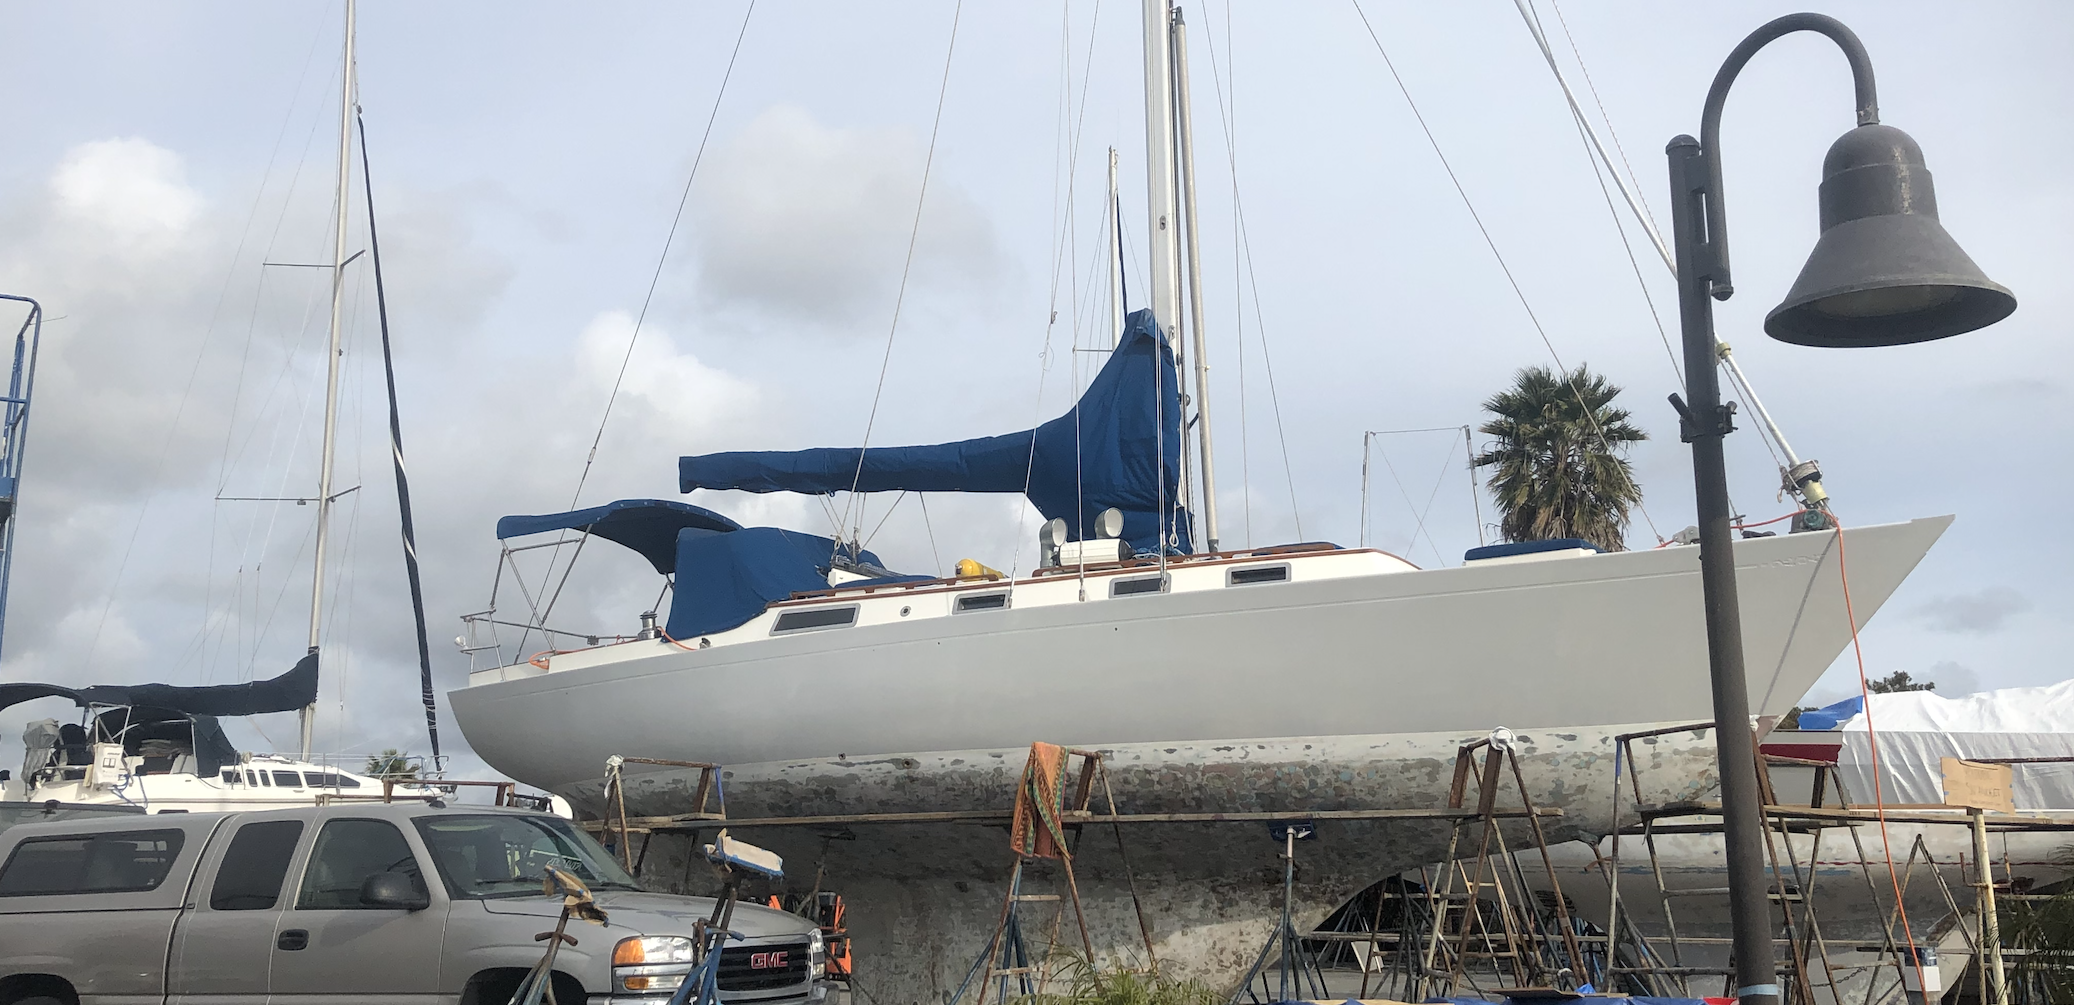
Avocet, Summer 2018.
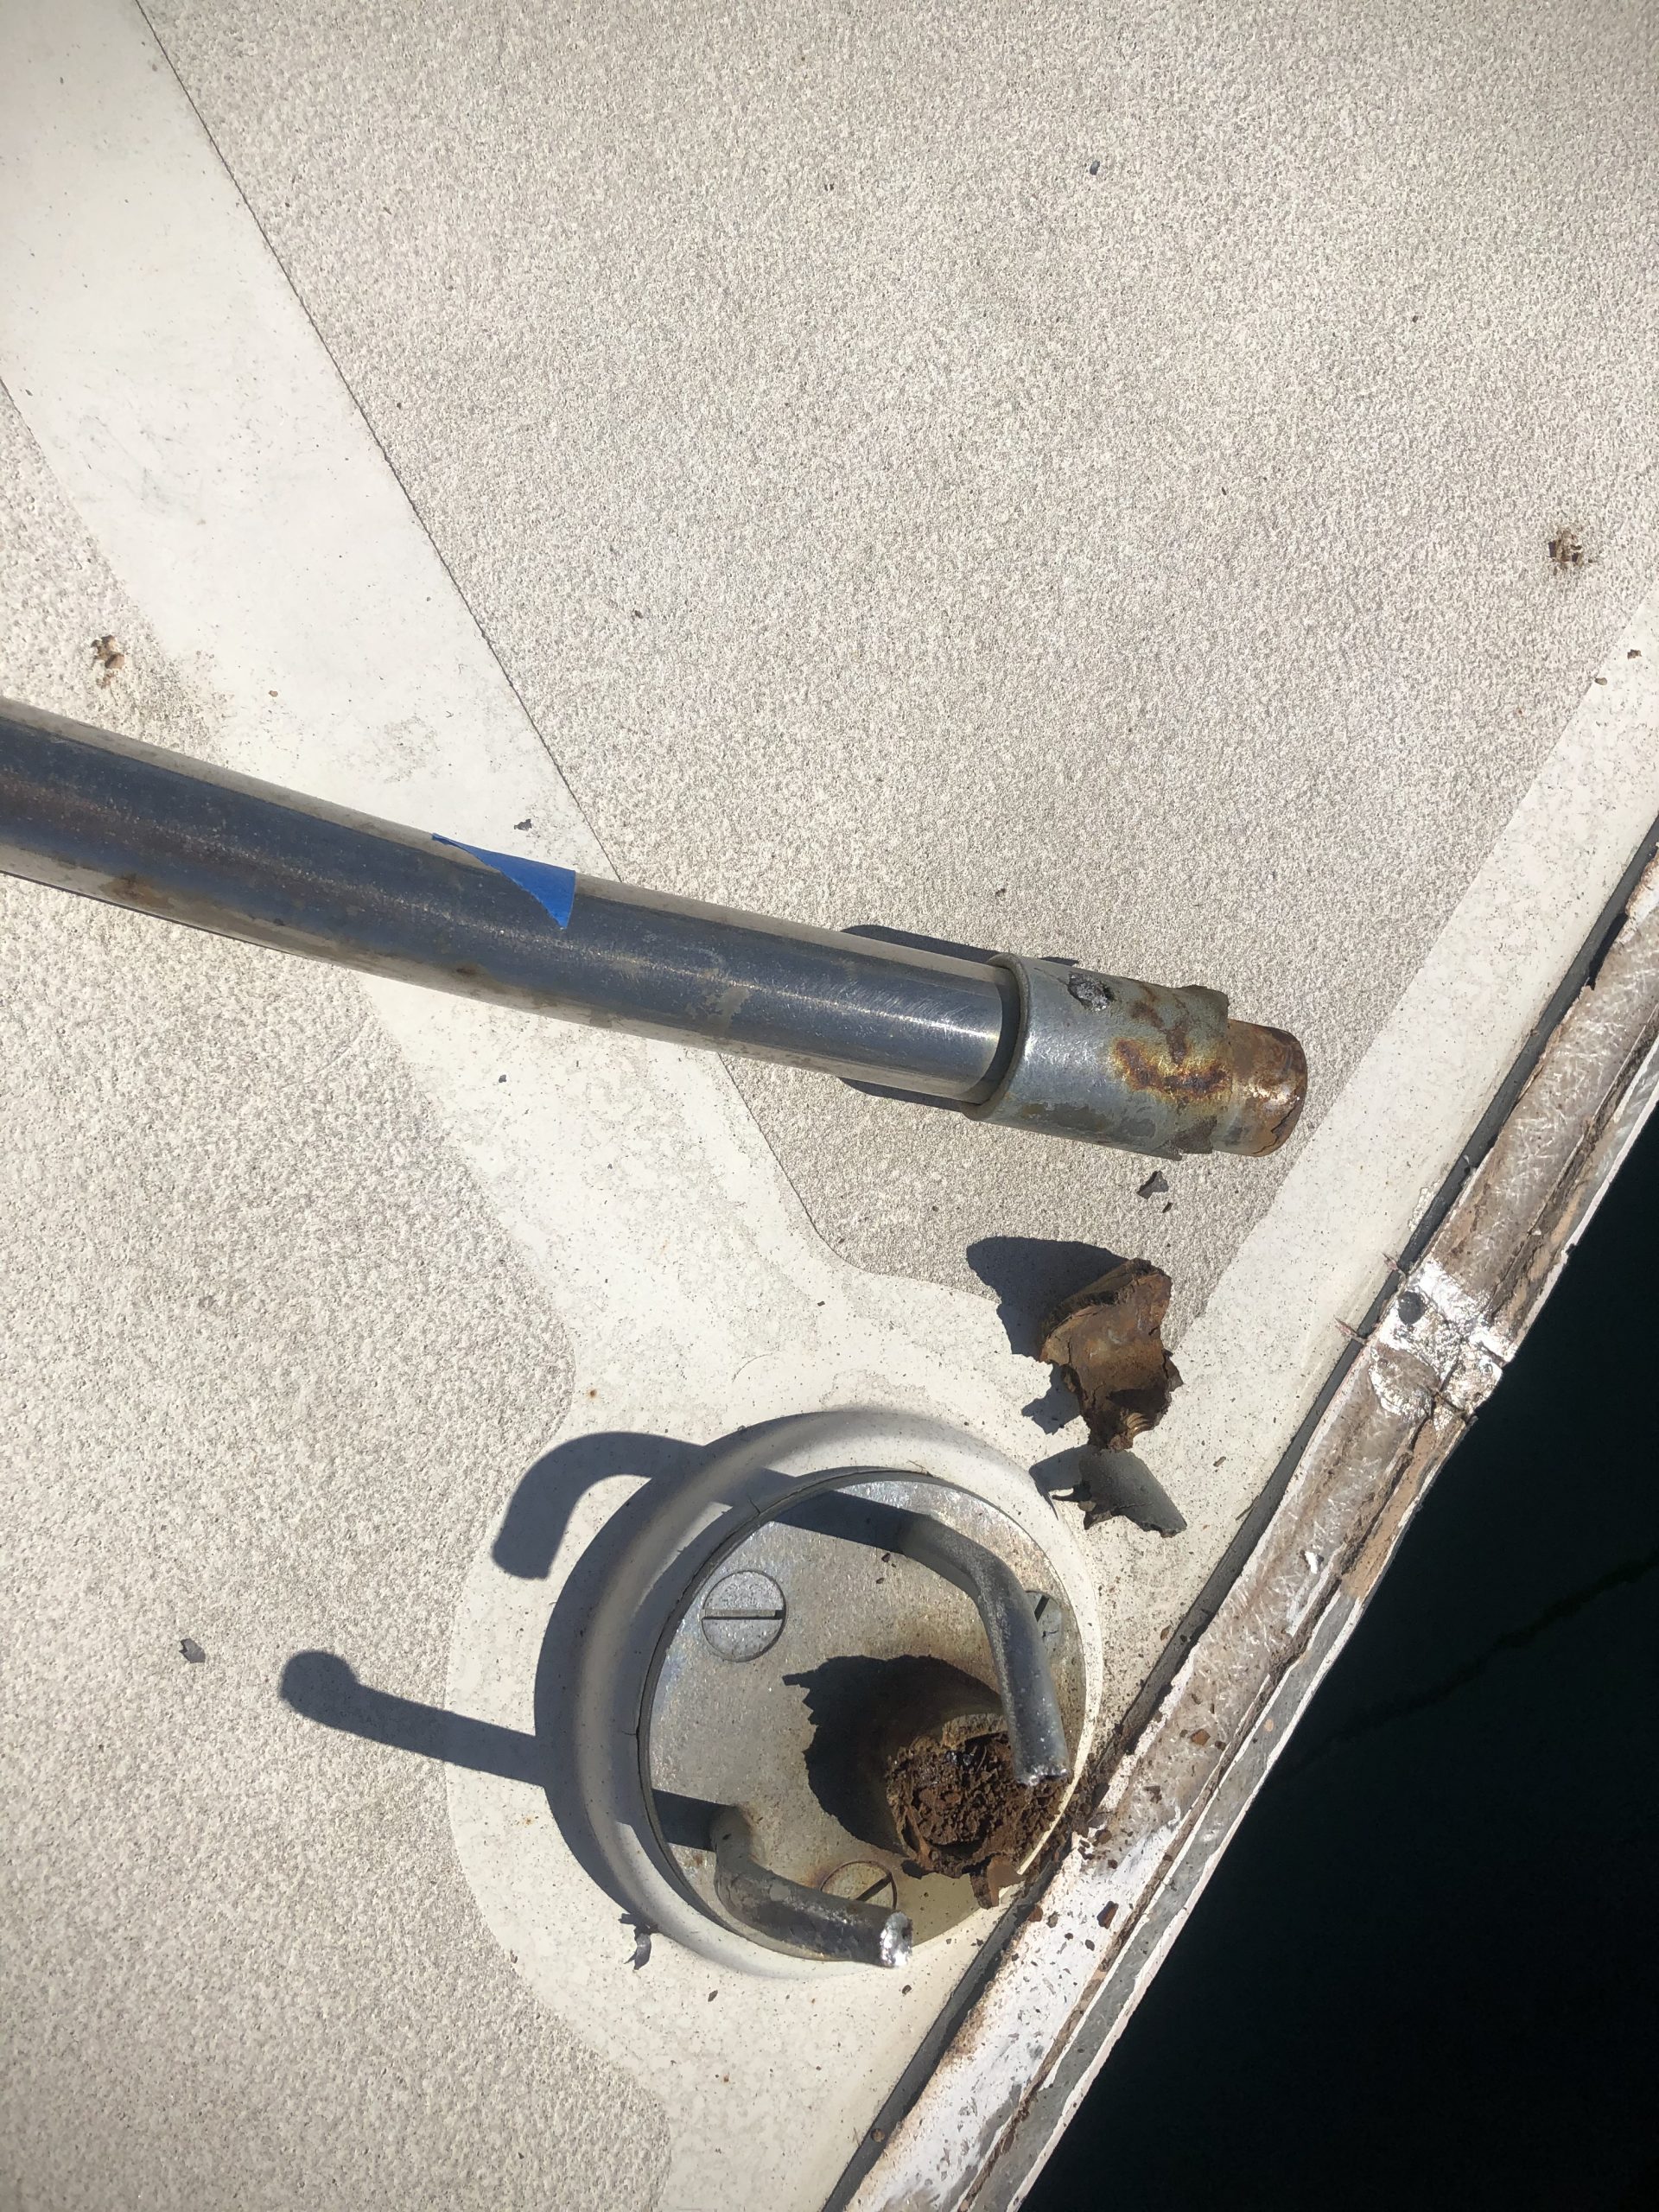
Dissimilar metal corrosion between the stanchion and base, featuring the exposed deck to hull joint to the right
We worked diligently in our slip preparing for our March 2020 haul out to ensure that our time in the yard would be devoted to projects that couldn’t be handled in the water. With that said, while in our slip we removed what was left of all 180+ “stainless” bolts that connected our toe rail and genoa tracks, many of them crumbling in my hands making it clear where the water had found voids to creep below deck. Back in the 1970s, when Avocet was built, Cheoy Lee Shipyard in Hong Kong was known for their strong fiberglass construction. Unfortunately, they were also known for their poor quality stainless. Although our deck to hull joint was glassed over beautifully on the inside (which is uncommon amongst other ship builds) the galvanically corroded stainless bolts and bronze nuts that connected the toe rail to the deck compromised the otherwise solid structural integrity in addition to being prone to leaking.
Our deck to hull joint on Avocet was actually constructed quite brilliantly. In the boat mold itself, Cheoy Lee glassed in a “shelf” where the deck would sit in and on the hull. As the deck was dropped into place a generous amount of sealant was applied in the joint, and the two pieces were glassed from the inside. The 41′ x 1.25” x 4” toe rail was bent into place, drilled every 12 inches down through the wood, the deck, and the hull-shelf before finally being bolted in place. Had the bolts not failed, this design would have created sufficient support for the deck and hull and we would have had no reason to remove the toe rail. With the fastener holes filled, we had a fresh canvas and two options moving forward: repair the damage and install a new toe rail, or implement a completely new design and install a bulwark.
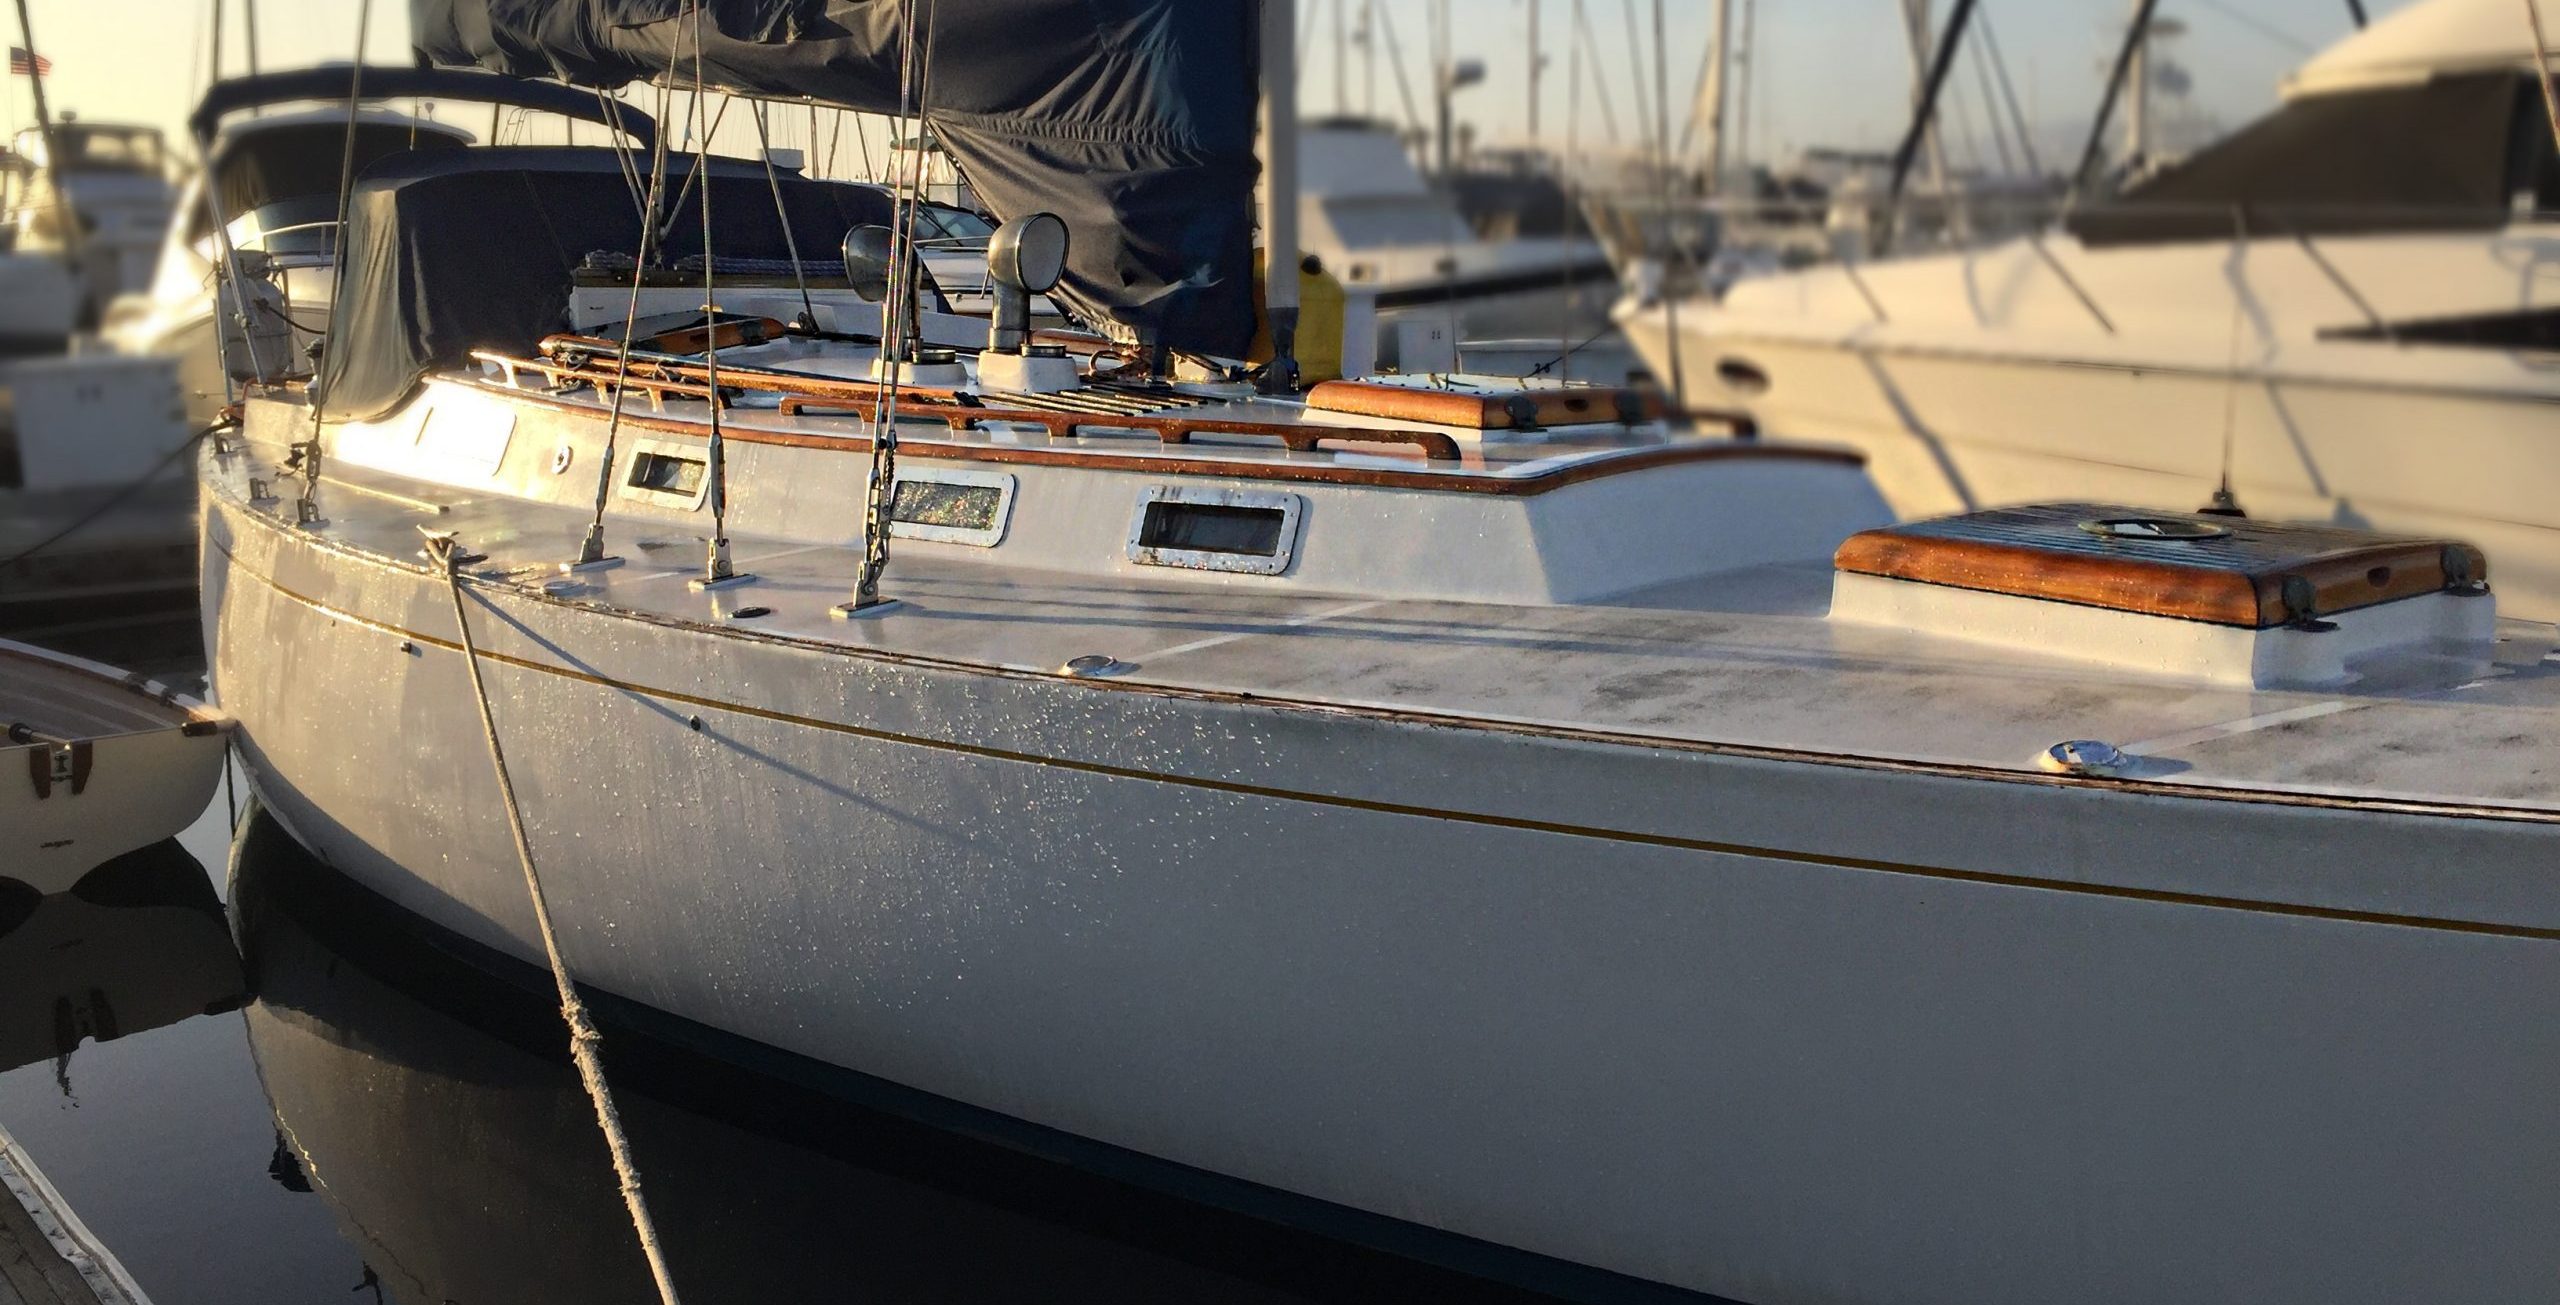
Looking vulnerable
What’s the Difference?
Legendary sailor, author, and teacher John Kretchmer notes that when choosing an offshore cruising boat you should consider a vessel with a “deck-to-hull-joint that does not rely on bolts, screws, rivets or adhesive for strength or water tightness. The joint is heavily glassed on the inside, the entire way around the boat, and solid stainless steel rods [are used] for mounting stanchions [that] are recessed into the bulwark thus eliminating potential leaks [that are] so common when stanchion bases are thru-bolted.” With this idea in mind, we began to further explore how we could implement a strong bulwark and increase Avocet’s already bluewater standard.
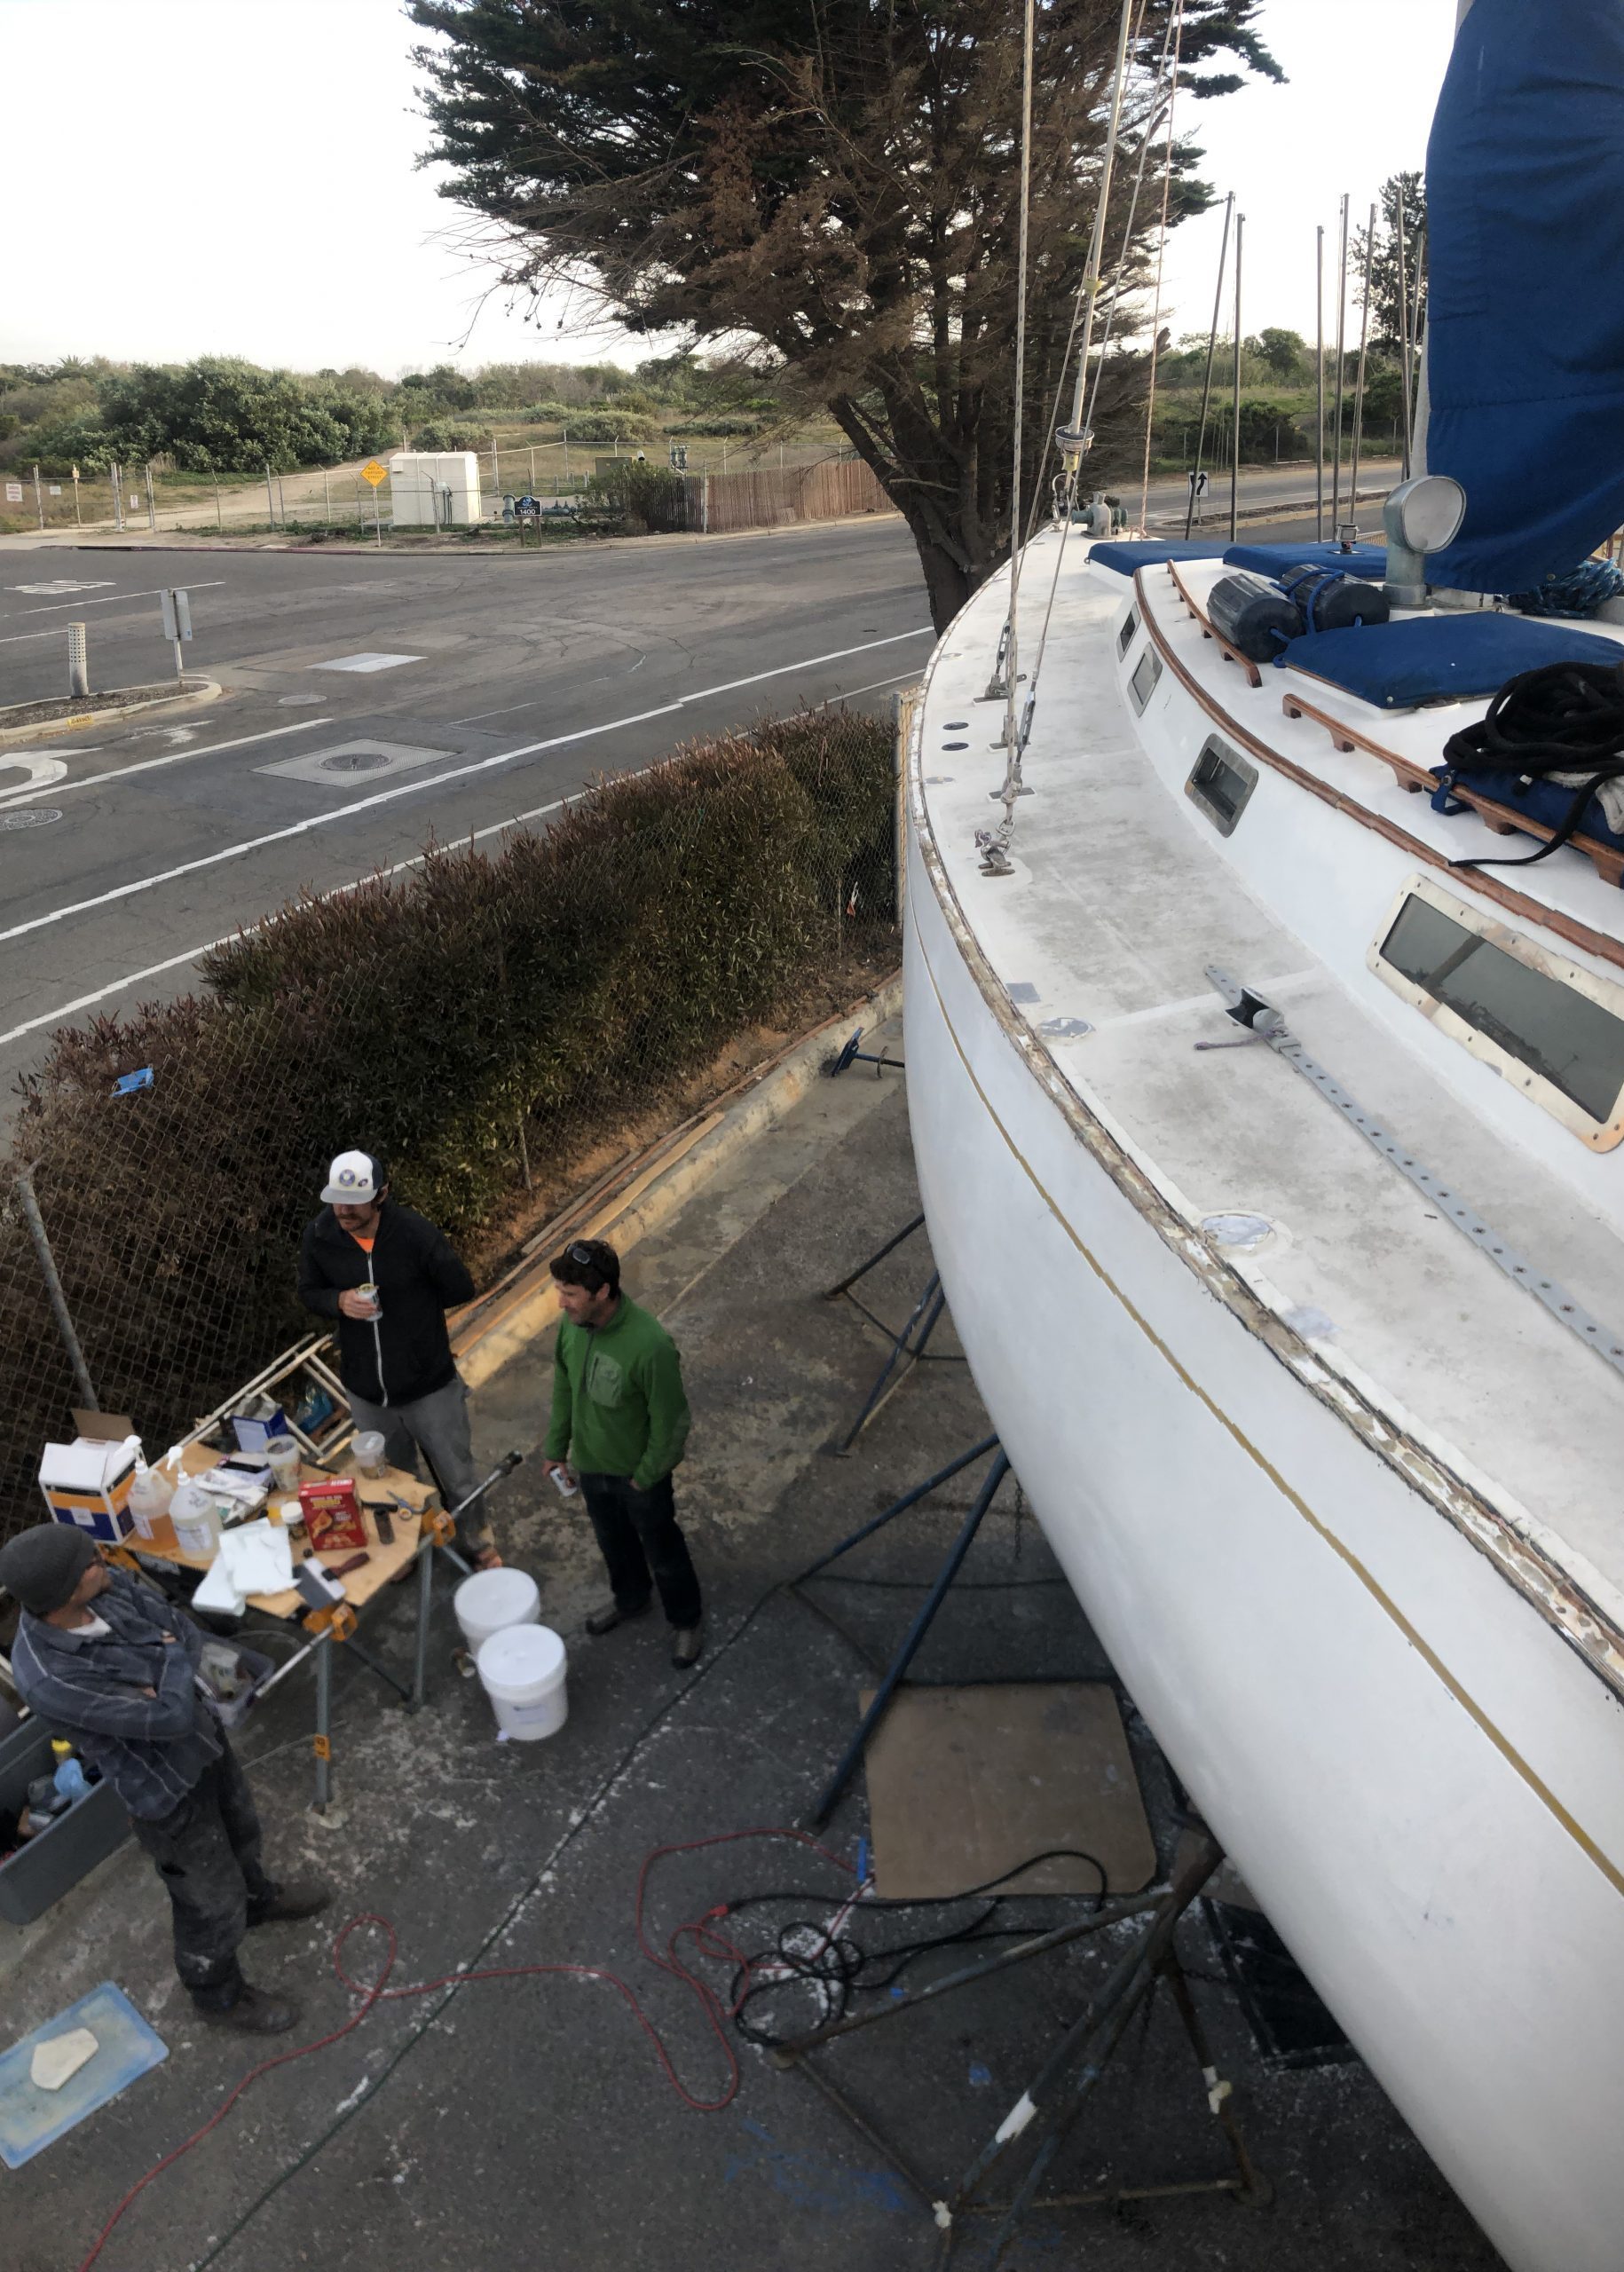
Overhead view, exposed deck to hull joint in the yard. Chris conversing below.
Choosing the bulwark option we had the ability to glass a seamless deck to hull joint which would reinforce the interior glass as well as reconcile the damage left by the bolt holes, further eliminating the need to re-bolt. The reason our deck to hull joint was not initially glassed externally was that this was not only labor-intensive but also expensive. Avocet’s era of boats were primarily built in Hong Kong and Taiwan because of the cheap labor and readily available sought after materials, making boat production quick, reliable, and most importantly, economical. To glass over a deck to hull joint would have added many hours of glassing and fairing, it would also mean re-gelcoating that whole area and blending and wet sanding it to match the topsides and deck. Whereas the quicker approach is to construct a toe rail and through bolt it, which is a tried and true technique used across many designs, as long as your hardware is not corroding. Of course, this need for a raised bulwark is not necessary if you have a boat like a Hans Christian 33 that has an integral bulwark, and with that begs the question: what is a bulwark versus a toe rail?
In the most basic way explained to us by various boat designers, a toe rail is a piece of wood, aluminum, or fiberglass that usually does not exceed more than 3 inches tall and is bolted, every few inches, through the deck. Anything bigger, which typically is bolted to the stanchions to support it, will be called a bulwark. While researching our design Chris came across a blog called Far Reach Voyages where they created and installed bulwarks on their Cape Dory 36 using a Lyle Hess Bristol Channel Cutter design. Their extremely detailed blog is what inspired our project, and gave us the first push in the right direction.
Step One: Destroy
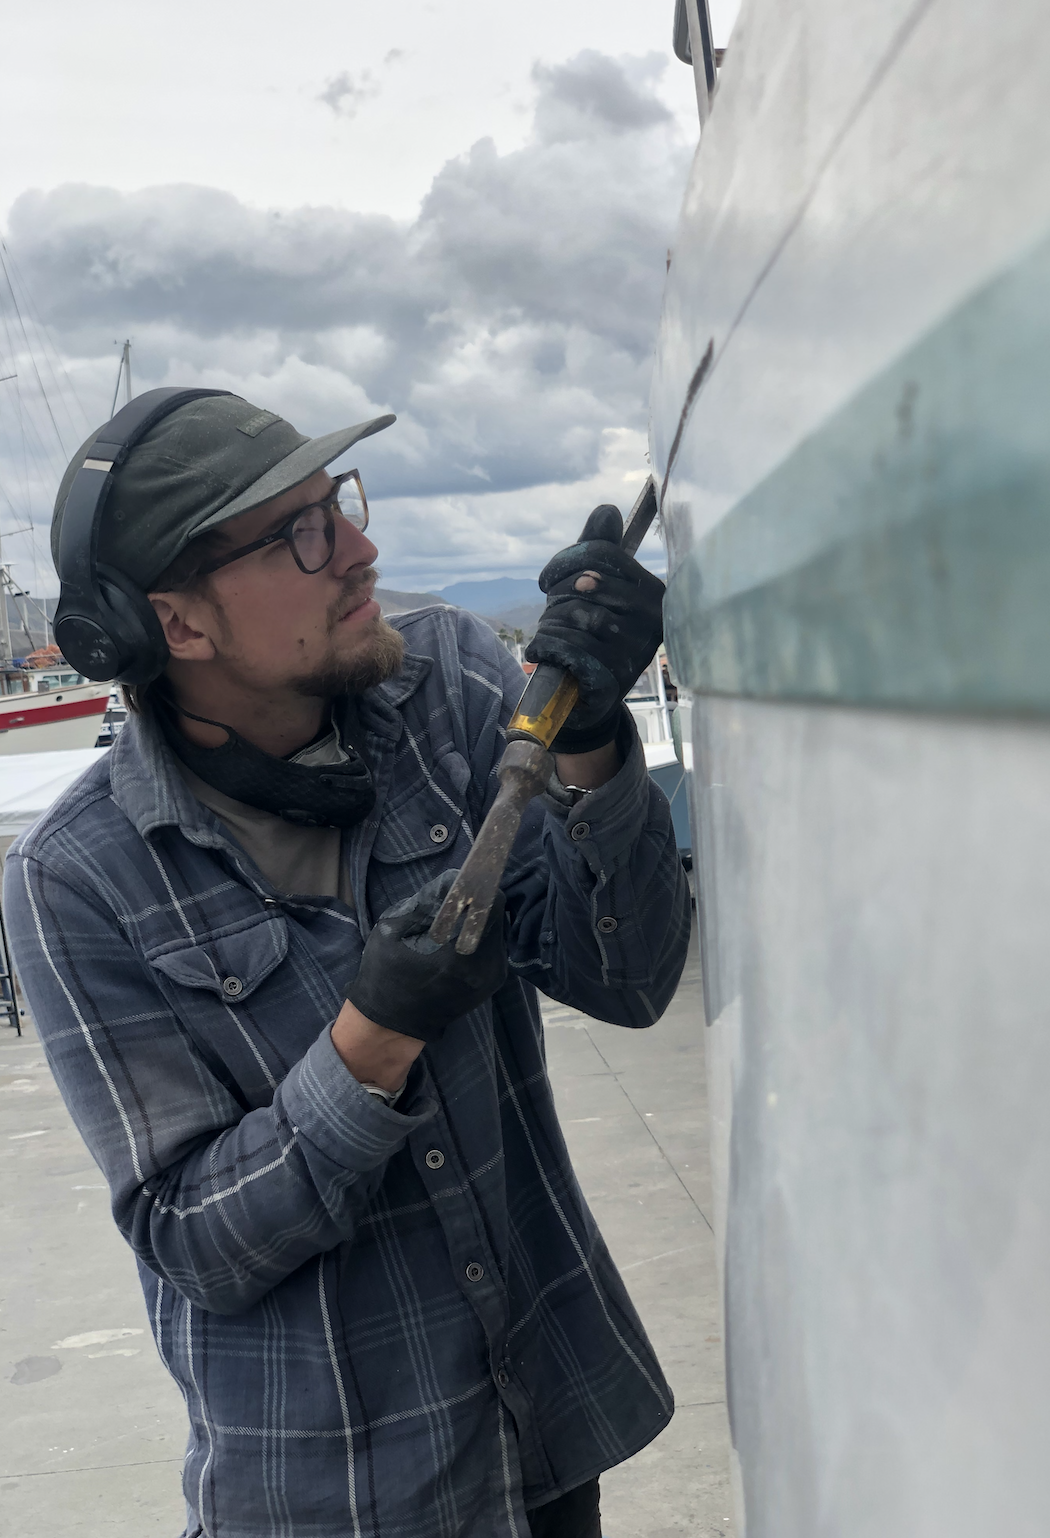 The first few days in the boatyard were spent sanding, popping blisters, and trying to combat tricky weather. Our first project after sanding the bottom was to take an angle grinder with a flap disk and remove the remaining caulking that used to be under the toe rail. Once the deck to hull joint was clean(ish) Chris measured 3 inches down from the deck and marked a dot every few feet, then took a 15-foot batten that we found in the yard and used it to connect the dots then hot glued it to the hull so it could act as a guiding edge for the router with a .5” wide straight bit to cut into the glass 1/4” deep, and removing 3” of glass on the hull and the deck. Chris used this method of removing the material in the preparation of joining the two surfaces with two layers of 6” wide 1708 FRP that would fit into the space created with room on top for fairing. No more, and no less, this way allowed for a speedy fairing process… at least in theory.
Once the deck and hull both had a 6″ wide 1/4″ deep recession on either side of the deck to hull joint, Chris did one last round of sanding with 60 grit before rounding over the sharp edge from the deck to the hull with a 1/2 inch round-over bit with the router, which would allow the glass to adhere to the area since fiberglass does not like to conform to hard bends. Since we had anticipated laying up 2 layers of 1708 fiberglass we had made the rounded edge deep enough for the glass to be inlaid with enough room on top for the fairing compound to act as a barrier when the sanding that soon followed.
Step Two: Glass
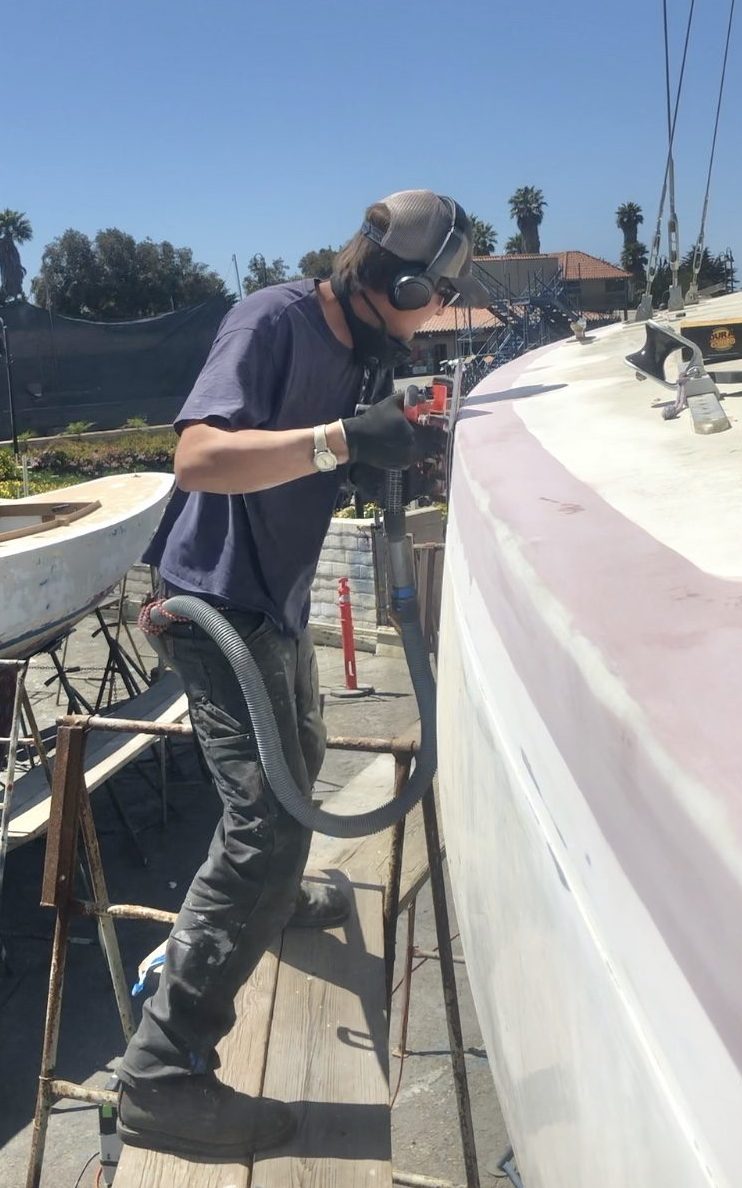
With the surface prepped we were finally ready to glass! Chris decided to start with the transom because of the small size, then later working on the starboard and port side rails. He first applied a thin layer of thin epoxy using US Composites medium hardener to the working surface. Working in six foot sections, gave Chris just enough time to lay the fiberglass down on the rail and work each piece into the edge with a fin roller to remove all the air bubbles, and be ready for the next layer to be put on as soon as I was done wetting out the next section. Using a nifty work table we had set up in the yard, I cut the glass and wet it out using a fin roller and squeegee before passing the glass off to Chris. By using this method we preserved our epoxy supply and upped our efficiency by working as a team- I cut the glass, wet it, passed it off to Chris who then laid the glass and the cycle continued all 88 feet over the course of two days, three hours per side.
Twenty-four hours after the glass had set, we lightly sanded using 80 grit on the orbital sander to remove the amine blush and any high spots before we began applying fairing compound. Using US Composites fairing filler and epoxy we applied three rounds of fairing compound, using our flexisander longboard with 80 grit to sand between each application to ensure a smooth surface before rolling on tuff-stuff barrier paint which we used on not only the bottom but the topsides as well since as a cruising boat the entire hull is subjected to being constantly wet and rolling in the swell. We used the barrier paint as blister protection as well as for its ultra high-build primer characteristics which filled the small cracks, low spots, pinholes, and things we couldn’t see with the naked eye while fairing the bare gel coat and fiberglass. The barrier paint revealed the high and low spots, showing us where we needed to sand more and fill more before continuing onto the awlgrip primer.
We kept our hands busy with various other projects while we waited another 24 hours for the barrier paint to dry, and slowly our Avocet had begun to look a bit less derelict with the grey barrier paint hiding her once-fairing-compound-pink deck to hull joint and various splotches showing where the imperfections in the hull were. Chris rolled the awlgrip primer late the following night after waiting out a rainstorm. Two hours later, Avocet was completely off-white and only had to be sanded one more time before being ready for paint, but first Chris had to prepare for the later installation of our bulwark bases.
Step Three: The Bases
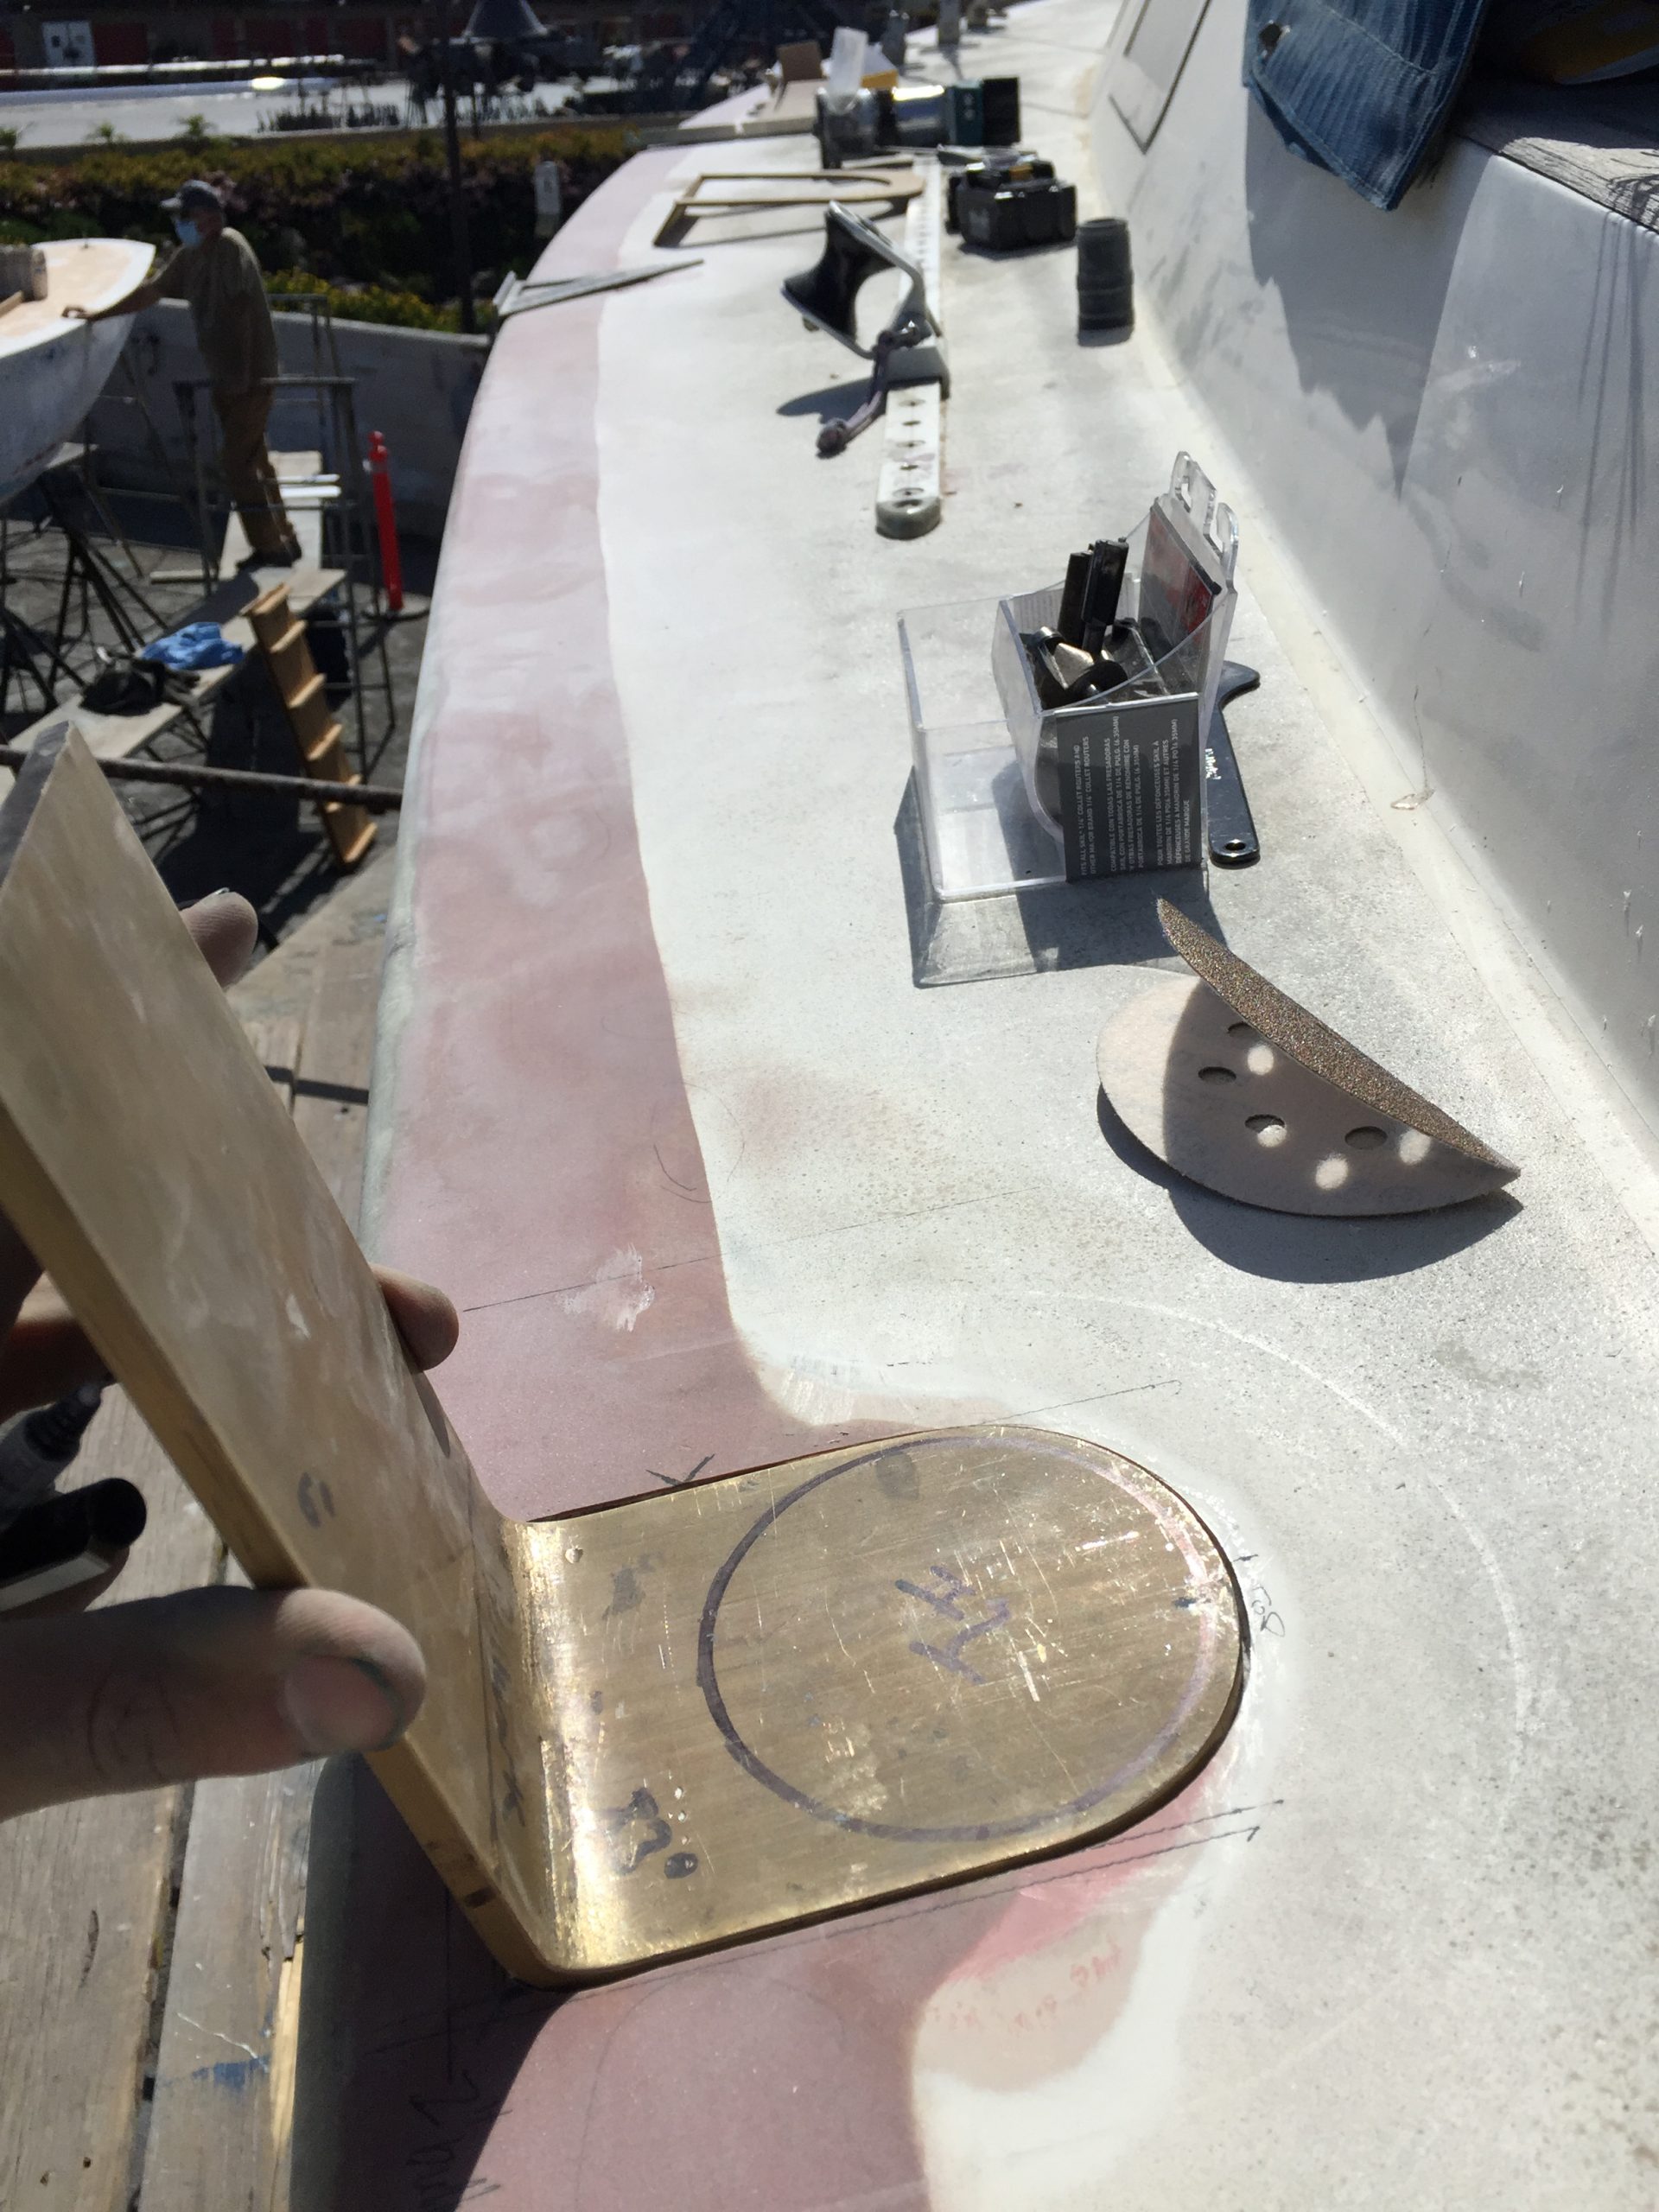
Unlike the toe rail, our bulwark design would provide the wooden plank a vertical mounting surface at every stanchion base, further preventing the need to redrill unnecessary holes into our freshly sealed and leak-free deck. After careful consideration on how to retrofit our existing stanchion bases (which are 3.5 inches in diameter) Chris concluded that the best bulwark base design would be an “L” bracket. This design meant we would be able to keep our existing stanchion bases and we wouldn’t need to weld the two pieces together which would have been very costly.
After running our bulwark plan by boatwrights, engineers, fabricators and of course big brother Jon we concluded that this design was solid so we went ahead and purchased nine 24” x 4″ x .25″ thick 316L stainless steel bars which we then cut in half, because it was cheaper to buy them at twice the length than it was to buy them at the actual length needed. Once cut into 12″ sections, Chris used an angle grinder with a 150 grit floppy disk to remove the matt finish leftover from being cold-rolled in the manufacturing process. At this point the stainless was ready to be turned over to the capable hands at Garhauer Marine for some fabricating and bending.
It’s all coming together!
Using a prototype “L” bracket that we had made as a template, Chris began to recess the bulwark bases down into the deck so they would sit flush when mounted with the stanchion base on top, giving off a more “factory” appearance. Since the prototype was a durable brass, Chris placed it at every stanchion base on the deck as a guide and used a router to cut the 1/4” deep pockets into the deck. Once this process of cutting holes in our so carefully faired deck was finished, the topside painting could be done and our time in the yard could finally come to an end.
Back in the water we measure the degrees for each “L” bracket to be bent (since each one is different, given the curvature of the deck) and sent the measurements to a local fabricator, Garhaur Marine. To obtain precise measurements, Chris used 2 straight pieces of timber that were about 16” long and placed one on the deck and along the hull and then measured the bisecting point. This measurement would ensure that the bulwark would be following the same sheer line of the hull itself, so Avocet’s lines would not be interfered with.
With the dimensions of the “L” Bracket bends in hand and the assistance of Doug at Garhaur, a hydraulic press was used to bend all 16 bases in a quick and effortless manor, subliminally mocking our less-than-gracefull attempt to bend our brass “L” bracket template (spoiler: we used map gas, a crow bar, and a whole lot of endurance). The hydraulic press was an amazing feat because actually dialing in the degrees on a 1/4” piece of stainless all comes down to the skill of the operator. Luckily, Doug had over 1 million “hits” with this press, so we knew our metal was in good, experienced hands.
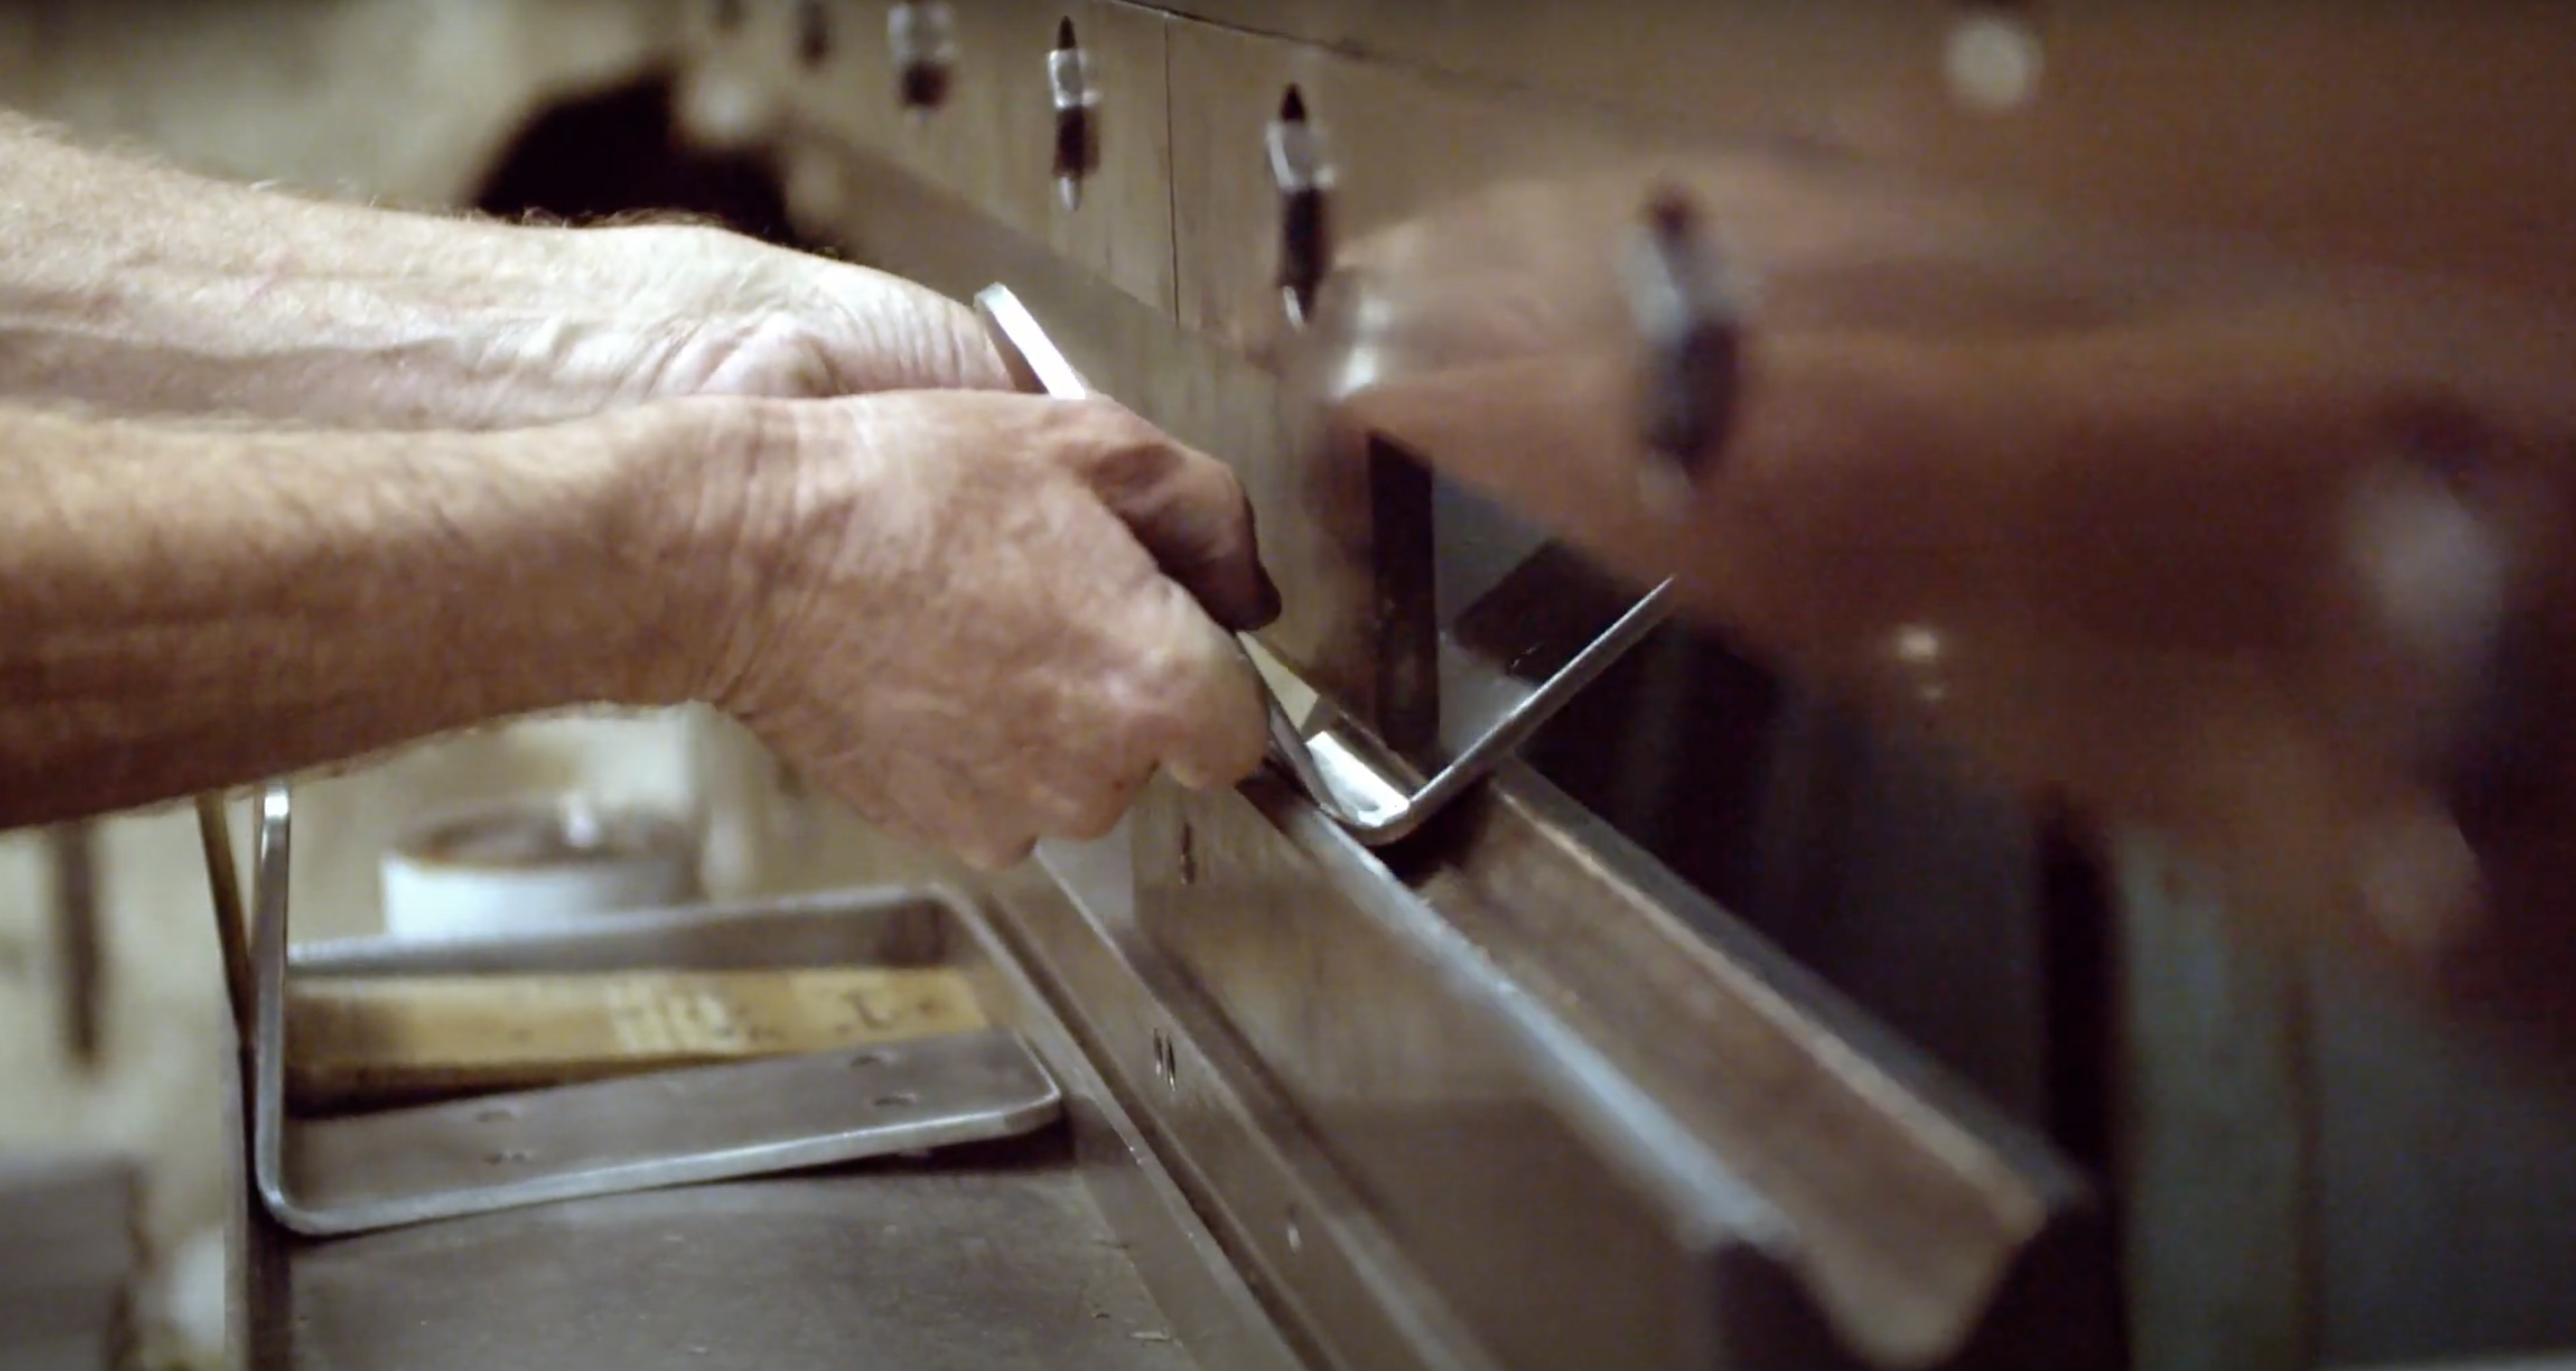
Once the bases were bent we brought them home to Avocet and began drilling holes for the stanchion bases. Before leaving Garhaur, Doug educated Chris on the proper technique for drilling through hard and thick material like what we had. Chris learned that it all comes down to using the proper tools to get the job done, which seems simple in theory but not everyone can keep a drill press onboard their boat for projects here and there. With Doug’s advice in mind and our wonderful friend allowing us to borrow his drill press, the bulwark bases were complete and ready to be installed on deck, officially.
With the “L” bracket bases sparkling on deck like freshly whitened teeth, we were eagerly awaiting the arrival of our wood for the hardware to “bite” into. The wood we used to construct our Bulwarks was a hot topic in our boathold for weeks. We first wanted to use teak again, but our wallets did not agree with that idea so we researched alternative rot-resistant hardwoods. There were many great options like white oak, purpleheart, black acacia, and mahogany but after consulting with Chris’s brother-in-law Jason he pointed us in the direction of Cumaru, known as the Brazilian Teak. Having a decision for our bulwark wood kicked Chris into high gear searching for a local reseller, finally finding one that was reasonably close with an agreeable material price and quality. We ordered 100′ of 20′ x 6” x 1″ boards from Advantage Lumber and after 3 months of eagerly awaiting the shipment to be delivered from Brazil, we finally had the Cumaru in our hands and could finish the installation!
Step Four: Creating the Bulwark
Chris spent days prior to the arrival of the wood studying various scarf joints to choose the best method to join the 3 sections of wood together into one single 42′ board. After cross-checking sources he settled on a mechanically fastened plated scarf joint which would be 32” long. Before making the initial cuts, hours went into mathematical equations sketched out on his signature yellow legal pad to ensure the cuts would be precise, since we only had one shot at getting this right or else we would have to order new wood… and who knows how long that would have taken to be delivered! Once the sketches were transferred to the wood, Chris used an accurate combo square, circular saw, Japanese hand saw, sharp chisels, an assorted amount of drill bits, 316 stainless hardware, and marine glue to construct the bulwark plank.
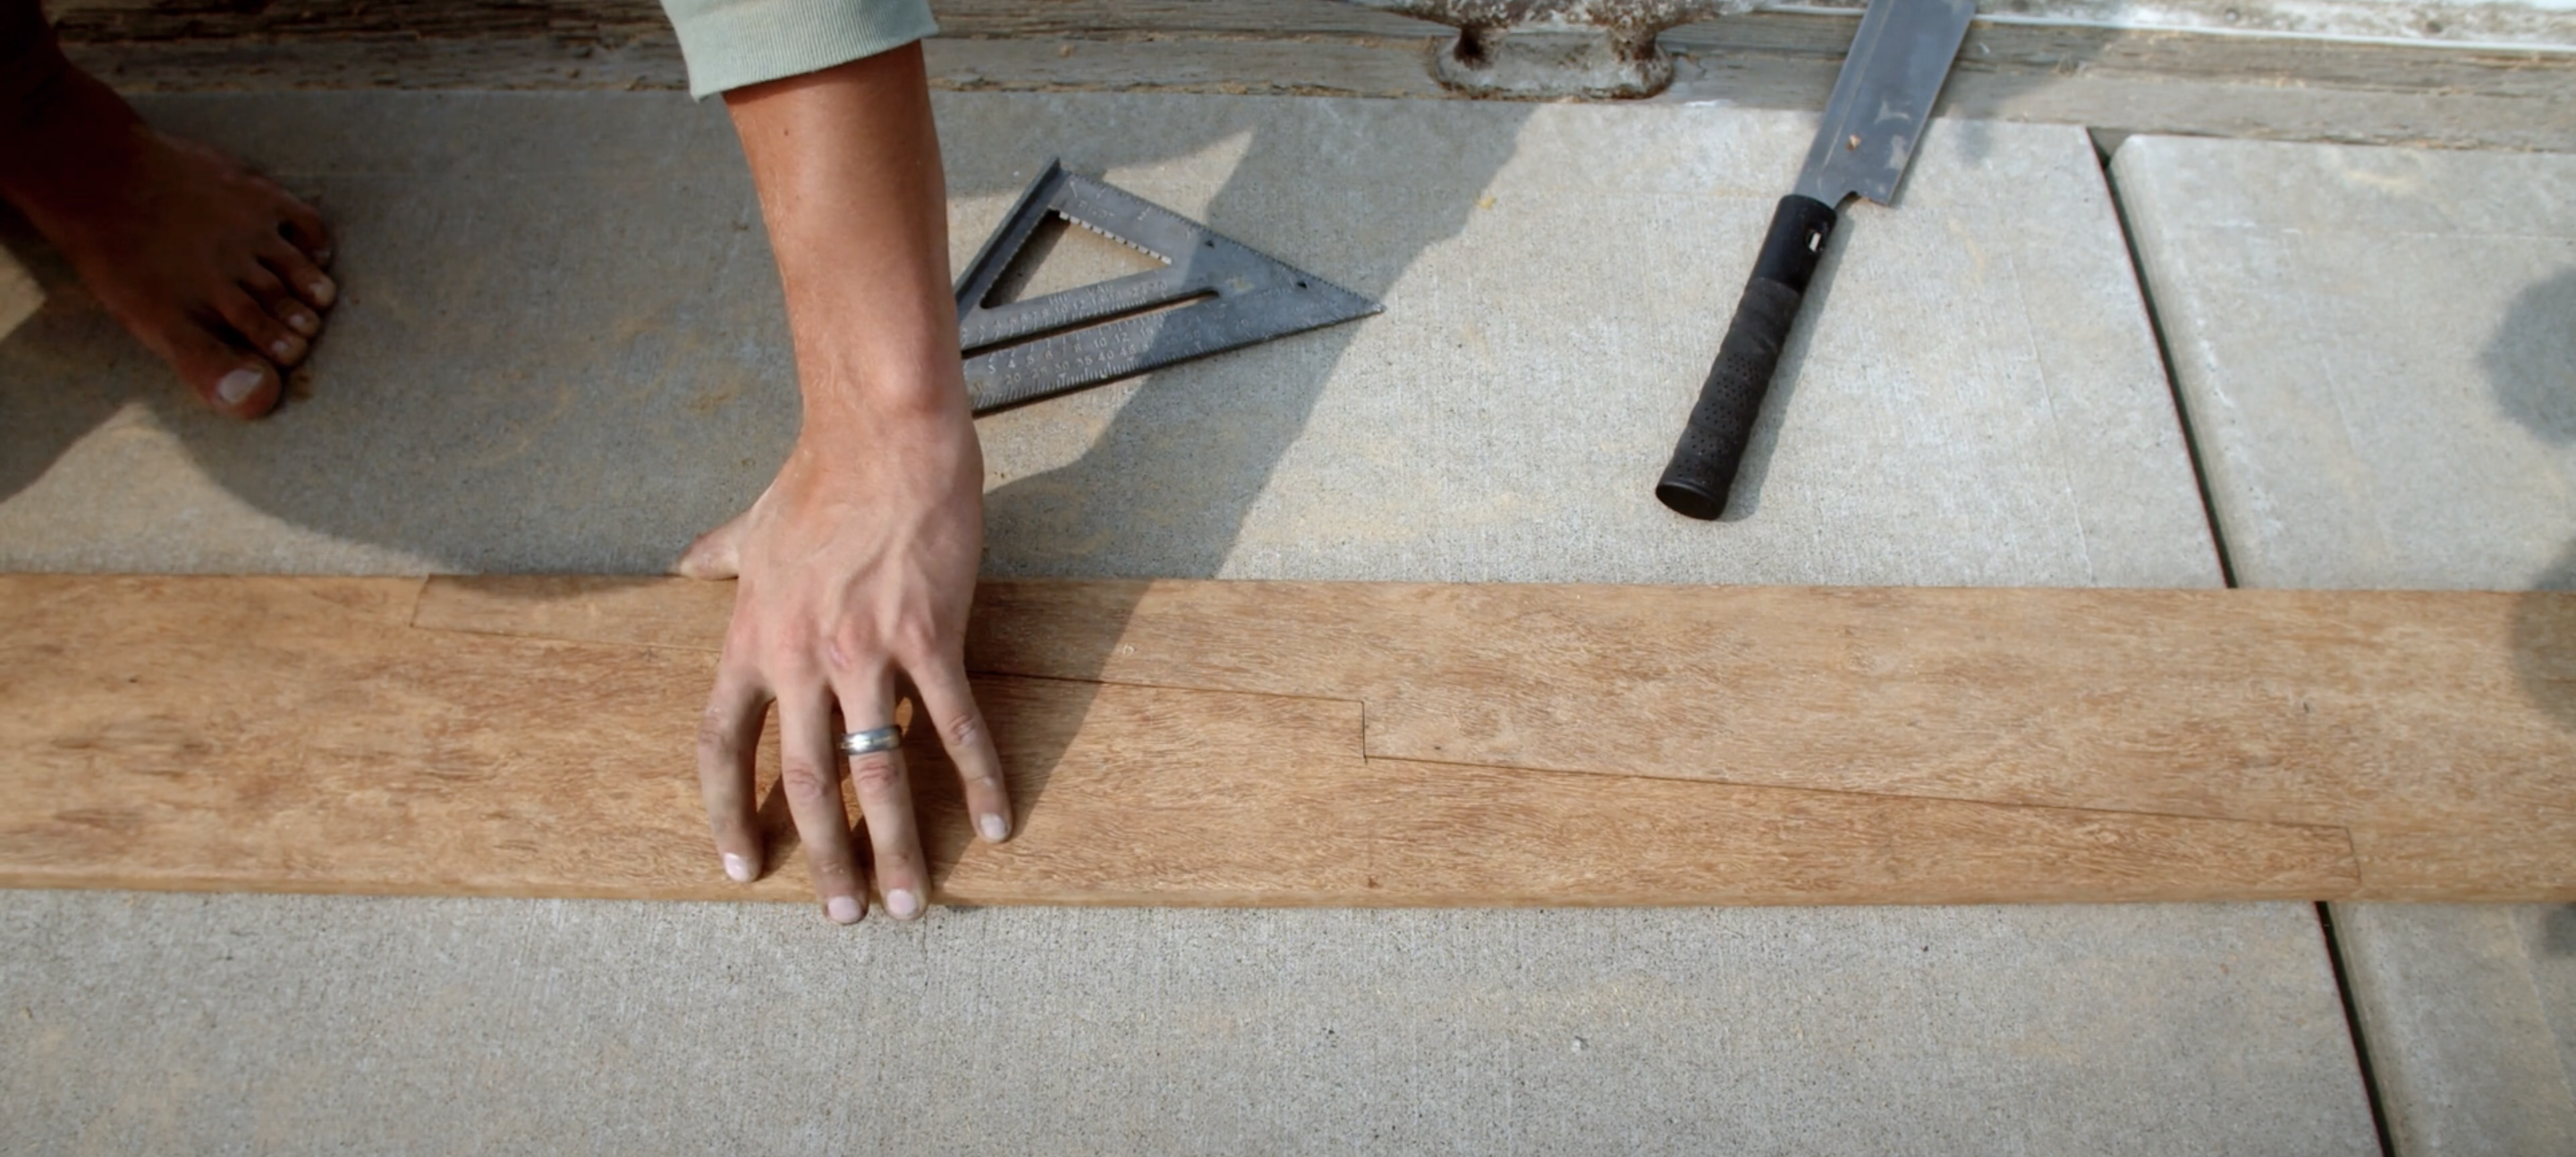
With the help of our friends, we carefully maneuvered the heavy, long, and bendy Cumaru plank to the “L” brackets where I was quick to secure the wood using C-clamps. Now dry fit in place, we stood back and admired how nicely this project had come together. We were thrilled to learn that we would not have to steam the wood to conform to its unique shape, which was ultimately a relief despite our elaborate plan to create a steam “bag” using a thick plastic bag and a turkey fryer for steam. We could finally see the light at the end of the tunnel, but there was still work to be done so Chris picked up his trusty Makita drill and began fitting the fasteners.
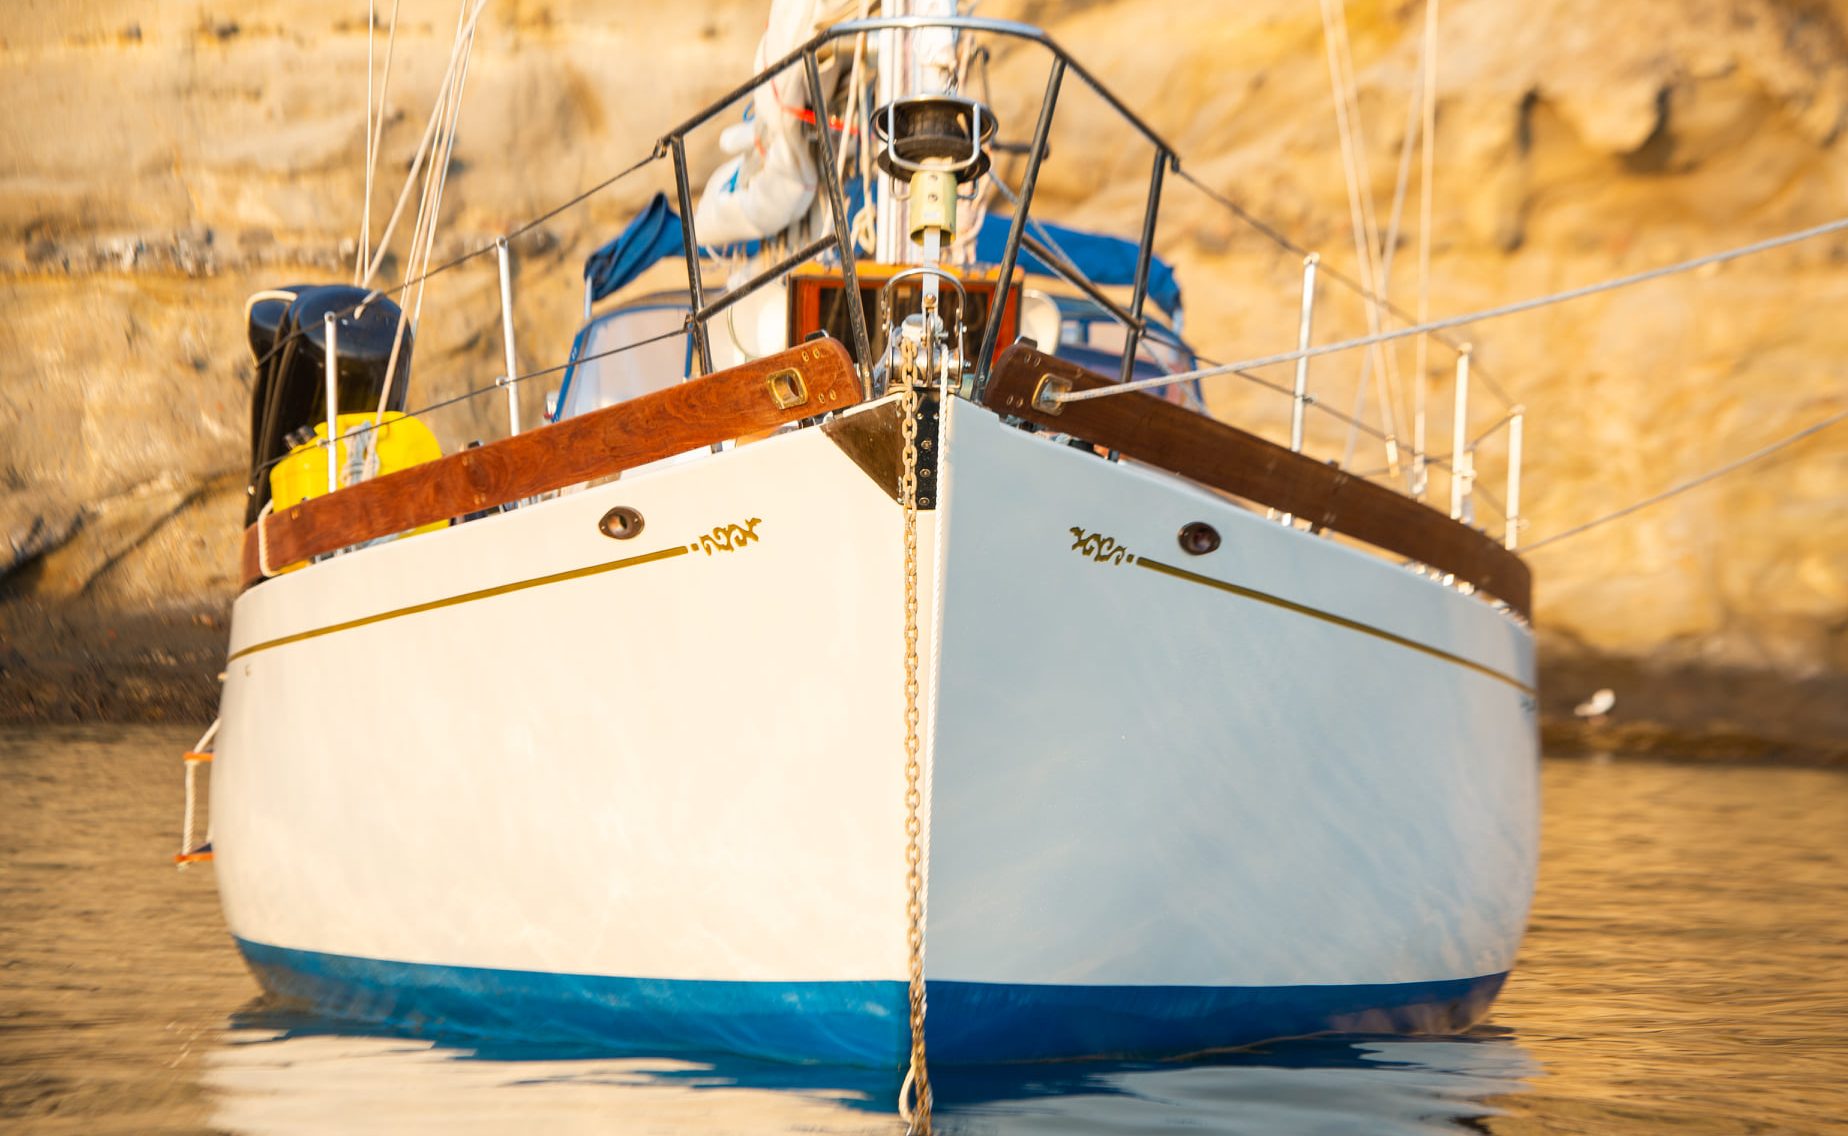
Sixty-four 316 stainless steel fasteners later we had bulwarks! The wood completed Avocet’s newly improved look, adding a hint of timeless design to her somewhat more modern construct, an admirational nod to one of Chris’s favorite yacht designers, Lyle Hess. The final pieces to be installed were the hawseholes which would take the place of our prior fairleads which we felt did not do the overall hull design justice. Our cast bronze hawse holes completed the design after Chris had sanded and polished them, leaving them sparkling before we had installed them into the bulwarks together. When the last hawsehole was in place we broke free of the dock lines that had seemingly weighed us down like shackles, and made a mad dash to the Channel Islands so we could enjoy our boat the way she was intended.
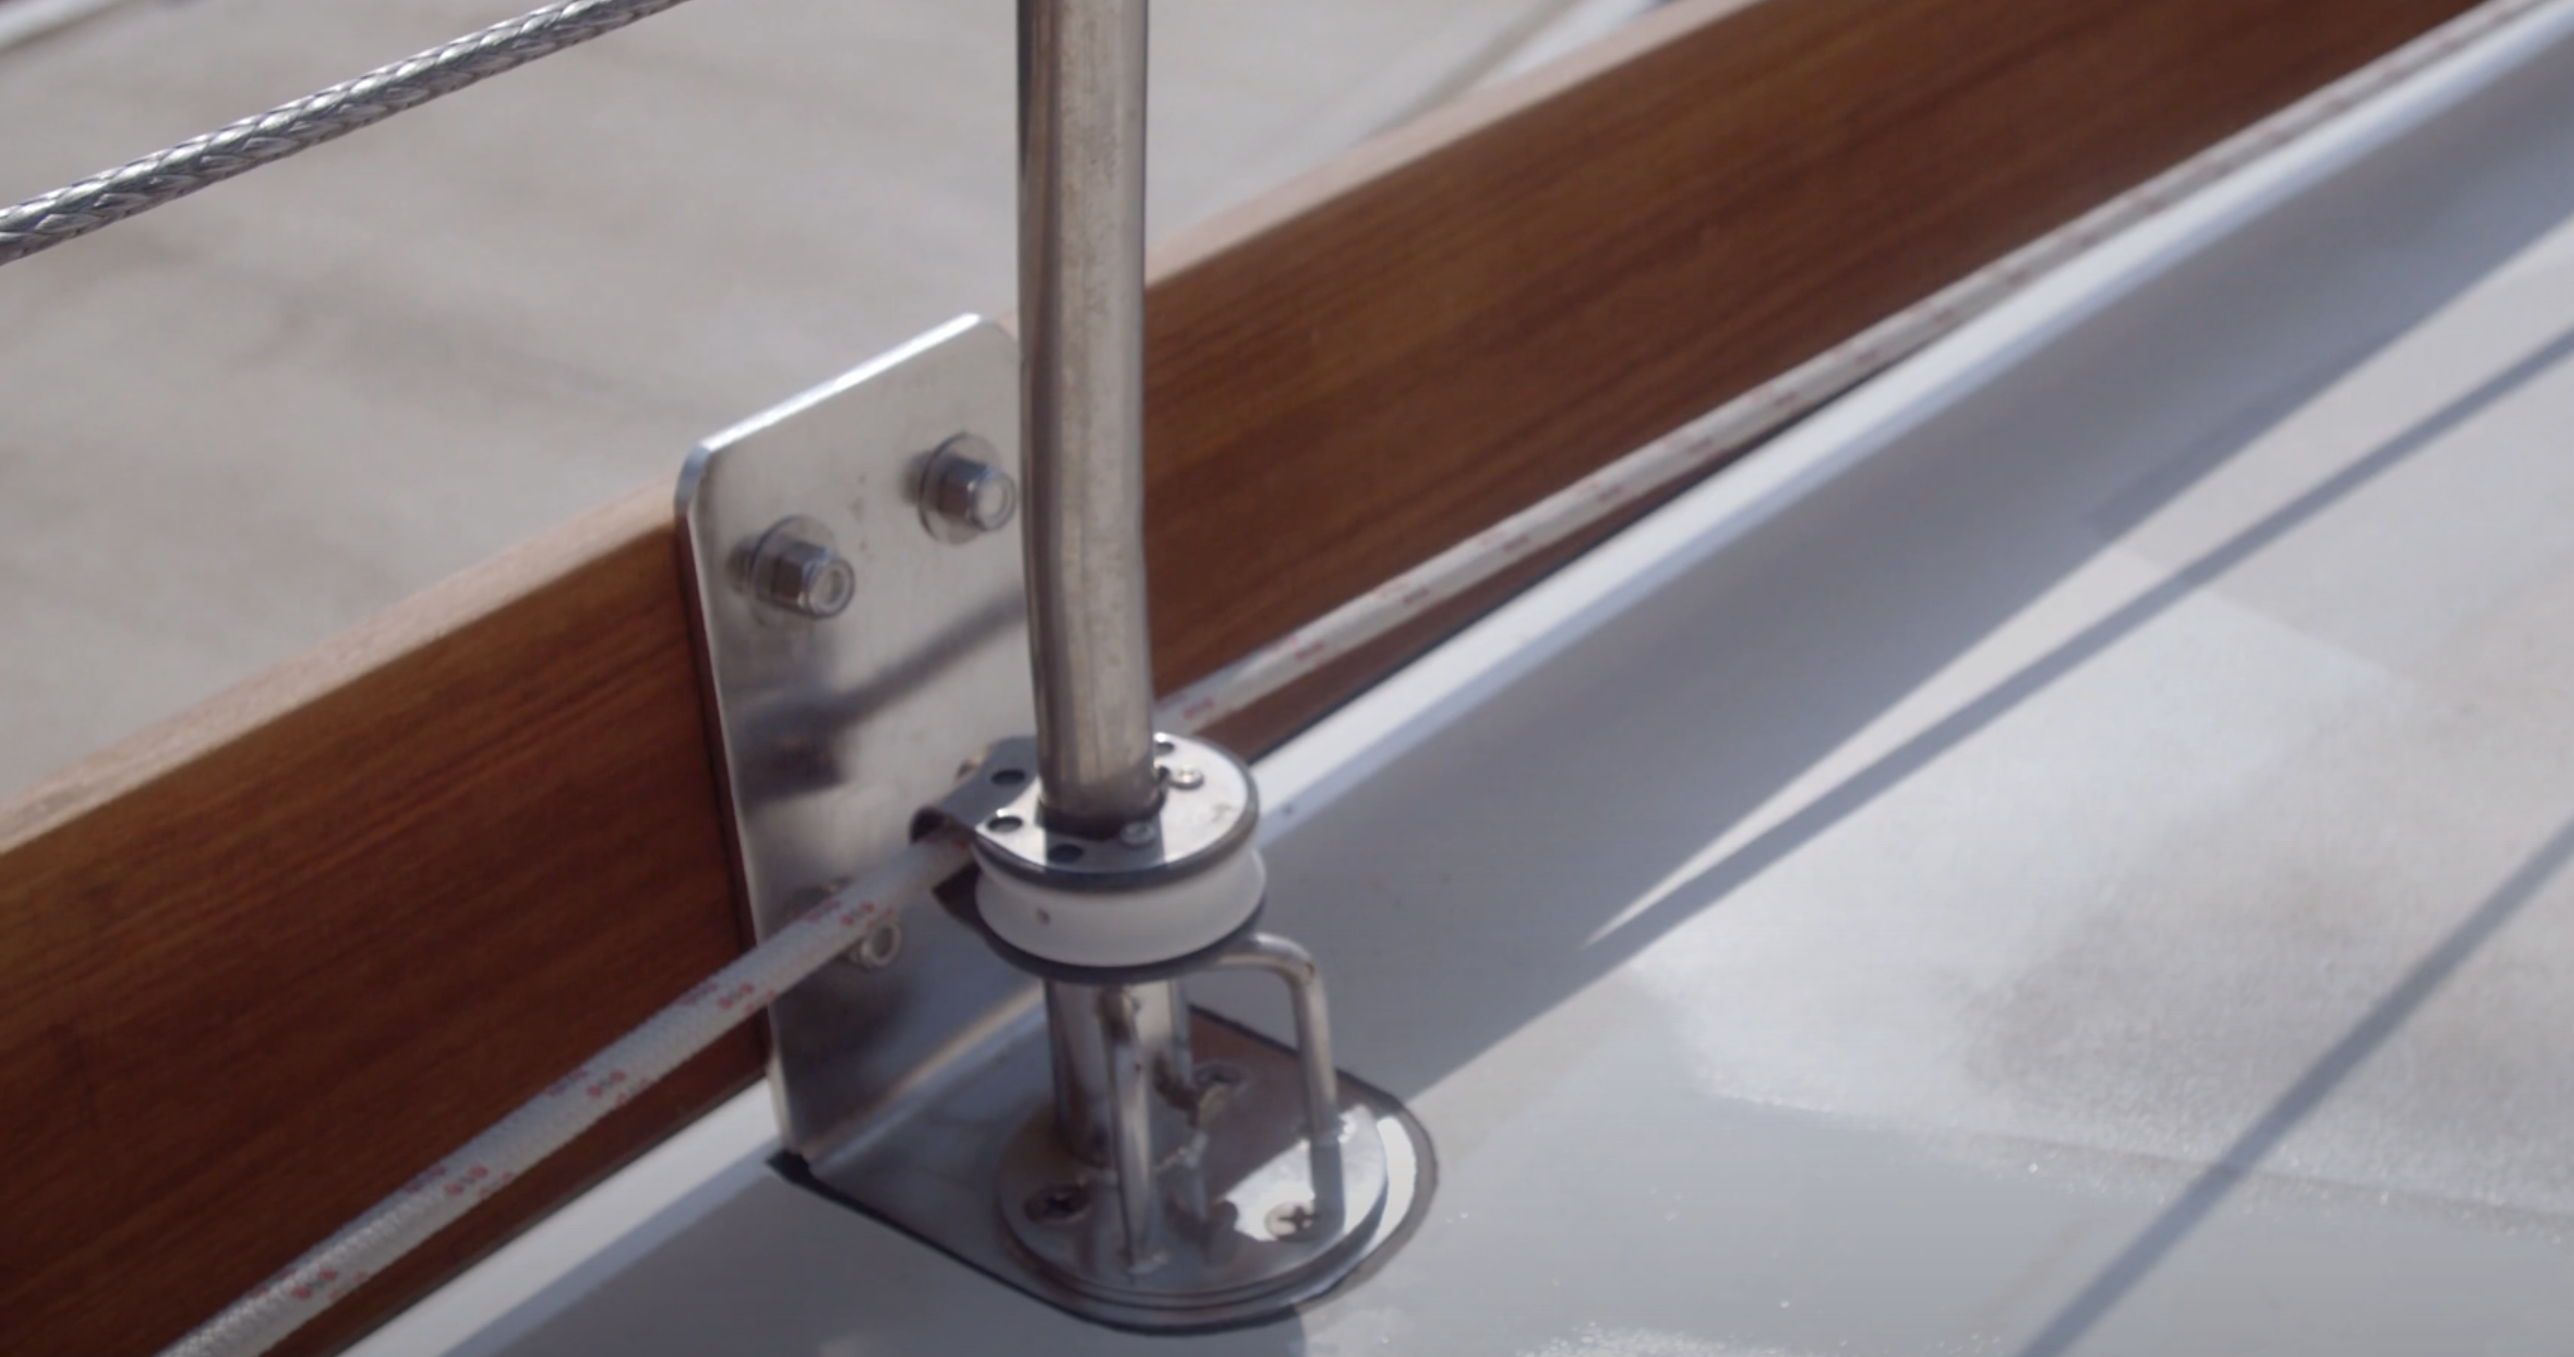
The water splashed the deck, washing overboard immediately under the bulwark through the slim gap. It was perfect. The height of the bulwark made it easy to store jerry cans, fenders, lines, and even the dinghy safely with a non-cluttered appearance. This conversion was a long process but overall we are pleased with the outcome and hope that it can inspire others who are interested in a project like this of their own! As Avocet’s pre-cruising project list is growing shorter by the day, we look forward to the improvements to come and overall sailing off into the sunset together with a boat we are proud of. In the words of John Kretchemer “No other man-made object blends design, craftsmanship, passion, and pure optimism the way a sailboat does. With a good sailboat, anything is possible.”
To watch the video recap of this project, visit our YouTube Channel Sailing Avocet




Thank you for providing this excellent essay! You have given me a superb answer to the still-hypothetical question: what if someday our toerail needs to be replaced? I only hope I can still find your article if that day comes.
Happy to help! 🙂
Amazing…this is going on the list for my offshore 38. Did you use the original lifeline stanchion bases or replace them?
Thanks love to follow along
Greg
1979 CL Offshore 38
Hey Greg! We used the same stanchion base design but replaced the cast bronze with stainless steel to accompany our already ss stanchions. Thanks for following along!
So happy to find your blog after finding you both on YouTube! We clicked follow (and are excited to read your new posts) but I confess we are totally here now in search of answers about where you both are from, how you met, how you got into sailing, what made you want to get your own boat, how your kitty likes the seas, and (of course) if you plan to come to the East Coast because that’s where we are haha
Cannot wait to see and read more!
L (and Andy) with Soul of a Seeker